VitOS Lite
User Operation Manual
October 28, 2022
Table of contents
3.2.1. With Fast Ethernet Connection
3.4.2.2.1. Audio Prompts Language
3.4.2.2.2. Restore Factory Settings
3.4.2.3.1. Start/Close Alarm Clock
3.4.4. Device Playback Operation
3.4.4.3. Left and Right Channels
3.5.2.3. Replace Preset Content
3.5.3.1.2. Remove From Favorites
3.5.3.2.3.3. Edit Playlist Name
3.5.3.2.3.4. Add Songs to the Playlist
3.5.3.2.3.5. Remov Songs From the Playlist
3.5.3.2.3.6. Add Songs in Playlist to Favorites
3.5.3.2.3.7. Add Songs to the Playlist Again
3.5.4.1.2.2. Your New Episodes
3.5.4.1.2.3. Popular News Stations
3.5.4.1.6.3. Remove Custom URL
3.5.4.1.8.5. Removed from Favorites
3.5.4.2.2. iHeartRadio Registration
3.5.4.3.3. Connect the Device to Start Playing
3.5.4.4.2. What's New (Latest)
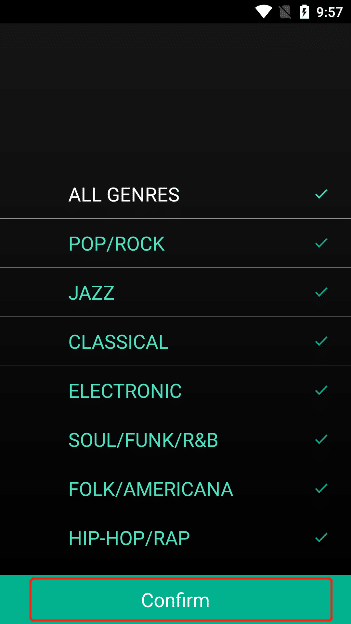
3.5.4.4.5. Genres (musical style)
3.5.4.4.6.1.1. Playlist Filter Sort
3.5.4.4.6.1.2. Create playlists
3.5.4.4.6.1.3. Remove Playlist
3.5.4.4.6.1.4. Search Playlists
3.5.4.4.6.3.2. Search For a Track
3.5.4.4.6.4.3. Search For An Artist
3.5.4.4.9.1. Playlist Operations
3.5.4.4.9.1.2. Favorite/Remove Playlist
3.5.4.4.9.1.3. Preset Playlists
3.5.4.4.9.1.4. Playlist Sorting
3.5.4.4.9.2.2. Favorite/Remove Album
3.5.4.4.9.3.2. Add to My Music
3.5.4.4.9.3.3. Remove From My Music
3.5.4.4.9.3.4. Add to Playlist
3.5.4.4.9.4.1. Favorite/Remove Artist
3.5.4.6.2. NAPSTER Registration
3.5.4.7.8. Selected by the Media
3.5.4.7.9.3.1. Remove Playlist
3.5.4.7.11.1.1. Add to Favorites
3.5.4.7.11.1.2. Delete from favorites
3.5.4.7.11.1.3. Add to Playlists
3.5.4.7.11.1.3.1. Create Playlist
3.5.4.7.11.1.4.1. Artist Operation
3.5.4.7.11.1.4.1.1. Add to Favorites
3.5.4.7.11.1.7. Shuffle Playback
3.5.4.7.11.2. Qobuz Playlist Operation
3.5.4.7.11.2.4. Shuffle Playback
3.5.4.7.11.3.1. Track Playback
3.5.4.7.11.3.2. Add to Favorites
3.5.4.7.11.3.3. Delete from Favorites
3.5.4.7.11.3.4. Add to Playlist
3.5.4.7.11.3.4.1. Create Playlist
3.5.4.7.11.4. Artist Operation
3.5.4.7.11.4.1. Add to Favorites
3.5.4.7.11.4.2. remove from favorites
3.5.4.8.2. Deezer Registration
3.5.4.8.5.1. Choose Music Type
3.5.4.8.6.1. Choose Music Style
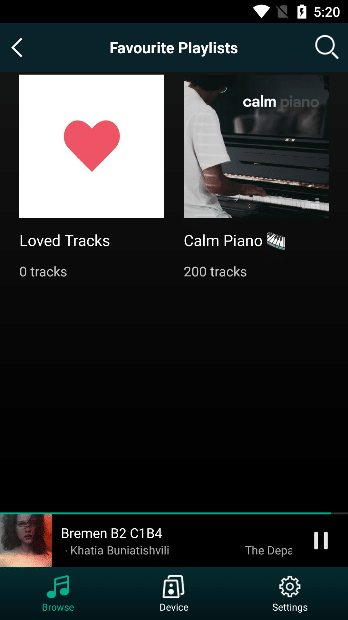
3.5.4.8.7.2. Favourite Playlists
3.5.4.8.7.4. Favourite Artists
3.5.4.8.10.1.1. Add to Favorites
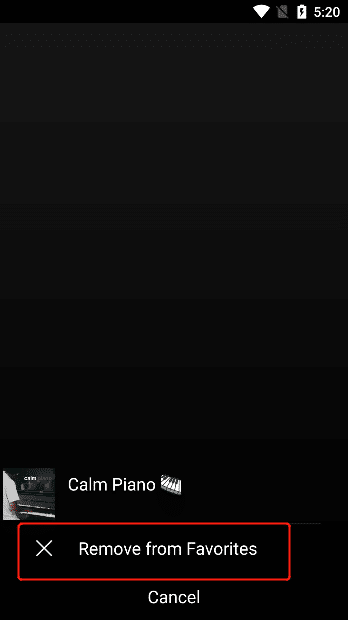
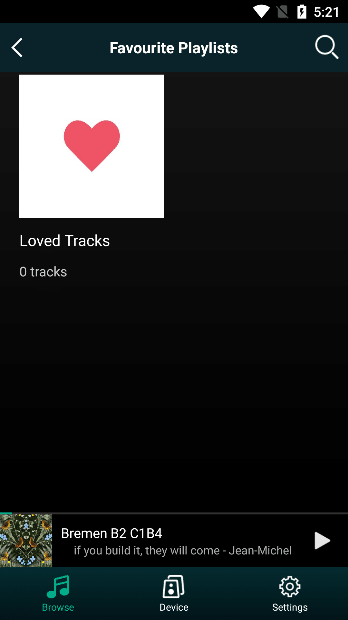
3.5.4.8.10.1.2. Remove from Favorites
3.5.4.8.10.2. Playlist Operations
3.5.4.8.10.2.1. Add to Favorites
3.5.4.8.10.2.2. remove from favorites
3.5.4.8.10.3.1. Track Playback
3.5.4.8.10.3.2. Add to Favorites
3.5.4.8.10.3.3. Remove from Favorites
3.5.4.8.10.3.4. Add to Playlist
3.5.4.8.10.3.4.1. Create Playlists
3.5.4.8.10.4. Artist Operation
3.5.4.8.10.4.1. Add to Favorites
3.5.4.8.10.4.2. Remove from Favorites
3.5.4.8.10.5.1. Add to Favorites
3.5.4.8.10.5.2. Remove from Favorites
3.5.4.9.2. Amazon Registration
3.5.4.9.6.1. Tcacks Just for You
3.5.4.9.6.2. Albums Just for You
3.5.4.9.6.3. Playlists Just for You
3.5.4.9.6.4. Stations Just for You
3.5.4.9.10.1. Block Language Tracks
3.5.4.9.10.2. Open Language Track
3.5.4.10.1. Radio Classification
3.5.4.12. Manage Music Services
3.5.5. Audio Transmission Method
3.5.5.3. USB (Only For Devices That Support USB)
3.6.2.9.1. Remove From Play Queue
3.6.2.10.1. Music Service Add/Remove to Favorites
3.6.2.10.2. Add to Deezer Favorites
3.6.2.10.3. Removed from Deezer Favorites
3.7.3. Privacy Protection Policy
1. Software Overview
1.1. Overview
VitOS Lite is mainly a professional music control software, which can be used for iOS Android devices (including mobile phones and tablets). It is the key to the implementation of Silent Angel-B1, Silent Angel-B1T and Silent Angel-B2. It can efficiently operate, play and access music materials, and roam freely in Hi Fi music. You deserve better music and better life! And it can open the door of Hi Fi music life.
2. Operating Environment
This software can run on Android and iOS mobile phones.
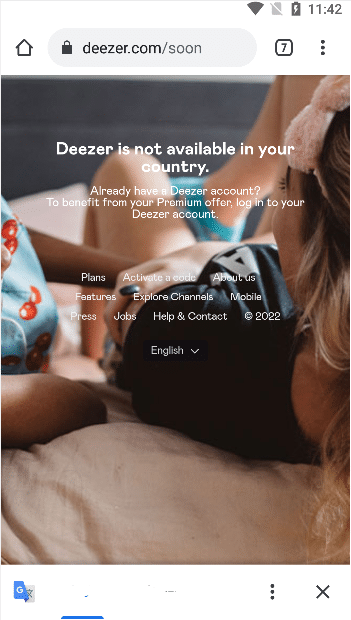
Online music services require you to connect to a VPN in order to use them.
3. Instructions
3.1. Software Installation
Android users can search for "VitOS Lite" in the app market to download and install;
Apple users can search for "VitOS Lite" in the APP Store to download and install.
3.2. Device Connection Method
3.2.1. With Fast Ethernet Connection
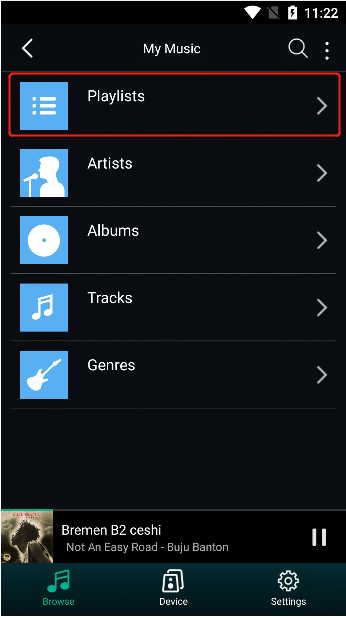
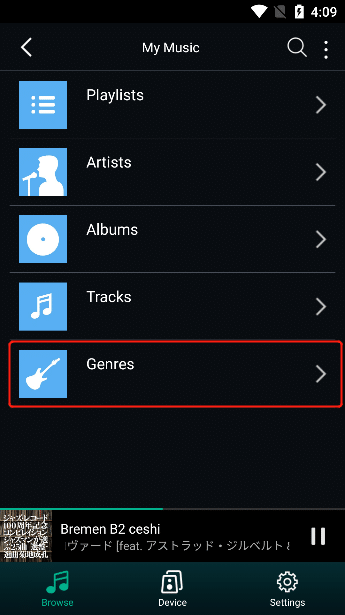
on the "Device" page and click "Browse" to enter the main menu

3.2.2. Connect Using WiFi
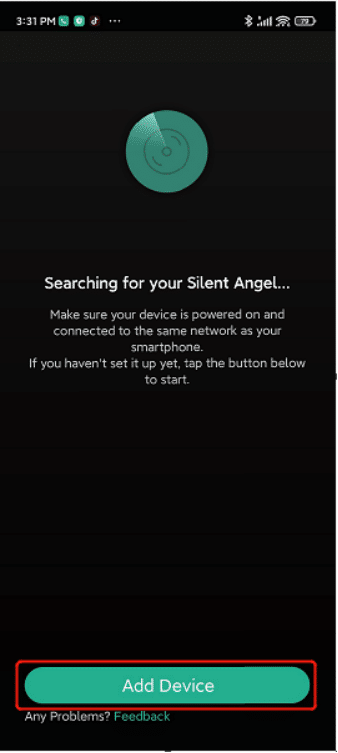
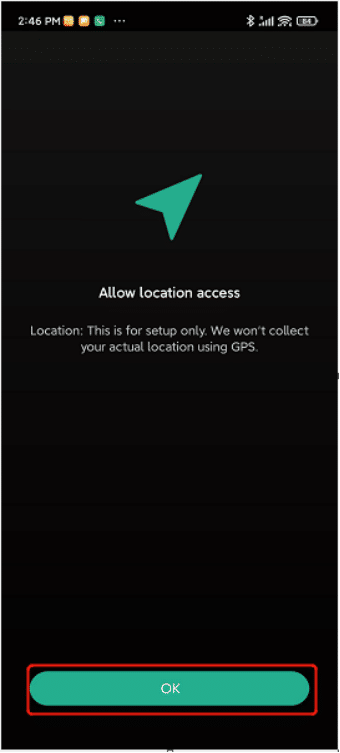
Use VitOS Lite to discover and set up Bremen B-Series Wi-Fi settings.
Click "OK" Click "Add Device"
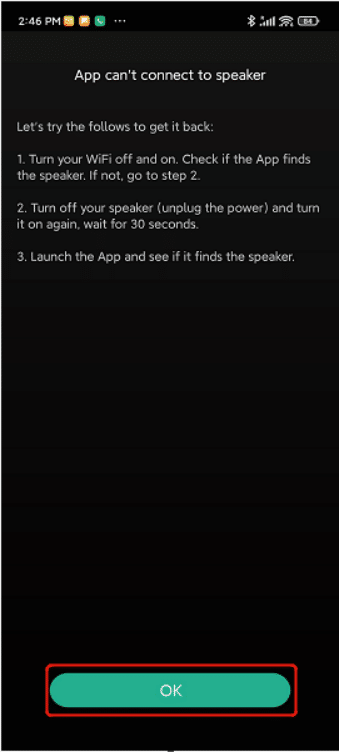
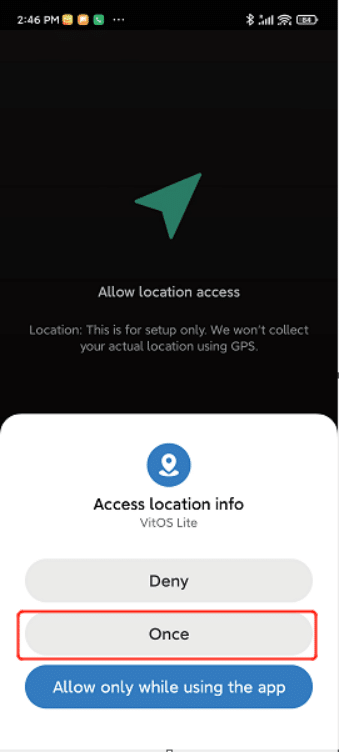
Click "OK" Click "Allow once"
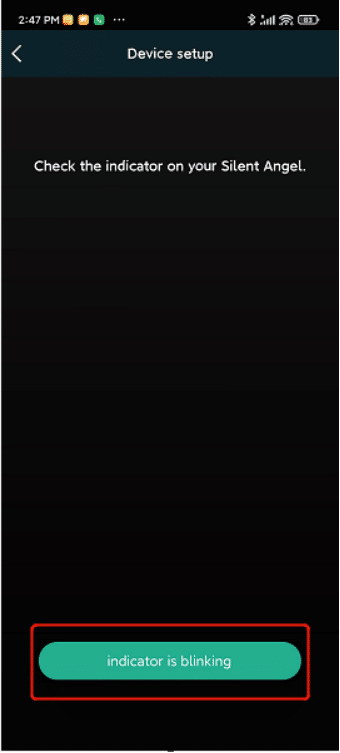
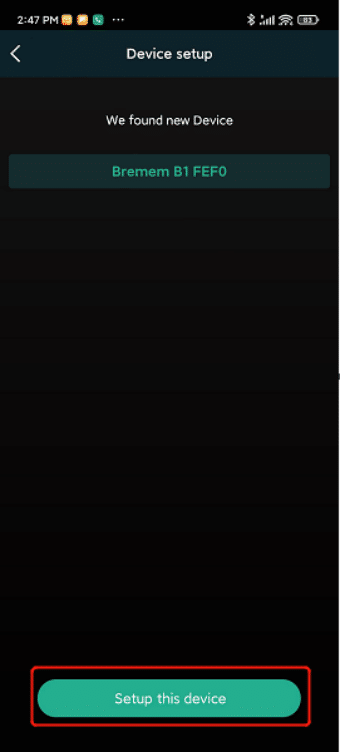
Click on "Light is blinking" Click on "Set up this device"
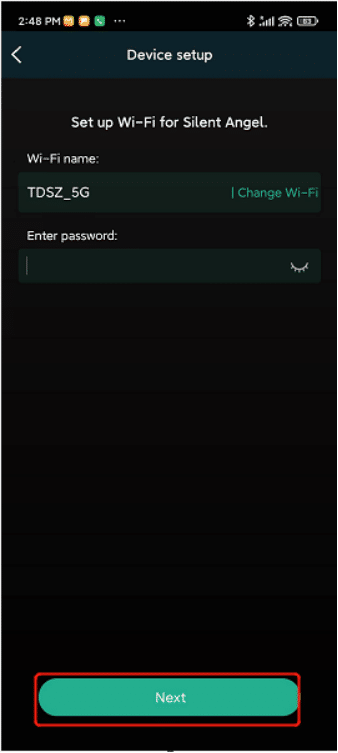
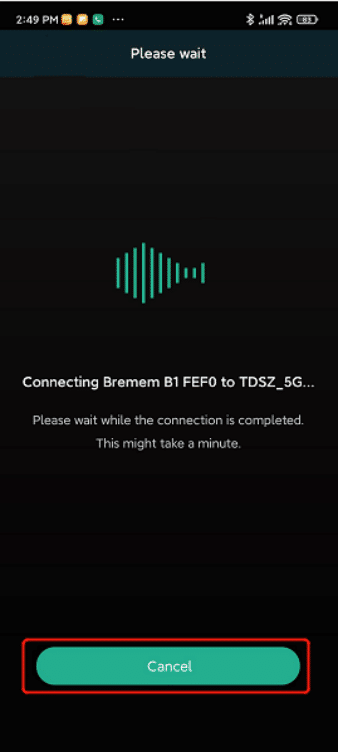
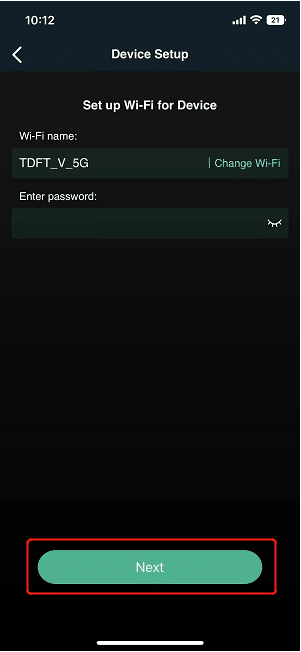
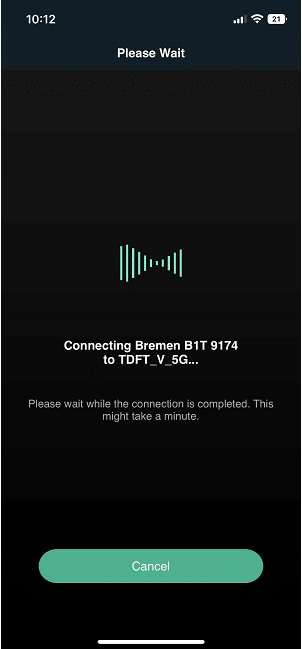
Enter the Wi-Fi password and click "Next",Wait for the B series to connect to the Wi-Fi network
on the "Device" page and click "Browse" to enter the main menu
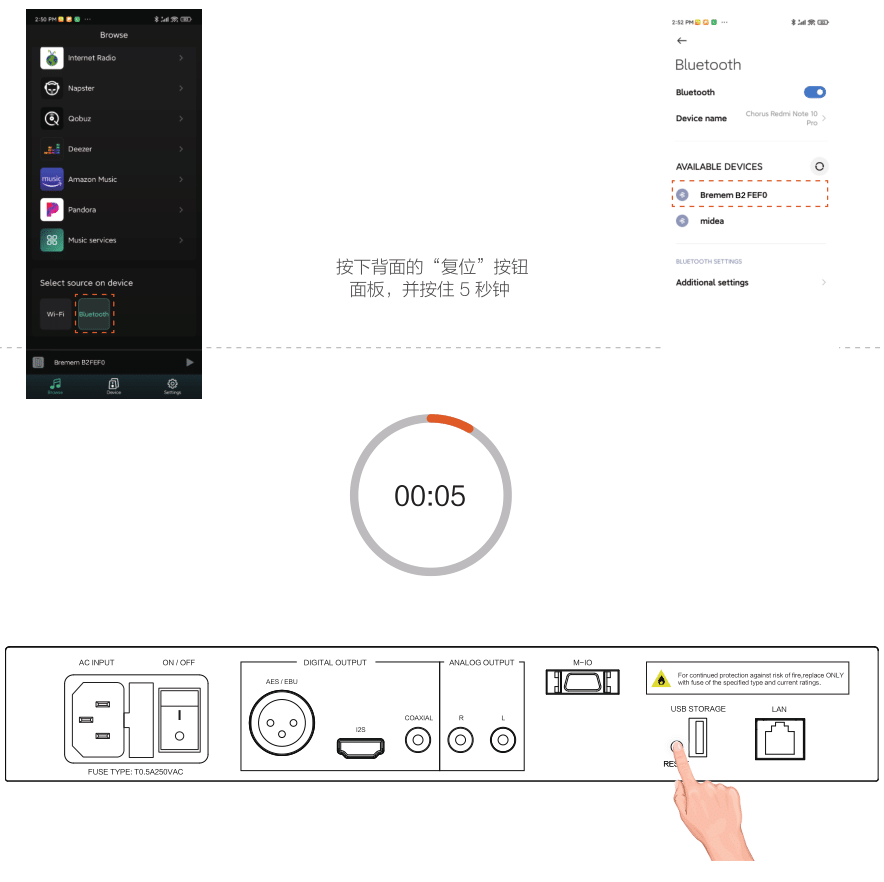
3.2.3. Bluetooth Connection
Click "Bluetooth" to enter the Bluetooth mode to discover the Bluetooth device "Bremen BX XXXX" and connect
3.3. Software Running
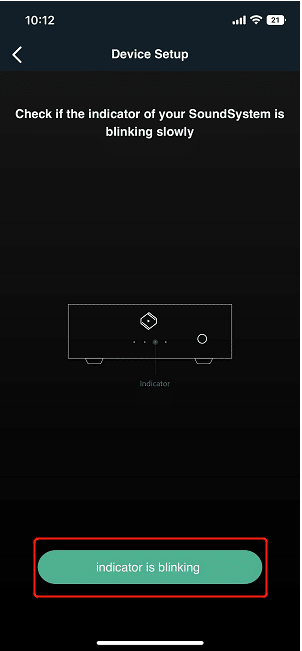
Click“+” Click "indicator is bLinking"
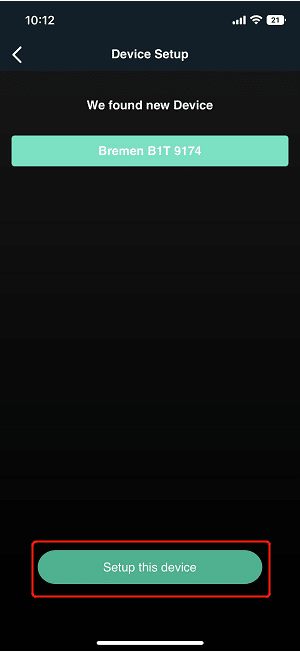
Click "Setup this device",Enter the WiFi password and Click "Next"

To wait for B1T to connect to the WiFi network,Click "Next" on the successful connection page

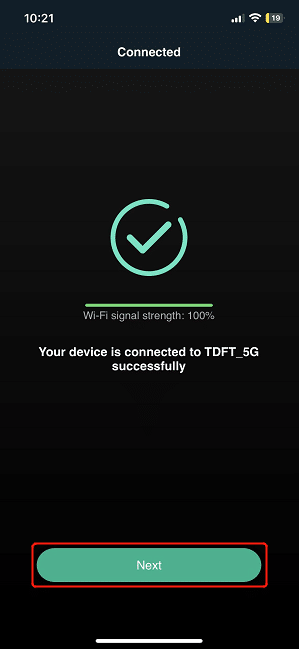
It shows that the connection has been successful, and then click the "OK" button to enter the device name interface, you can reset the device name, and then click the "Next" button in the upper right corner to enter the APP
3.4. Equipment
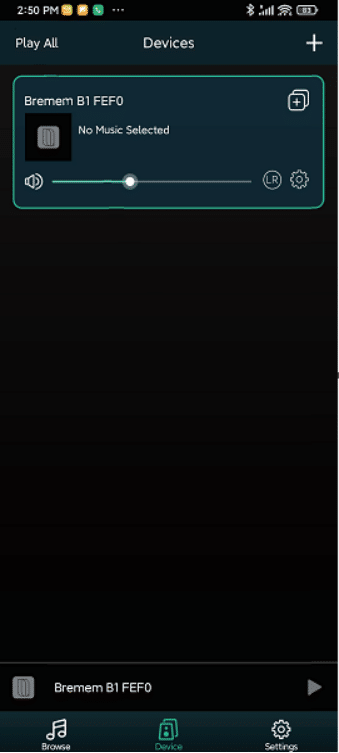
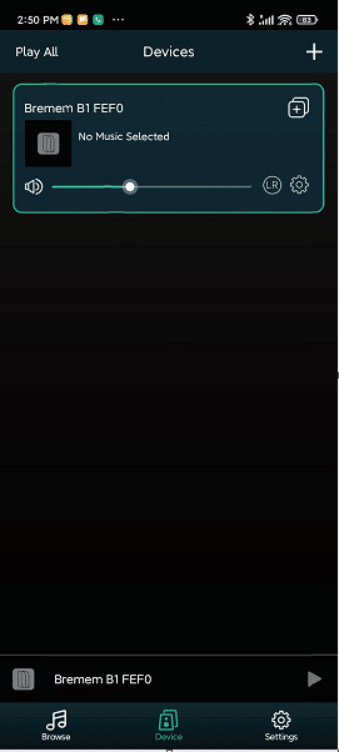
3.4.1. Select Device
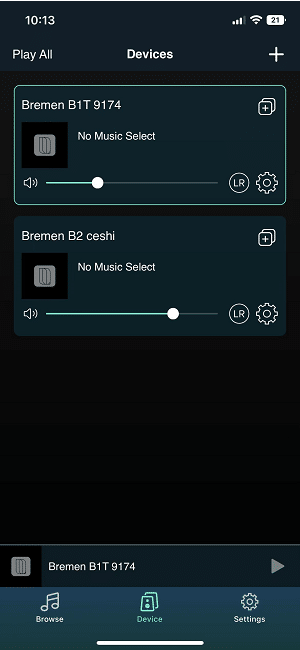
On the "Device" interface, click the device you want to connect to connect the device.

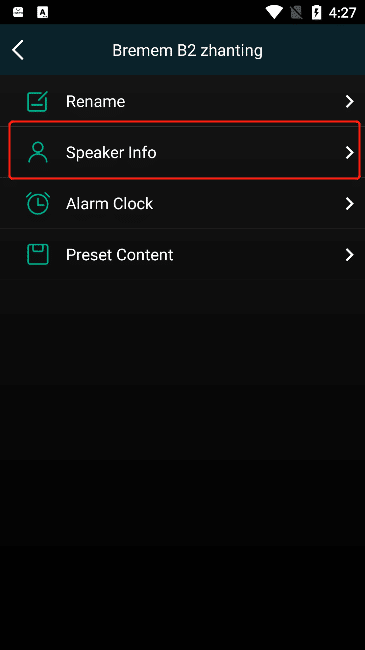
3.4.2. Device Settings
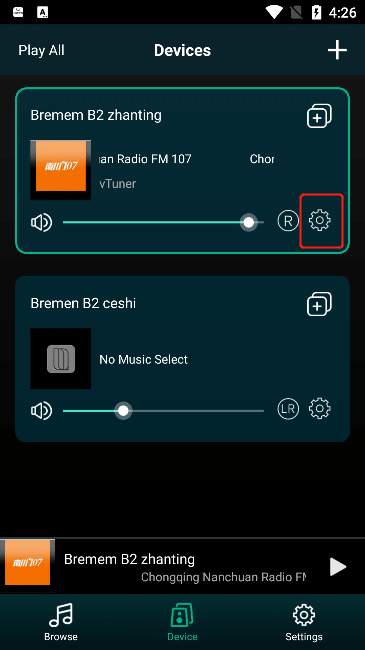
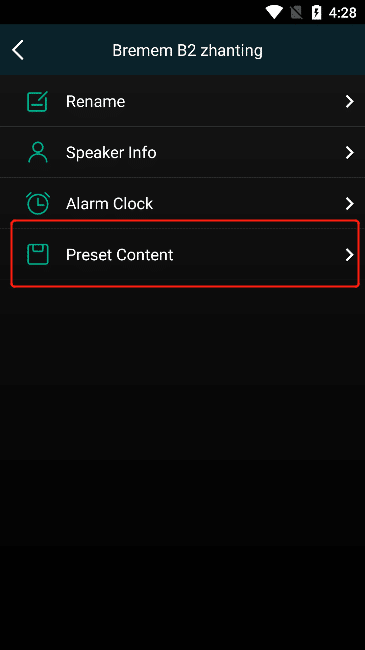
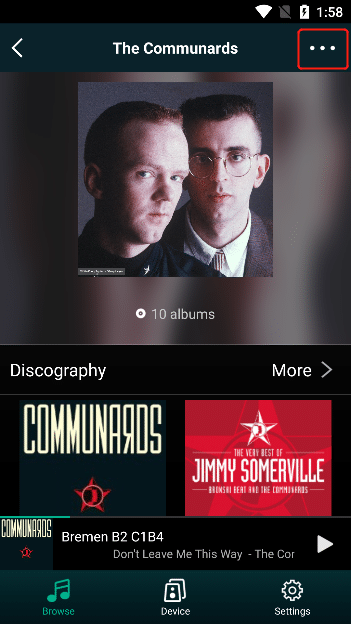
Click "Settings" button in the lower right corner of the connected device to enter the setting interface of the corresponding device
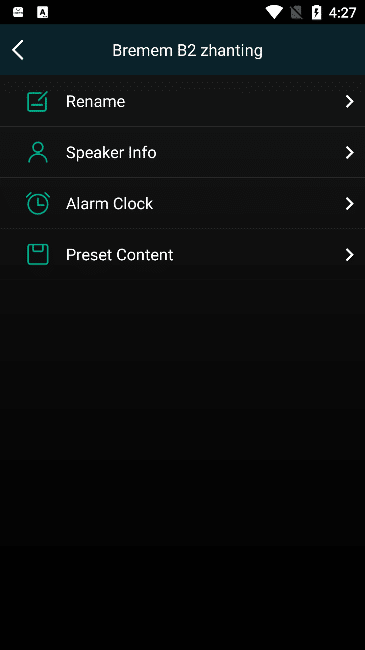
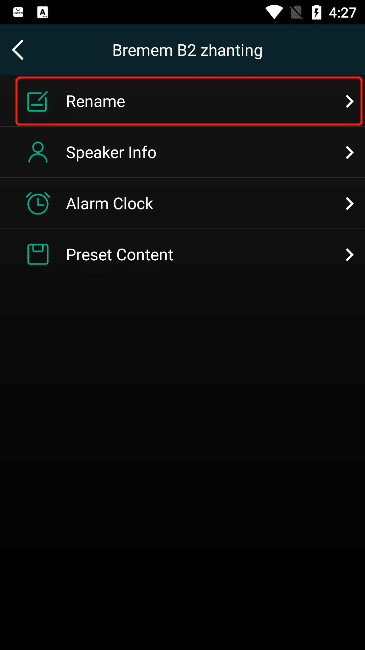
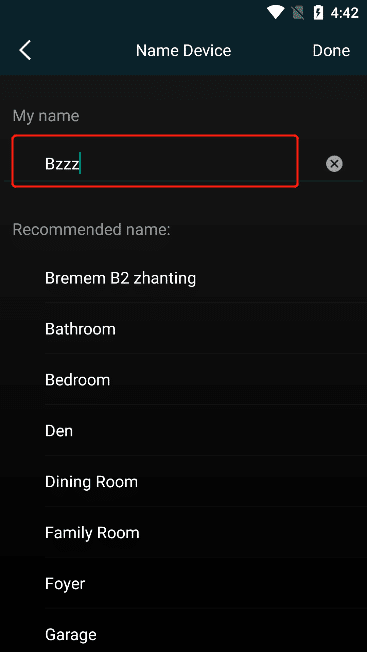
3.4.2.1. Rename
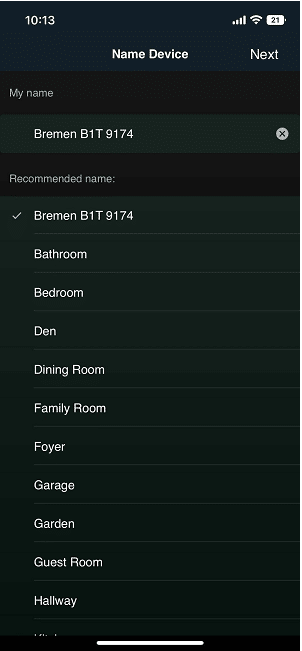
Click the "Get into" button of "Rename" to enter the "Name Device " interface and modify the name of the connected device
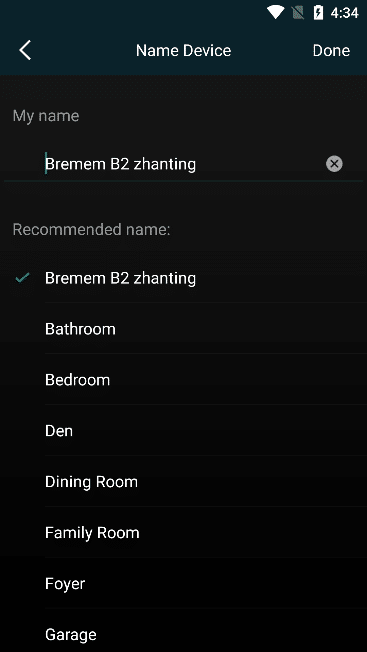
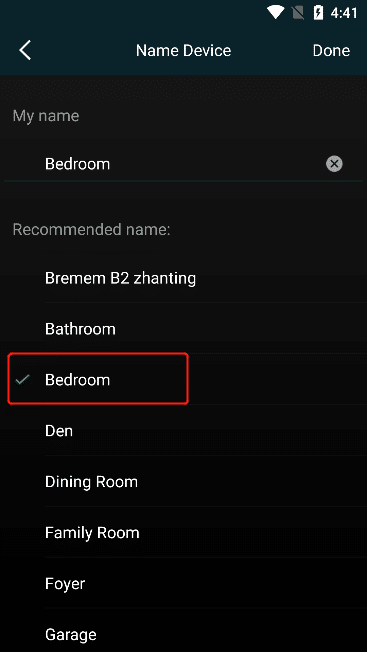
You can modify the device name by checking the name in the list of recommended names, or manually entering the device name.
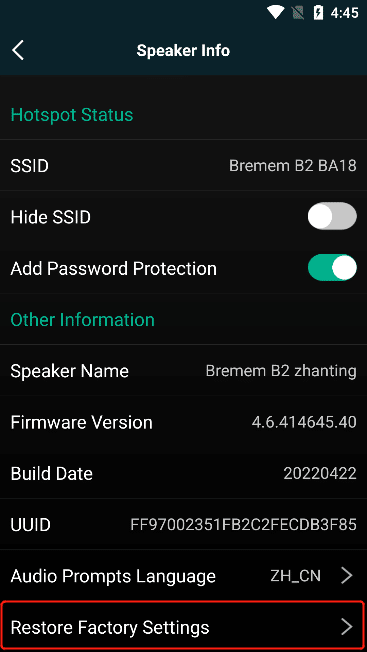
3.4.2.2. Speaker Info
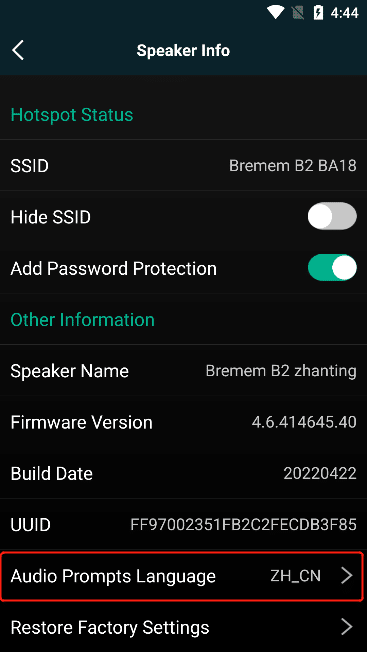
Click "Speaker Info" to enter the "Speaker Inf" interface, where you can view the device information

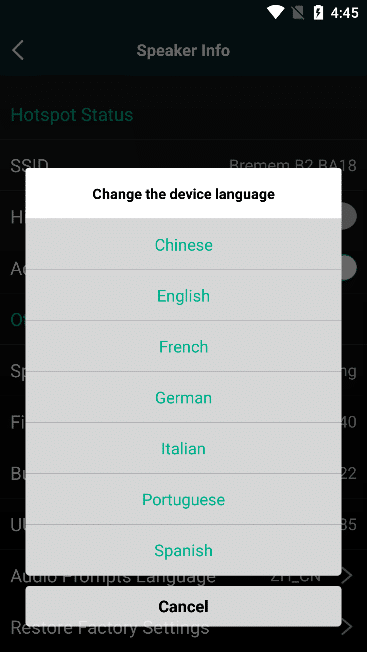
3.4.2.2.1. Audio Prompts Language
Click "Audio Prompts Language" , you can change the language used here, select the language to change successfully
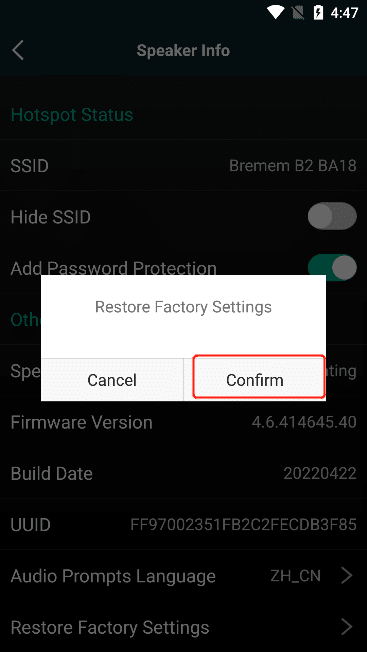
3.4.2.2.2. Restore Factory Settings
Click the "Restore Factory Settings", and then click the "Confirm" button, the corresponding device will clear the usage records, and in the "Device" interface, clear the records of your previously connected devices, if you need to reconnect the device, use "Add Device" to reconnect.
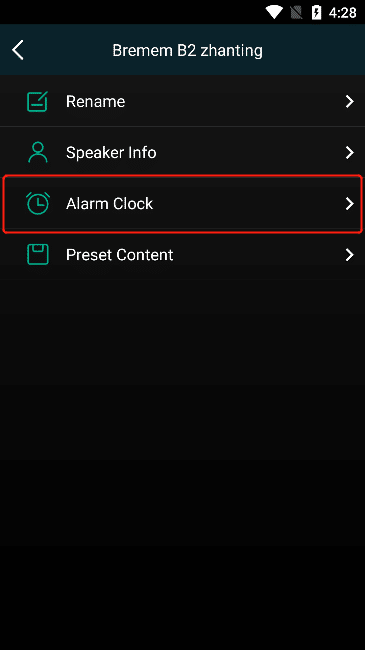
3.4.2.3. Alarm Clock
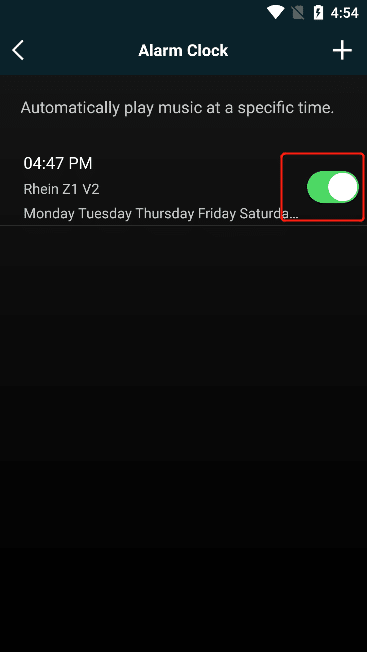
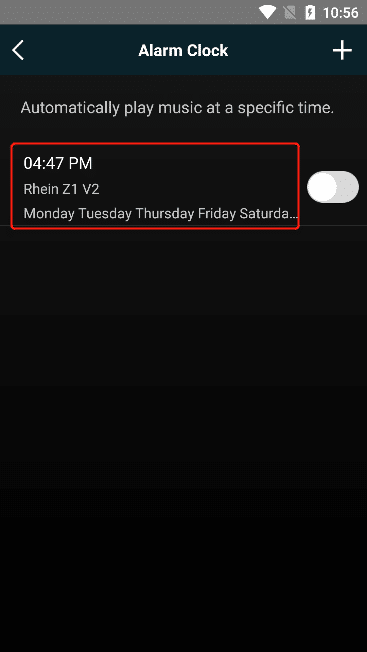
Click "Alarm Clock" to enter the "Alarm Clock" interface, where you can view the added alarm clock information. The alarm clock indicates that music can be played automatically at a specific time.
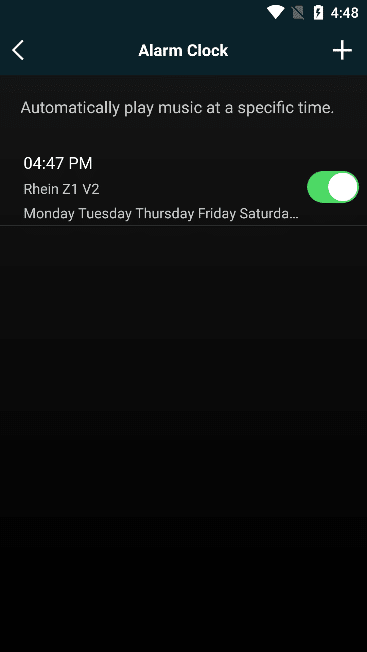
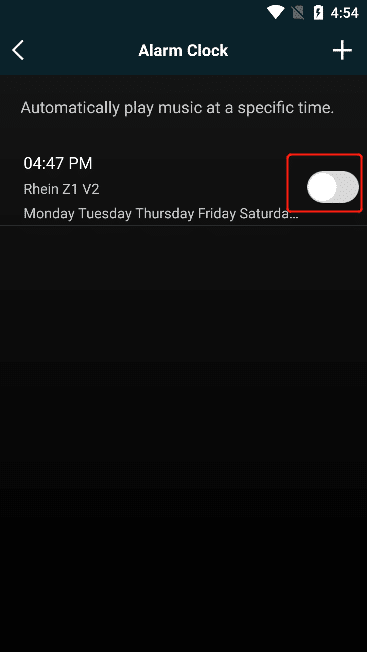
3.4.2.3.1. Start/Close Alarm Clock
Click the button to the right of "Alarm Clock" , if it is green, it means to activate the corresponding alarm clock, click the button to the right of "Alarm Clock" , if it is gray, it means to close the corresponding alarm clock
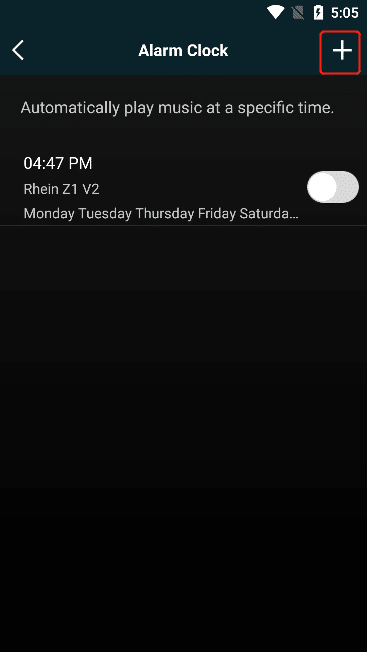
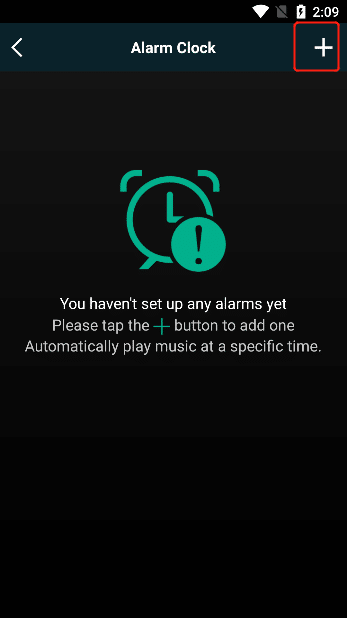
3.4.2.3.2. Add Alarm Clock
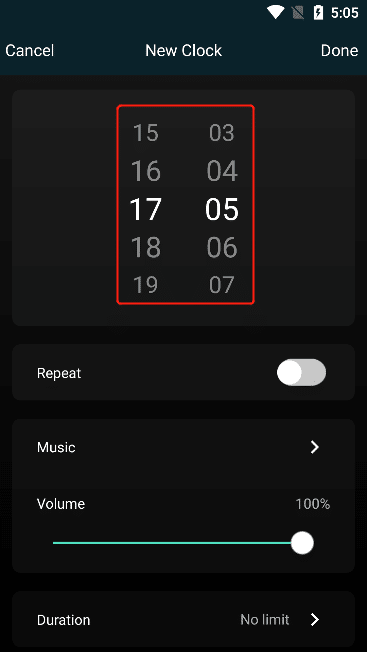
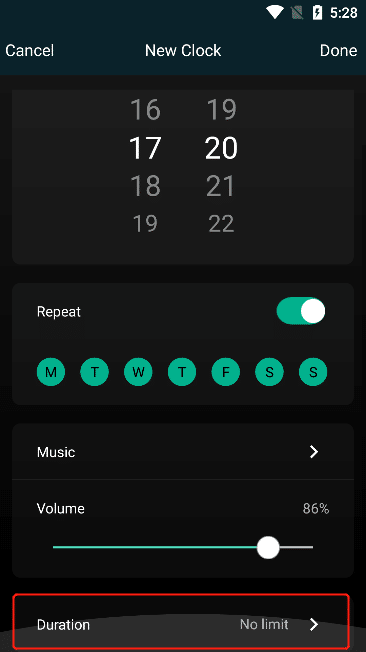
Click the "+" button to add an alarm clock that automatically plays a music message at a specific time.
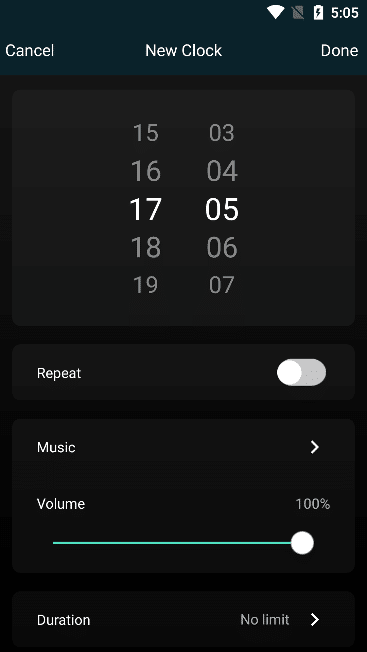
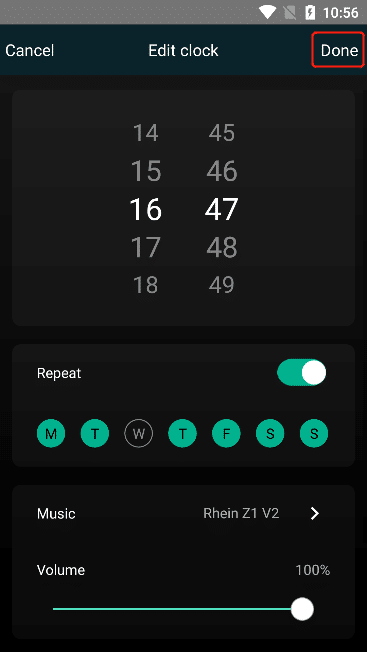
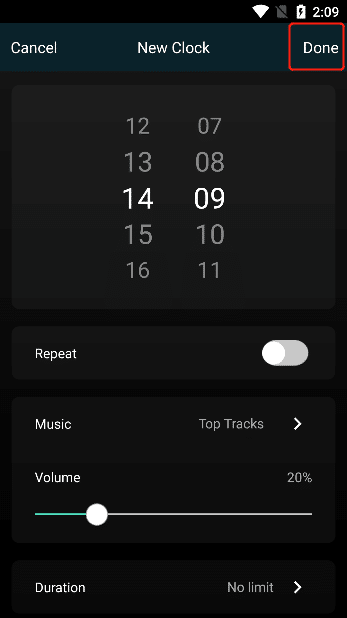
Swipe to select when you want to play
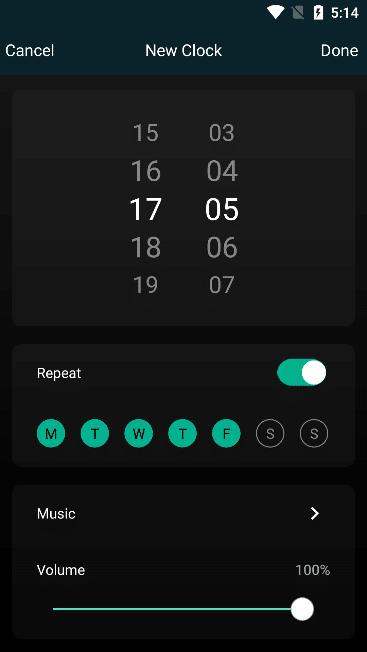
Click the "Repeat" button, you can set to repeat the playback on a weekly basis. If the " Repeat " button is clicked to be gray, it means that it will only be played once when the time you set arrives, and then the alarm clock will be invalid. Green, the default is to play every week from Monday to Sunday at the time you set

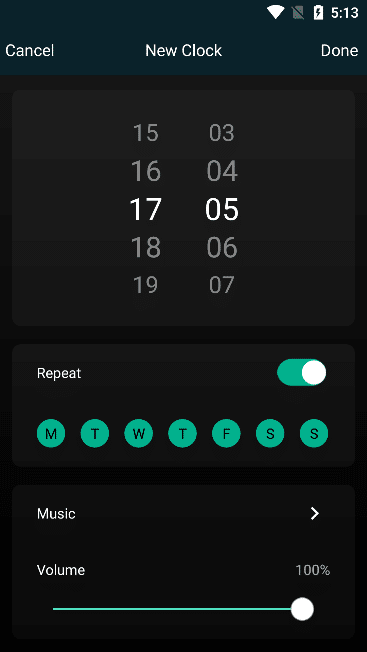
the "Repeat" button is green, the letters below are arranged in order from Monday to Sunday. You can click the letters. If the letter is black after clicking, it means that the day of the week will not be played. If the letter is green after clicking, it means Every day of the week will be played at a set time. For example, the picture below: It only plays at 11:06 every Monday to Friday, and it has been canceled on Saturday and Sunday.
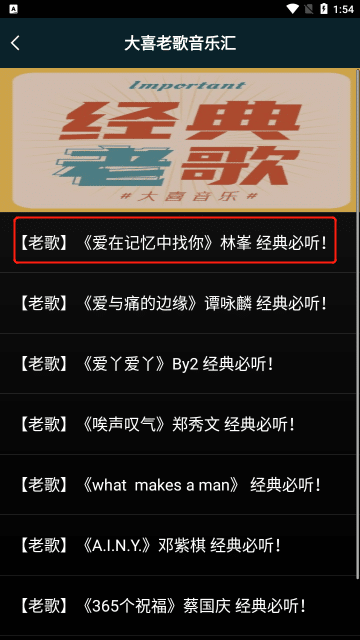
Click on "Music" and you can choose from playlists in "Preset Content" , music in "Music Services" , and music in "Home Music Share" .
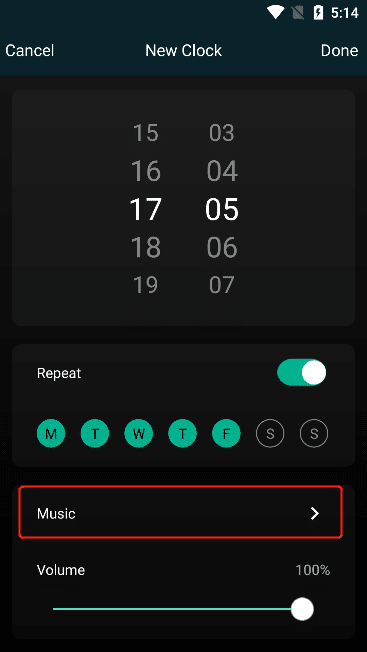
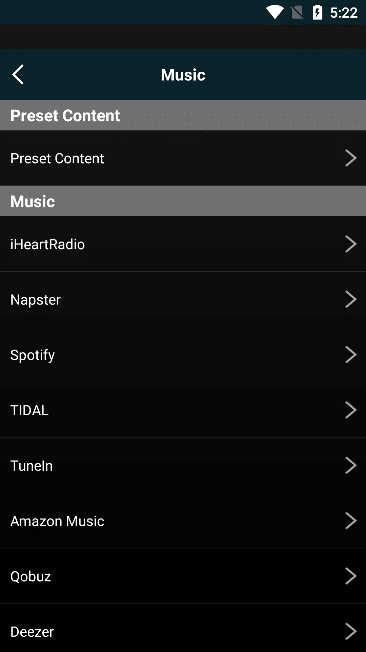
Click the "music" or "preset content" you want to play to return to the setting alarm interface, and you can see the selected content in the music column.
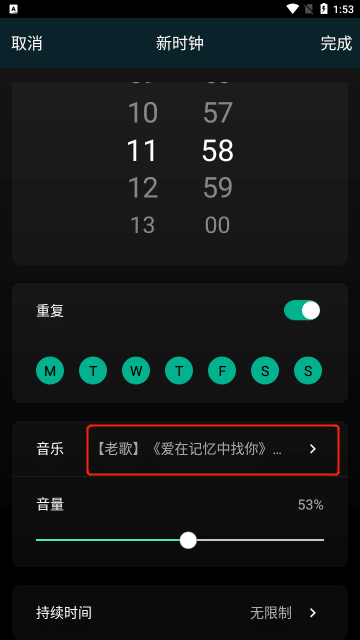
by sliding the "Volume" button. You can view the volume on the right side. The larger the number, the higher the volume.
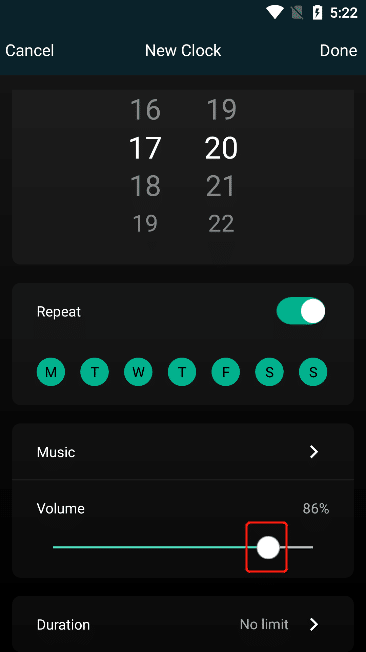

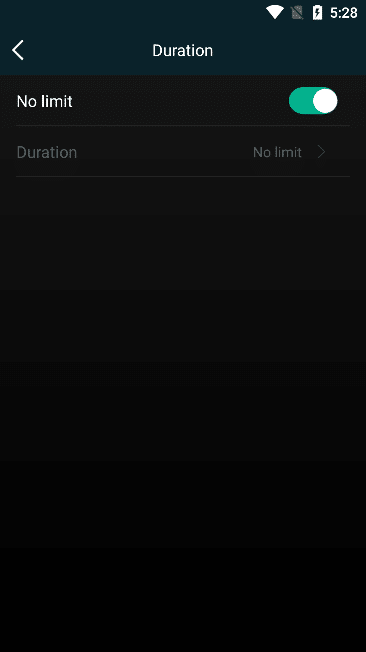
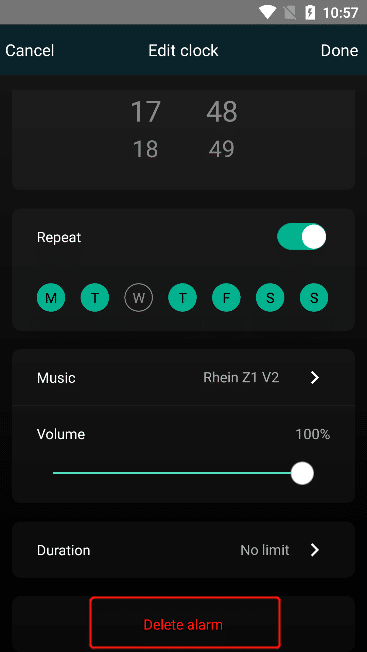
Click "Duration" to set the duration of playing music at a specific time, the default is unlimited
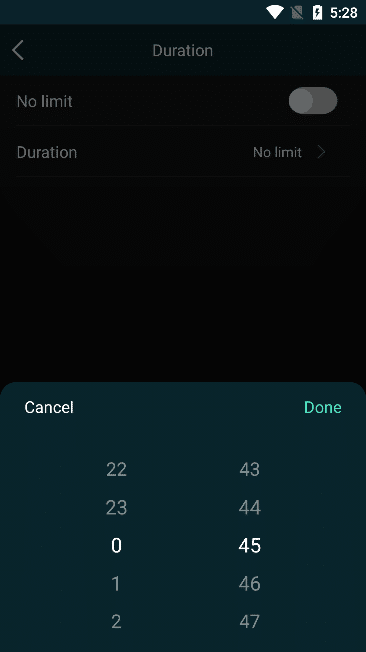
Click the "No limit" button, if it is green, it means "No limit" time, click the "No limit" button is gray, you can click "Duration" to select the duration you need, min is the minute
3.4.2.3.3. Edit Alarm Clock
Select the alarm clock you need to re-edit, and you can enter the "Edit clock" interface, you can edit the information of the alarm clock, and then click the "Done" button to edit successfully.
3.4.2.3.4. Delete Alarm Clock
Select the alarm clock you want to delete to enter the "Edit clock" interface, find the "Delete alarm" option at the bottom , and click it to successfully delete the alarm clock.

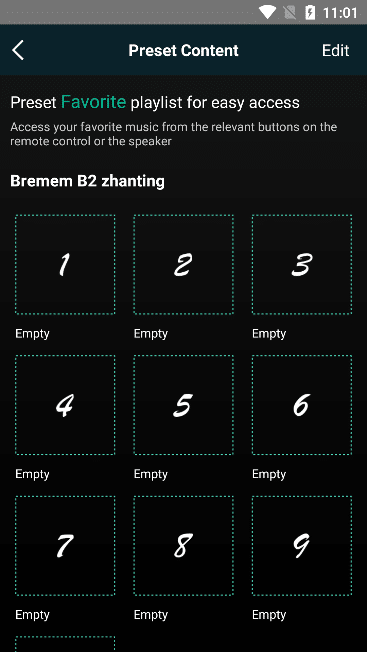
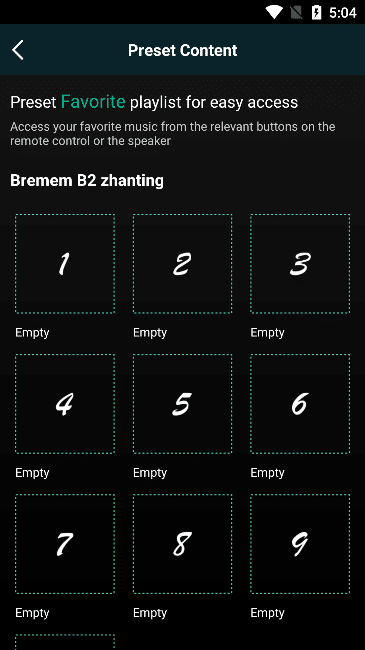
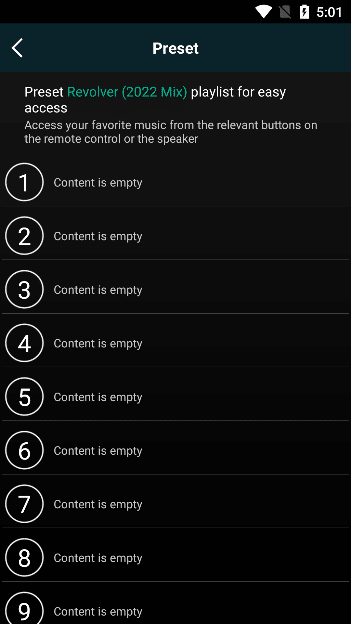
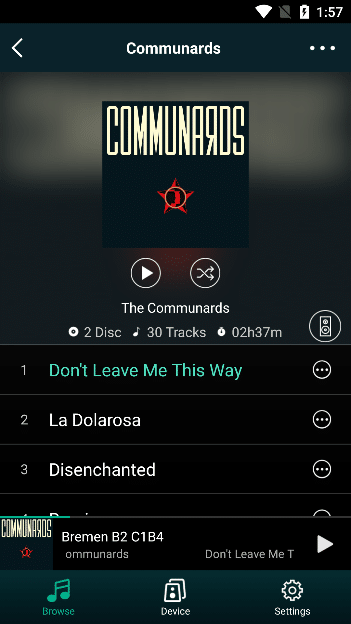
3.4.2.4. Preset Content
You can click "Preset Content" to open and view the added preset content, and click the preset content to play the corresponding preset playlist.
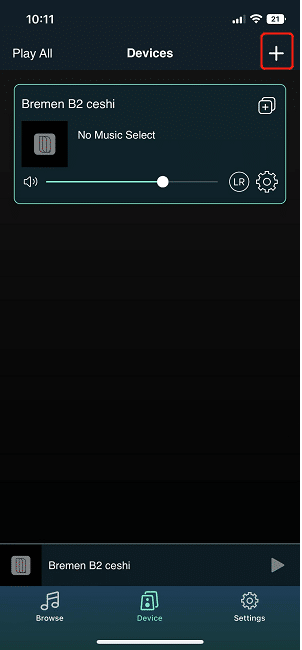
3.4.3. Add Device
Click the "+" button to add connected devices

Click the "indicator is blinking" button to see the devices that can be connected, select your device, and then click the "Setup this device" button.


On the WiFi setting interface for the device, select the connected WiFi, enter the password, click the "Next" button, and wait for one minute
It shows that the connection has been successful, and then click the "OK" button to enter the device name interface, you can reset the device name, and then click the "Next" button in the upper right corner to enter the APP


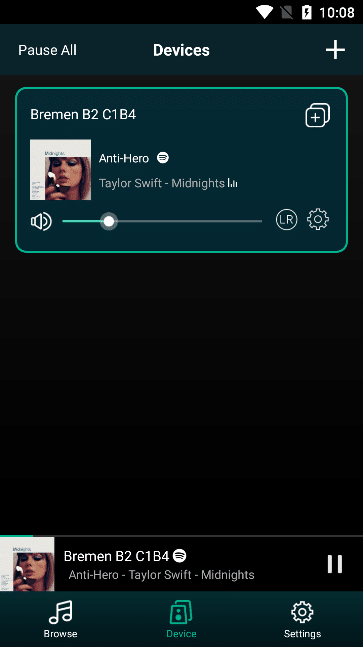
3.4.4. Device Playback Operation
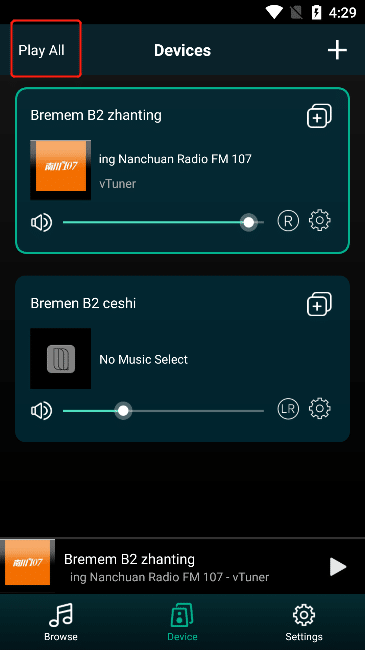
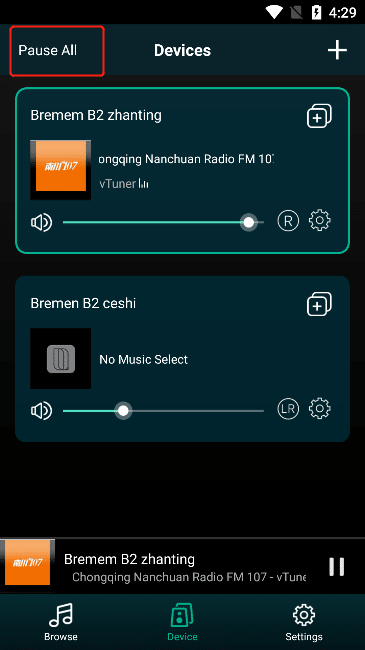
3.4.4.1. Play All/Pause All
In the "Device" interface, click "Play All" , and if all devices in the "Device" interface pause the song, they will continue to play the song, click "Pause All" , and all devices in the "Device" interface Playing a song will pause the song
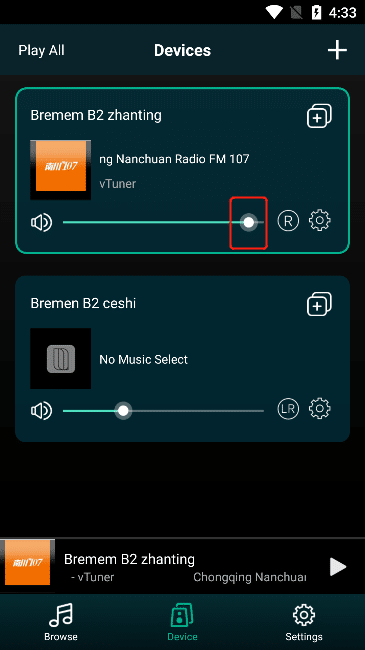
3.4.4.2. Volume Adjustment
Slide the "Volume" button to adjust the volume of the currently set music. The more you move to the left, the lower the volume will be, and the more you move to the right, the higher the volume will be.
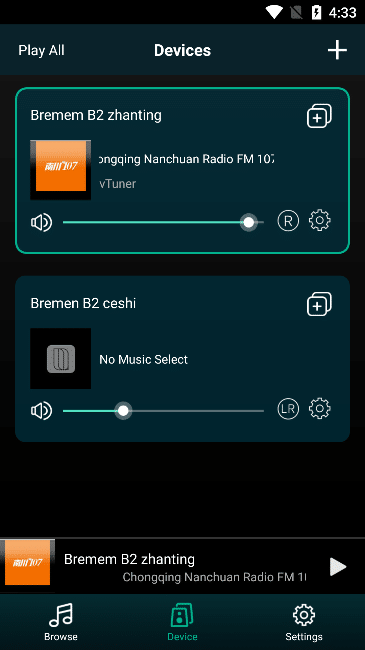
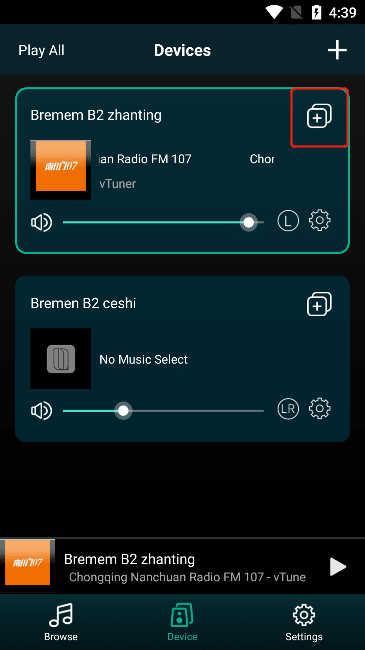
3.4.4.3. Left and Right Channels
The default is "LR". If it is "L" after clicking, left means left channel.
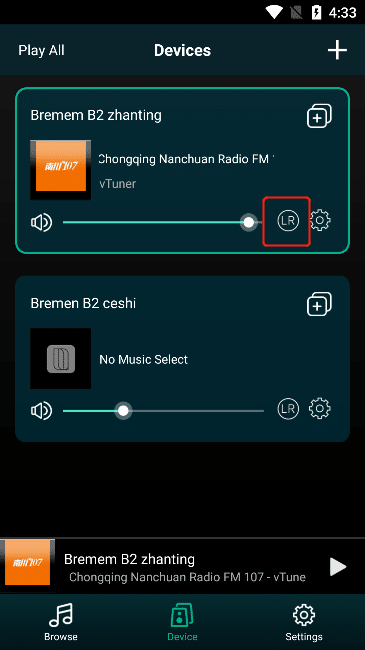
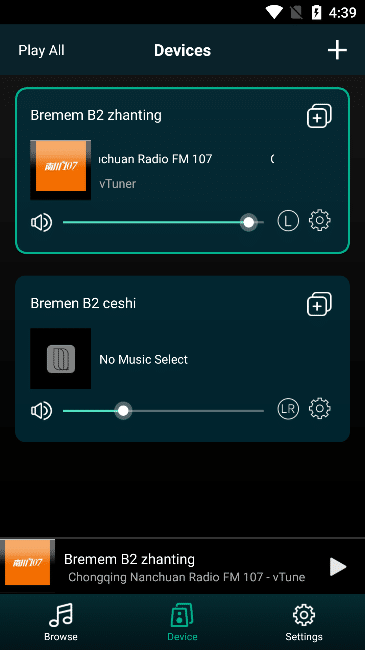
If "R" is "Right" after clicking, it means right channel.

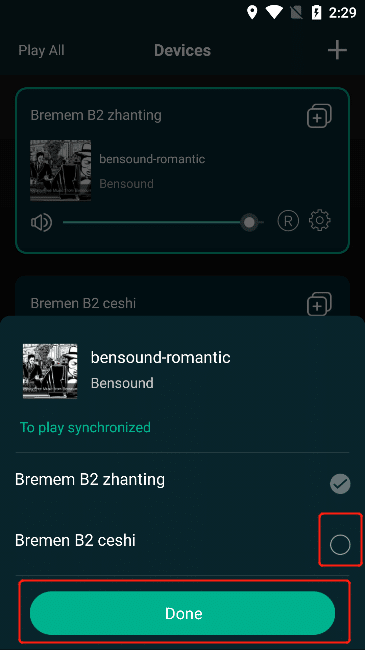
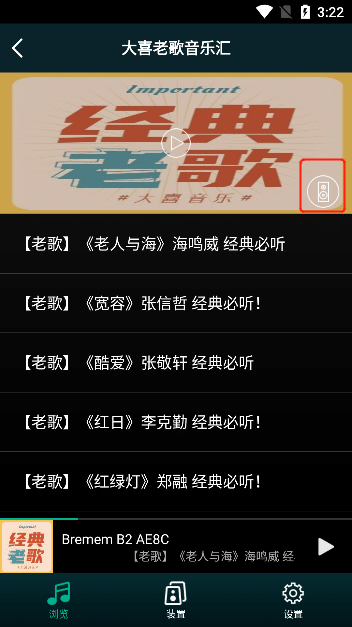
3.4.4.4. Sync Play
Select the "Sync Play" button on the top right of the device, click the "Select" button corresponding to other devices, and then click "Finish" to play the music played by the current device on the selected device synchronously.
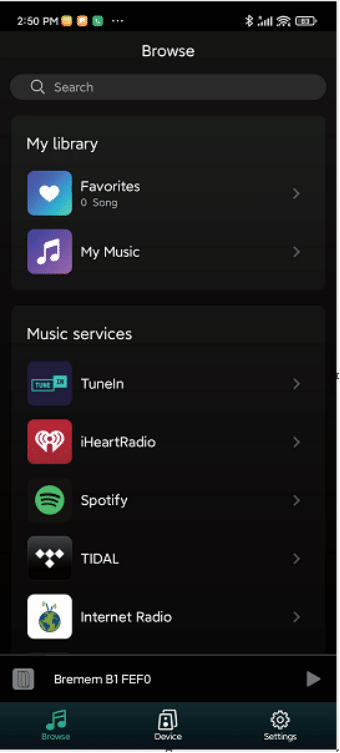
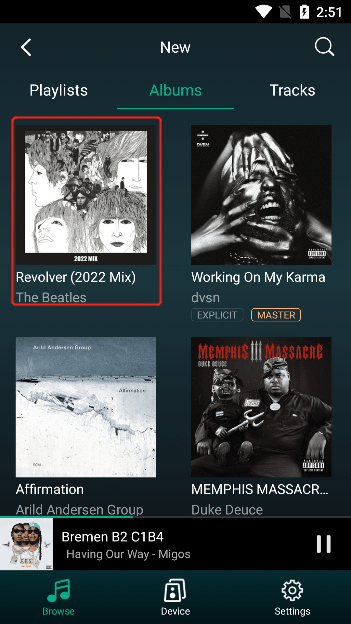
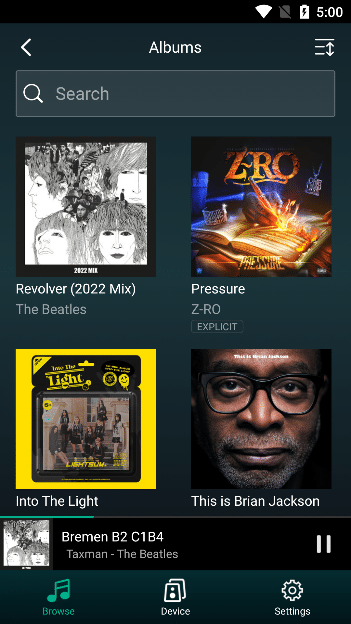
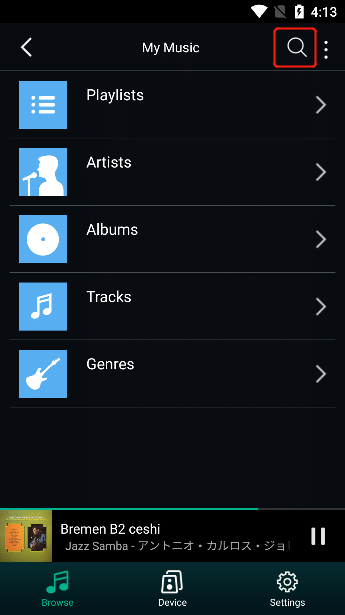
3.5. Browse
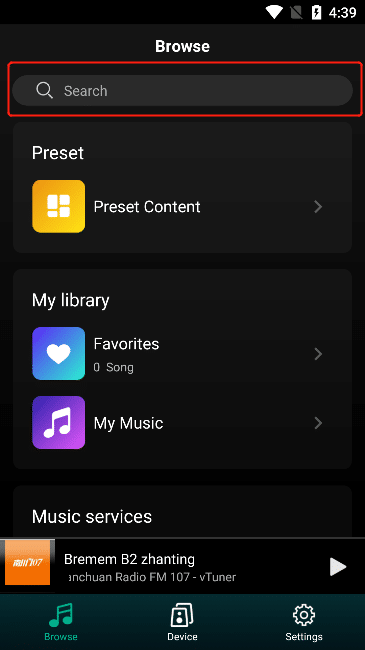
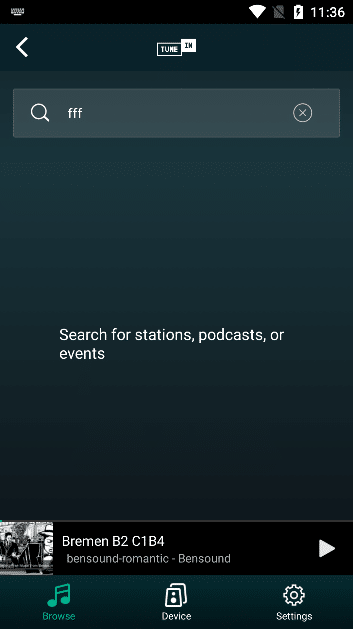
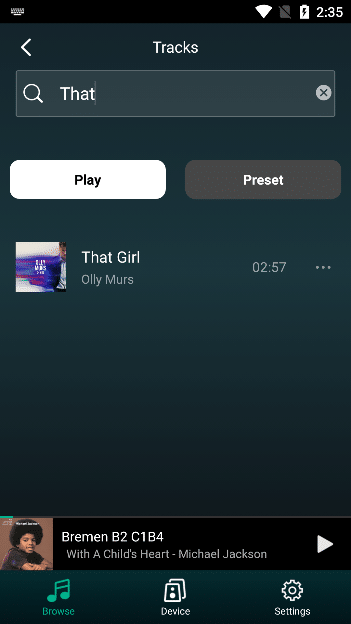
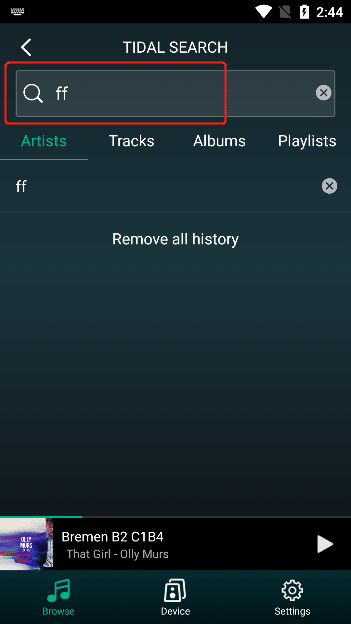
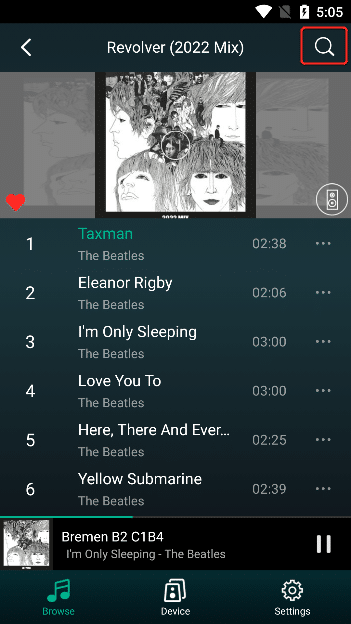
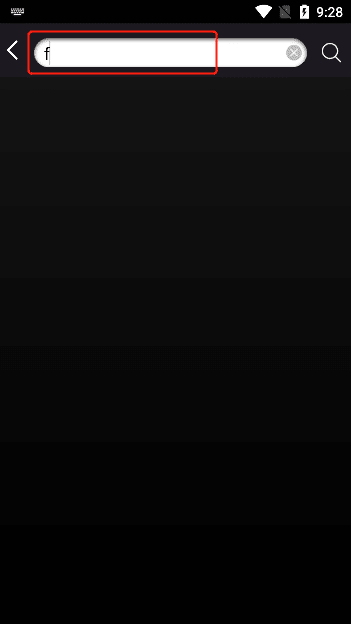
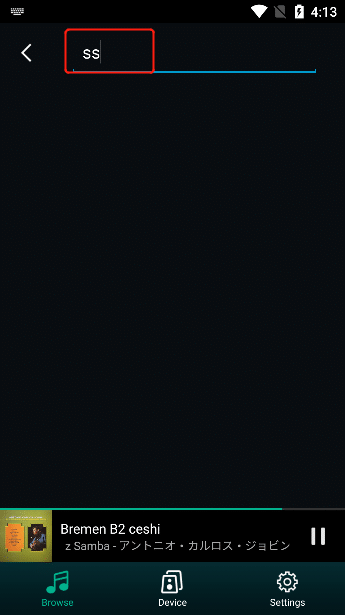
3.5.1. Search
Select "Search Box" to enter the "Search" interface.
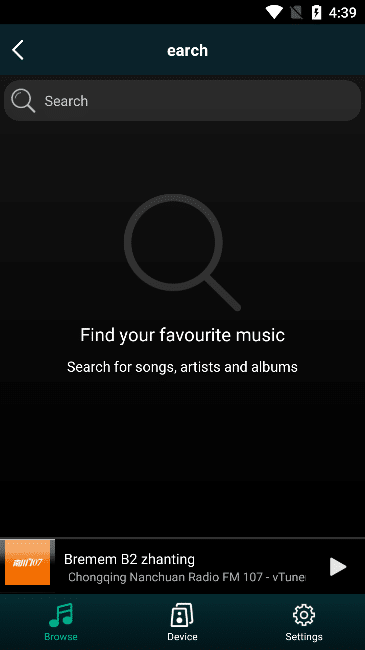
Enter the music content you want to search in the "Search box", and you can search for music matching the content in the "Phone" of "My Music". (Note: the phone is checked in step 3.5.3.2.1)

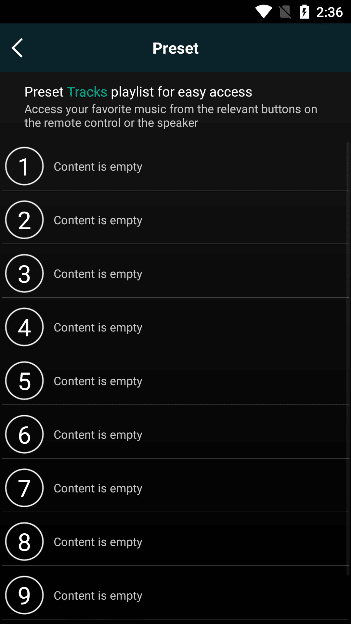
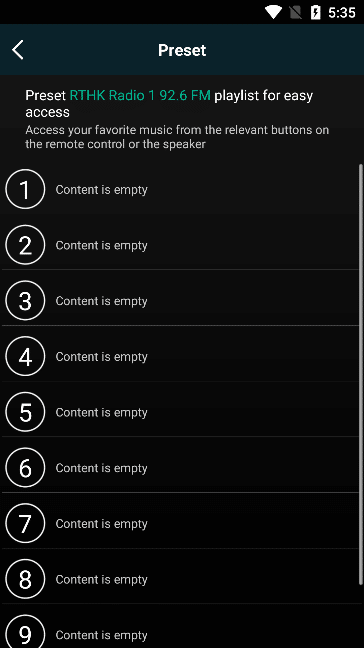
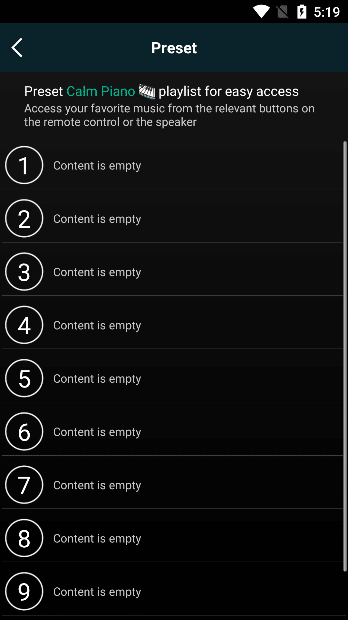
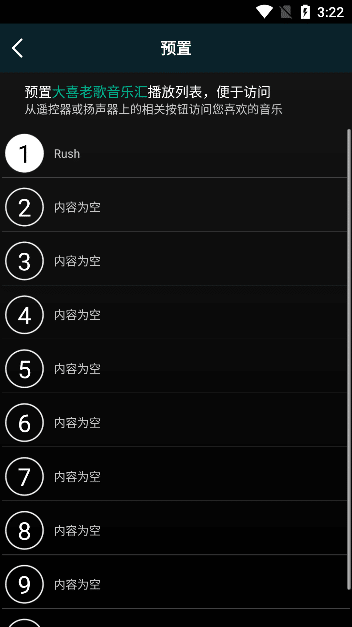
3.5.2. Preset
3.5.2.1. Default Content
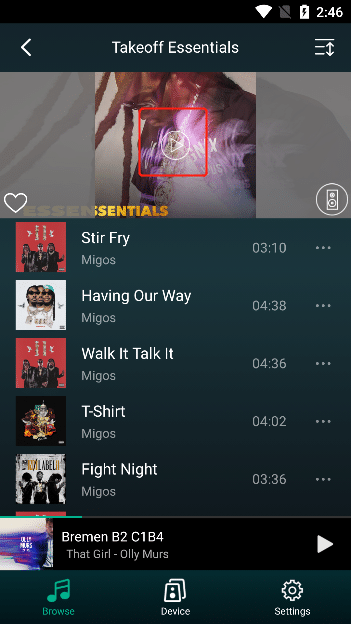
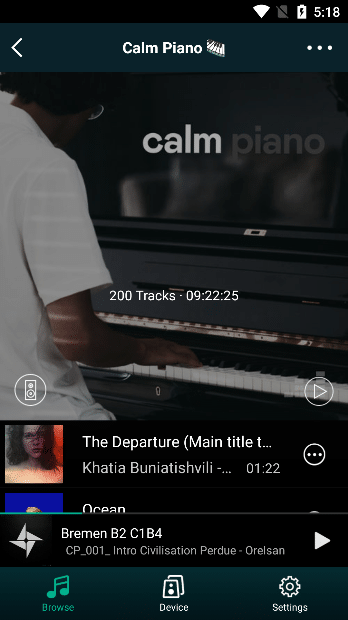
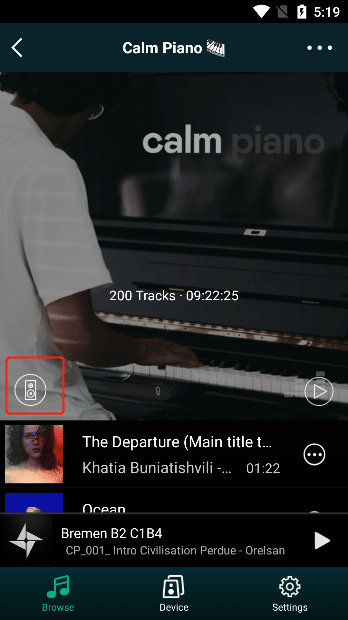
In the "Browse" interface, click "Preset Content" to view the added preset content, and click the preset content to play the corresponding preset playlist.

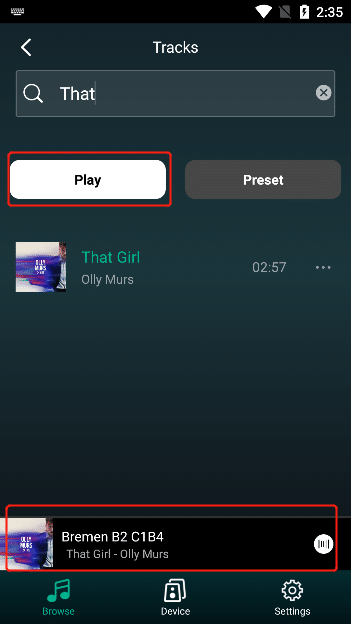
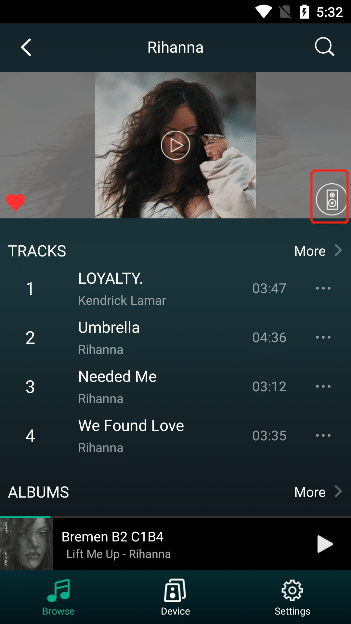
3.5.2.2. Add Preset Content
method one:
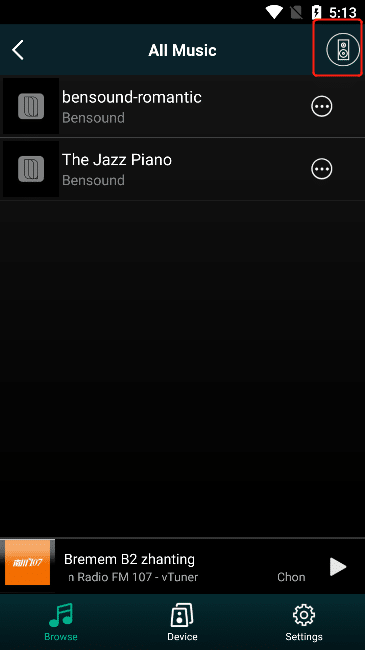
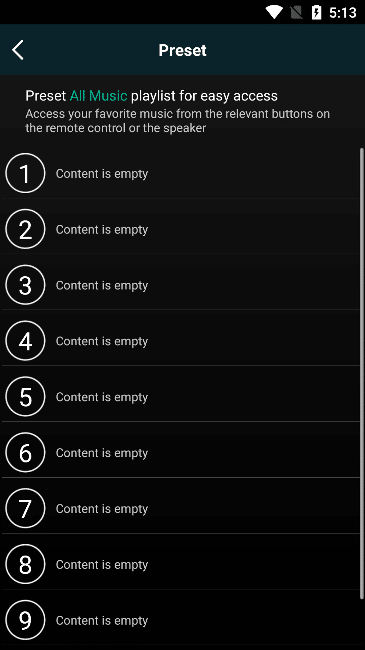
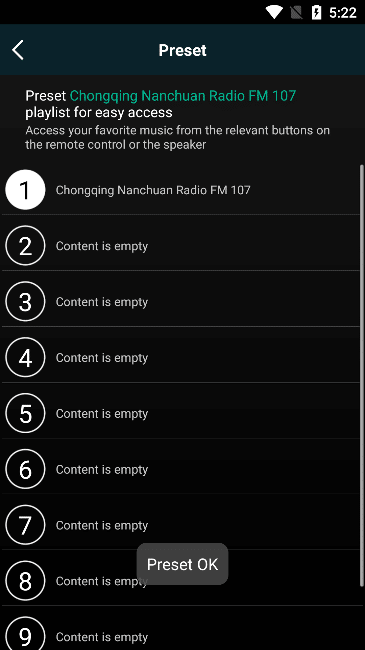
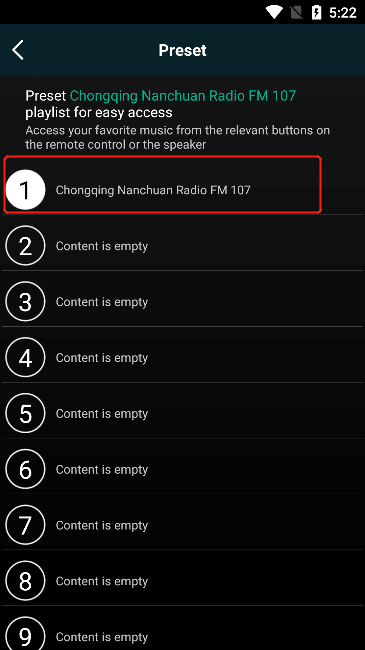
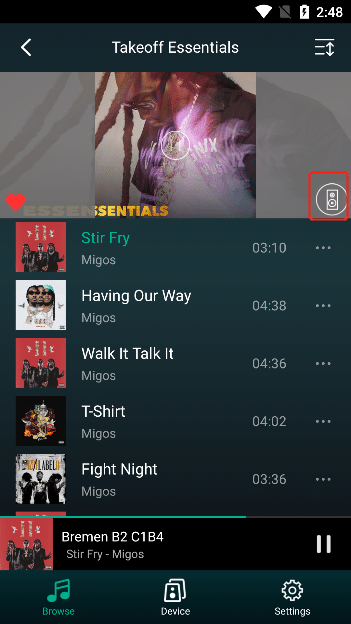
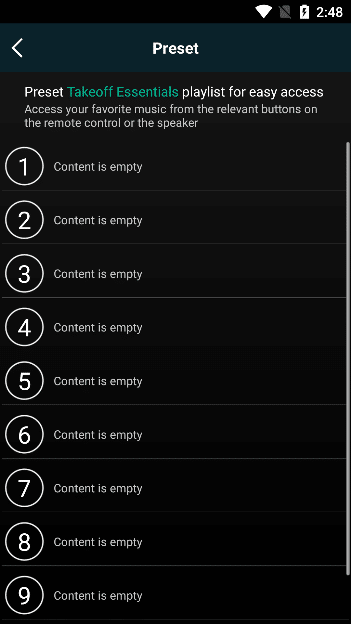
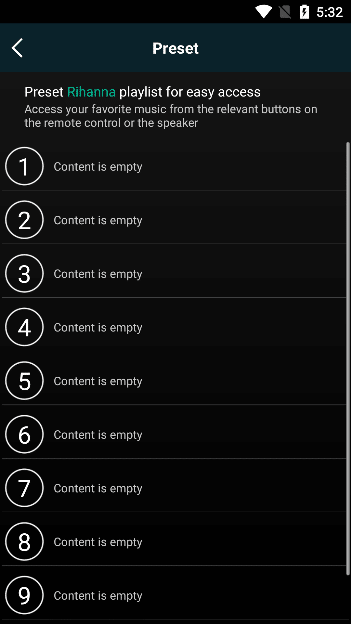
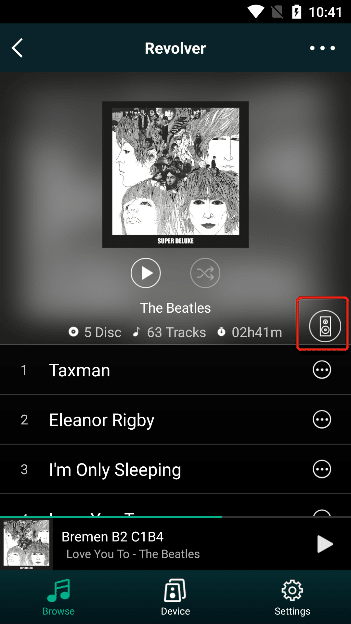
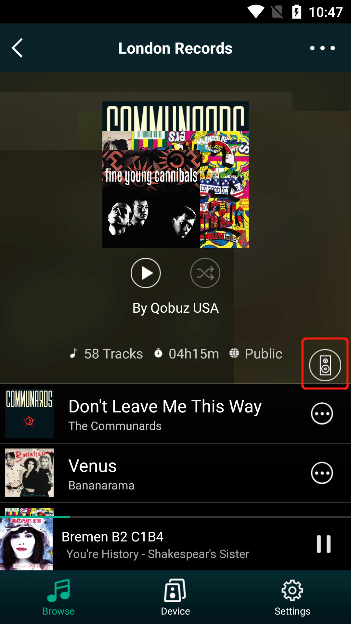
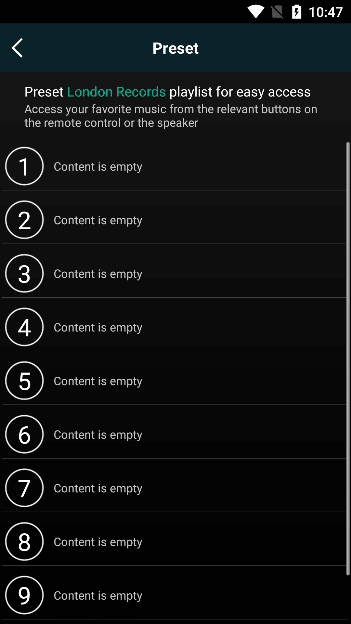
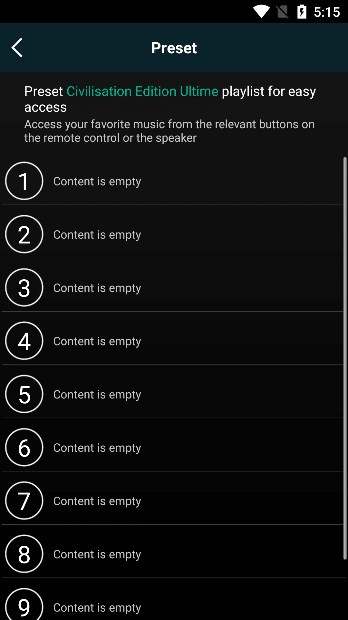
"Preset" button in the upper right corner of the playlist to pop up all preset content buttons. You can click the "Content is empty" button. If the background color of the button turns white after you click, it means that the preset has been successfully preset. set content.
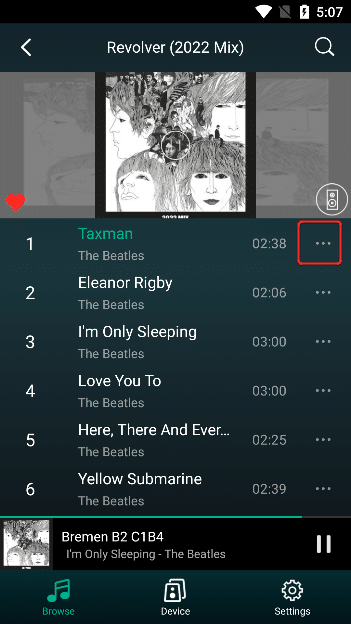
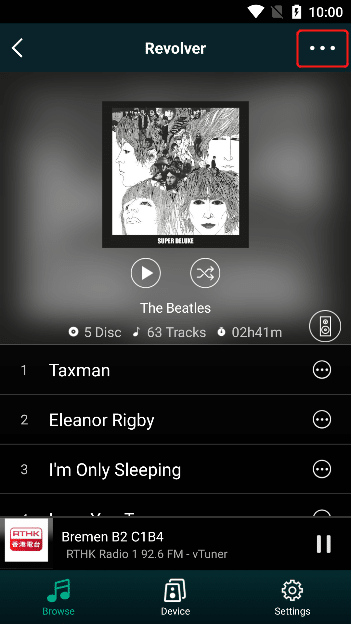
Method two:
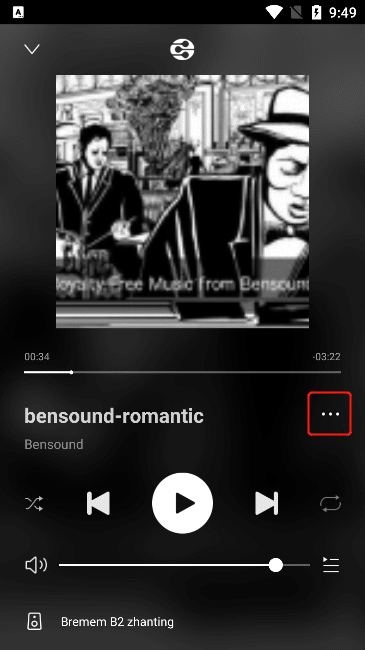
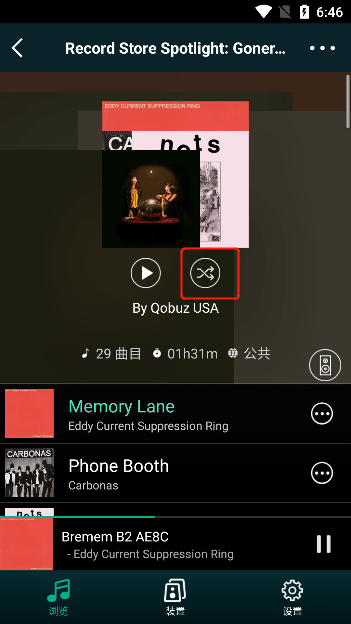
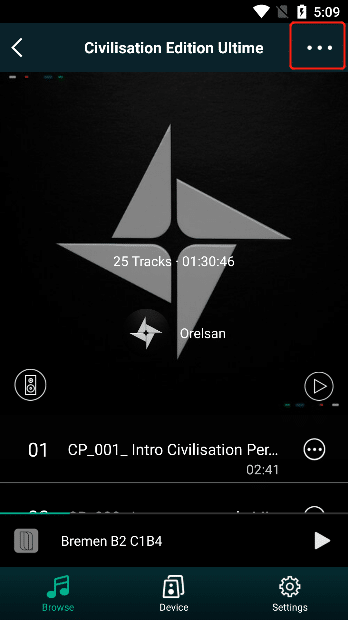
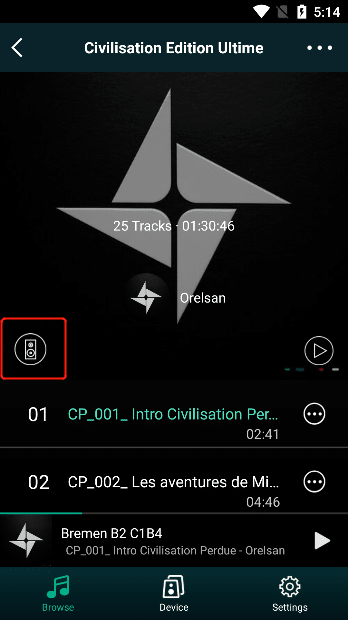
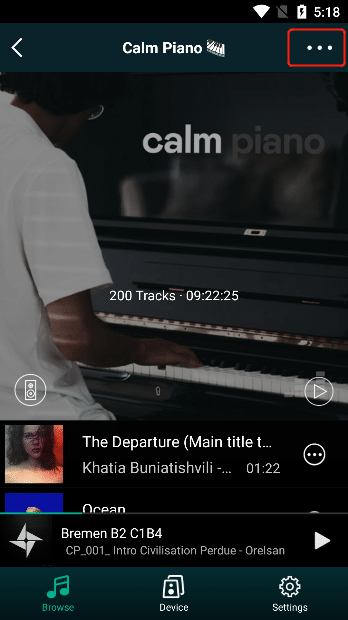
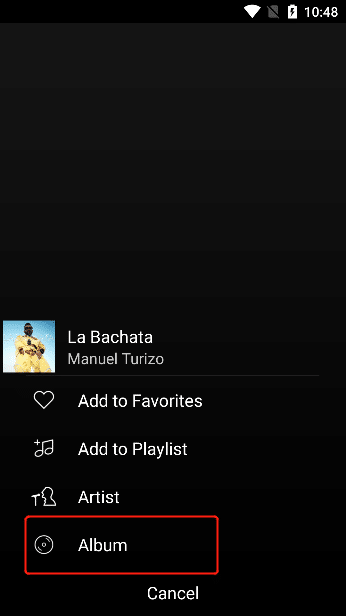
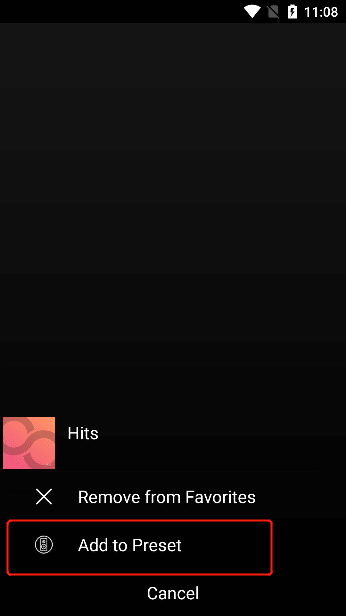
In the "Big Player" interface, click the "..." button, and click the "Preset" option in the operation list .
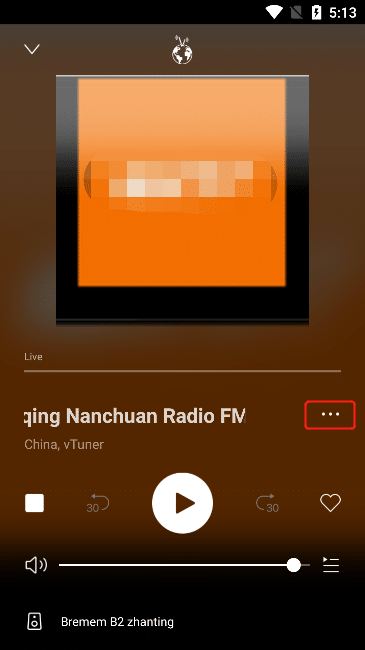
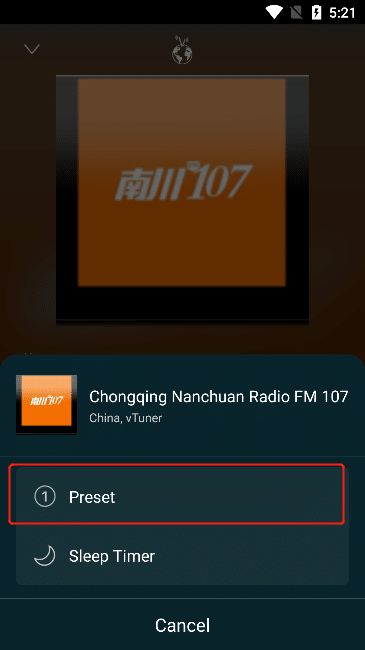
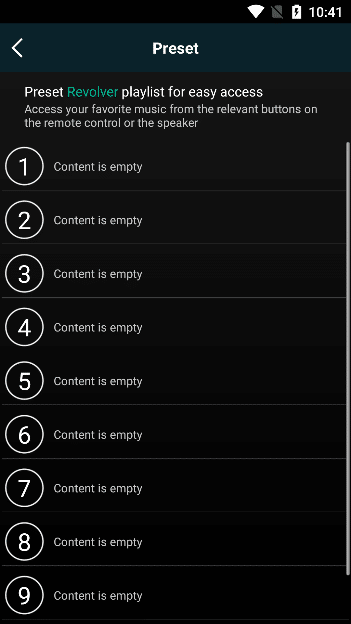
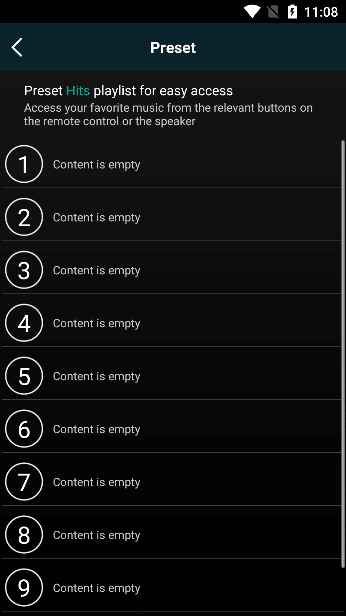
All preset content buttons will pop up. You can click the button with "empty content" . If the background color of the button turns white after you click, it means that the content has been preset successfully.
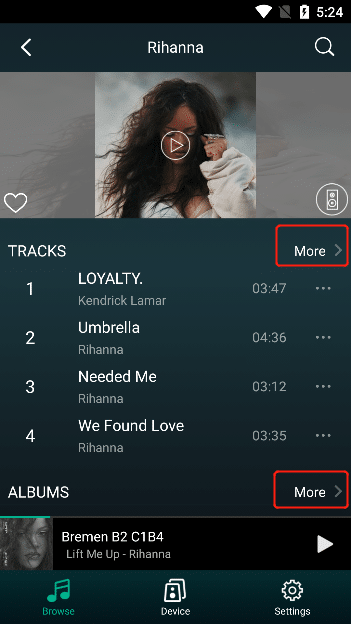
3.5.2.3. Replace Preset Content
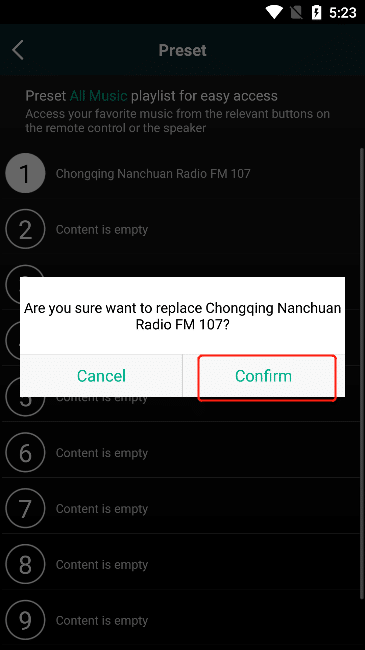
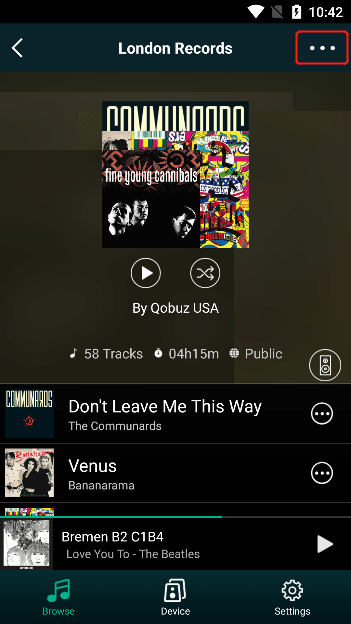
Click the "Preset" button or the "Preset" option (refer to "3.5.2.2 Adding Preset Content" to find the "Preset" option), and all preset content buttons will pop up, click the preset content you want to replace button, "Confirm whether to replace" pops up , click "Confirm" to successfully replace the preset content.
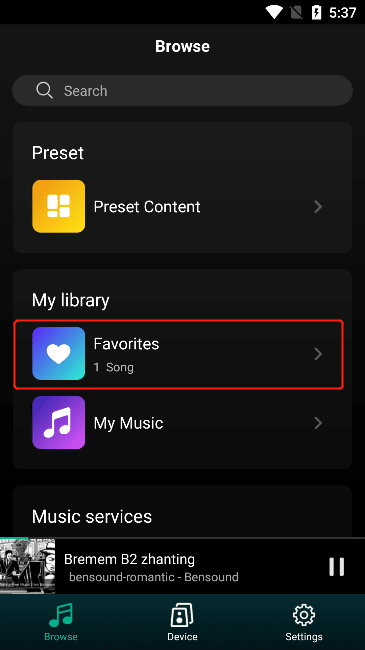
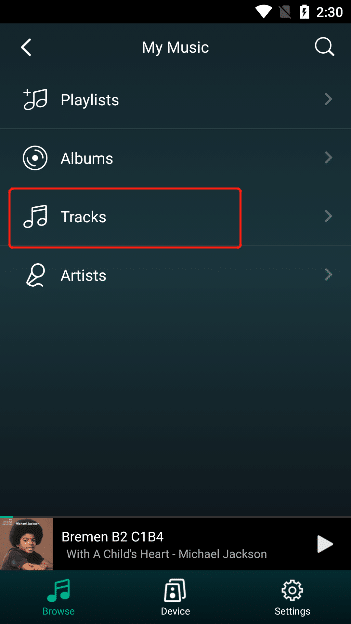
3.5.3. My Library
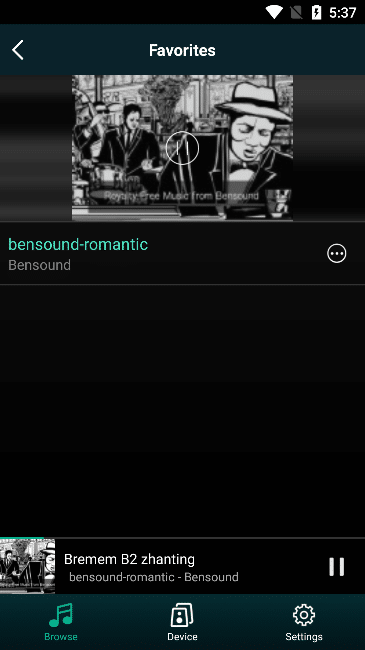
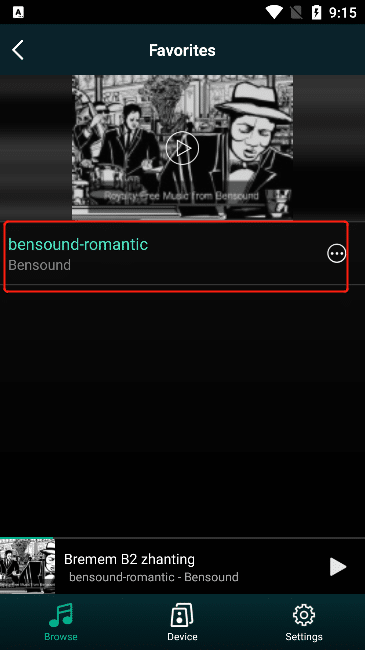
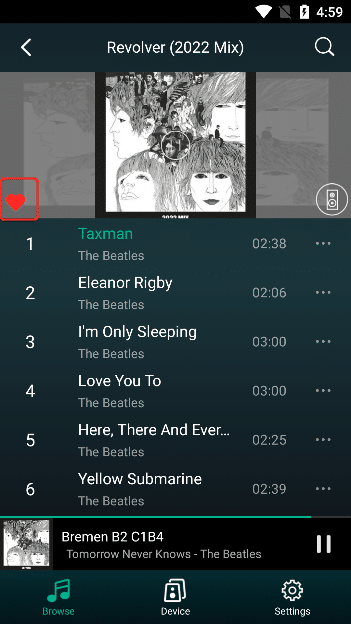
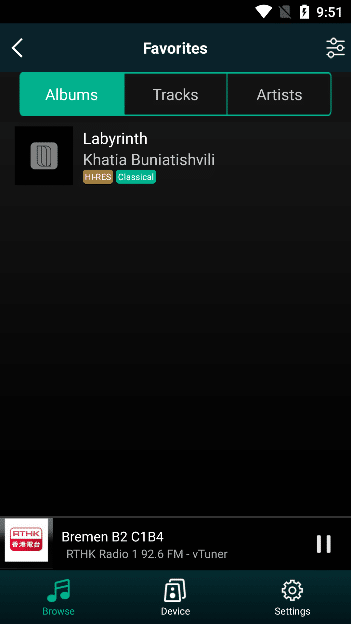
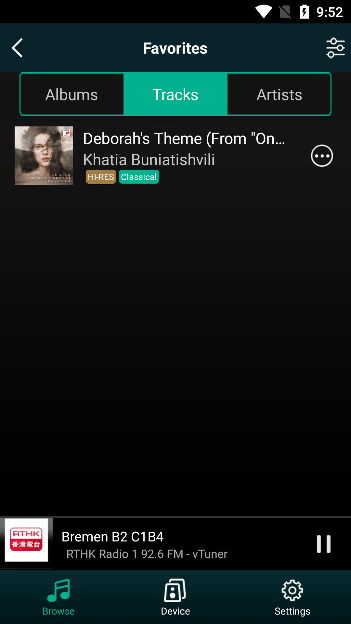
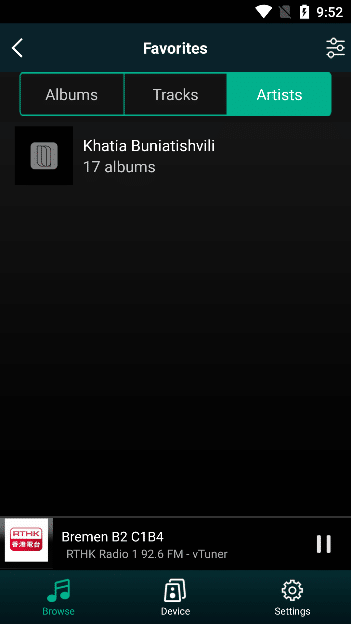
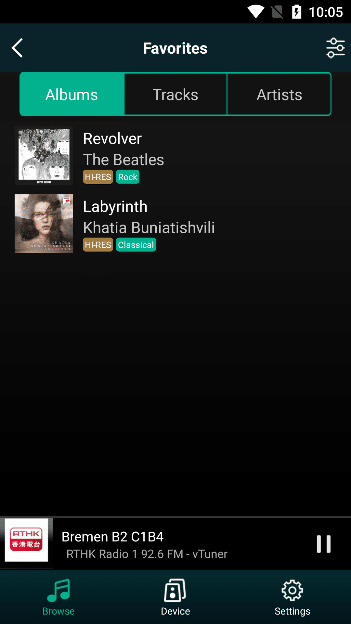
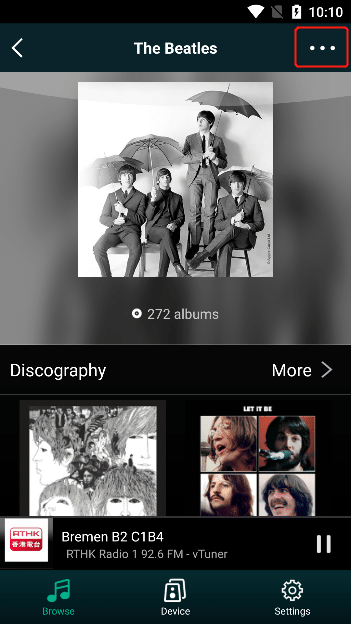
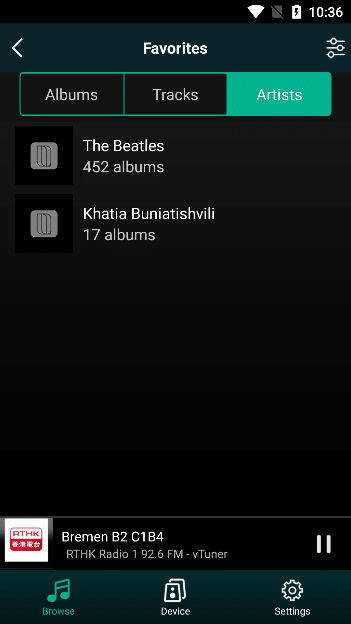
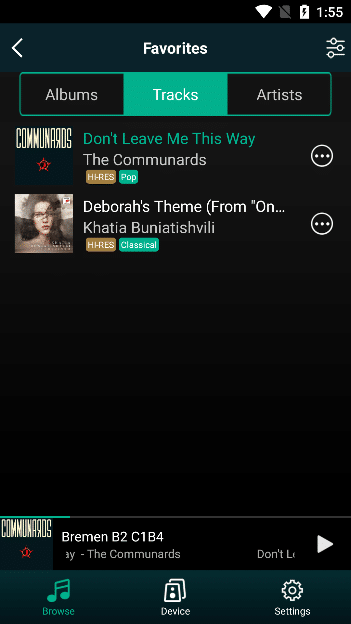
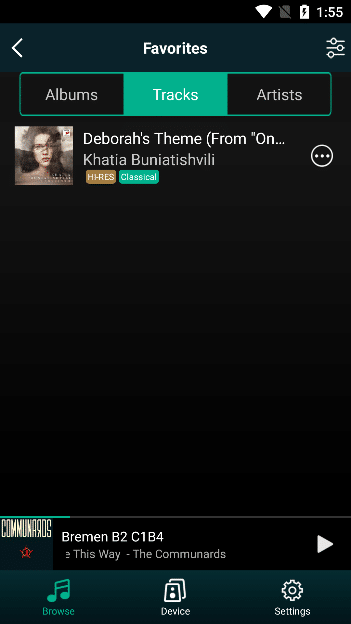
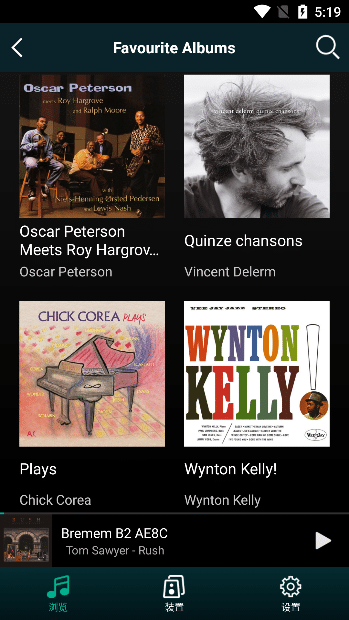
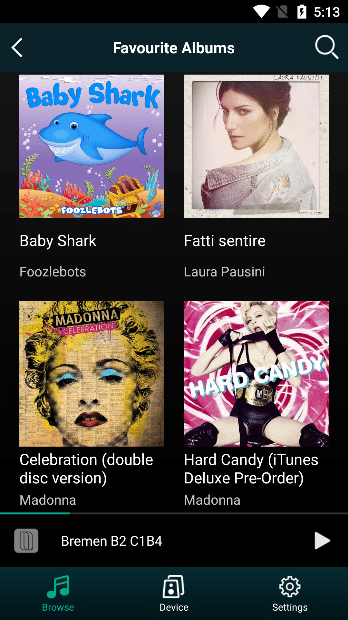
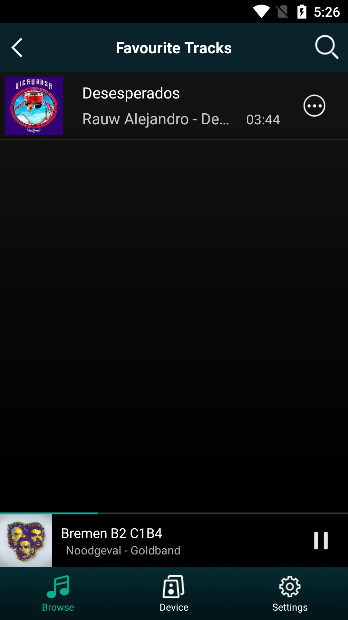
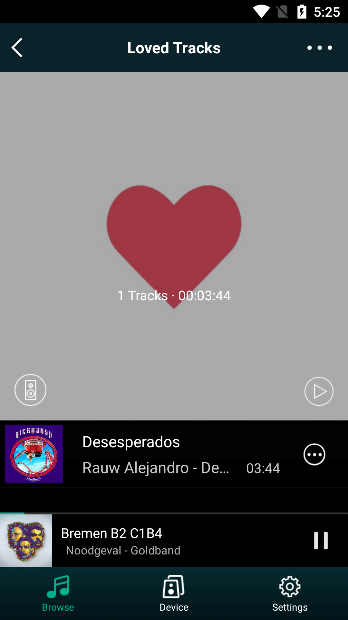
3.5.3.1. Favorites
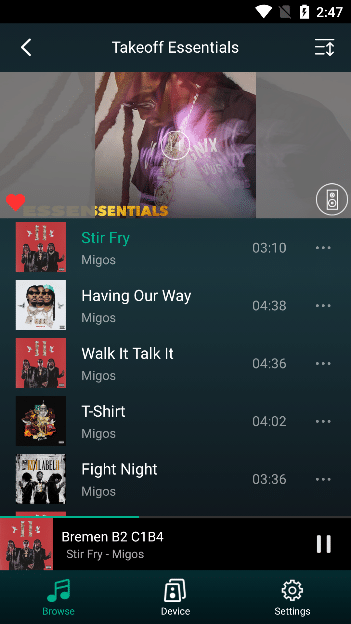
Click“Favorites”to see all the songs you've added to your favorites.
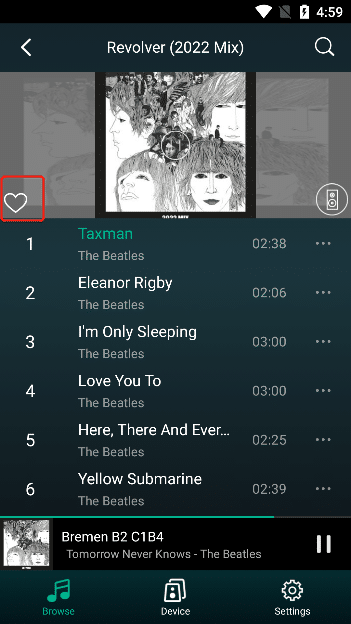
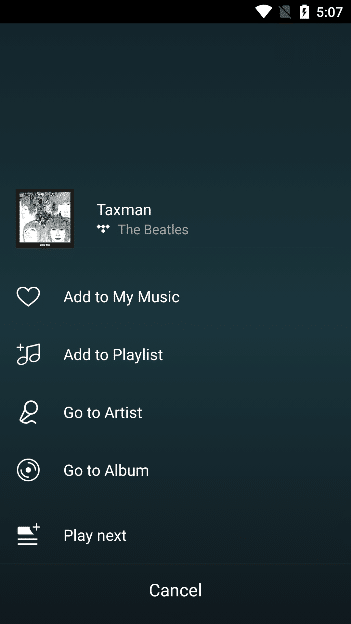
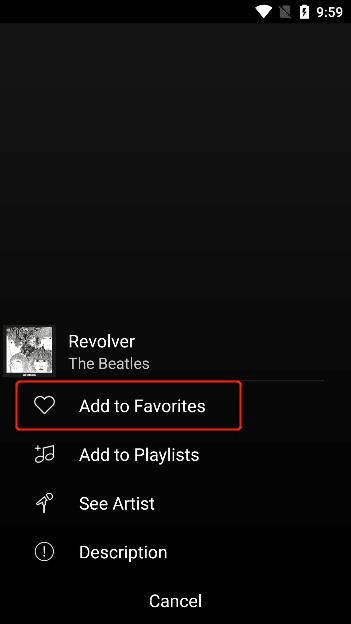
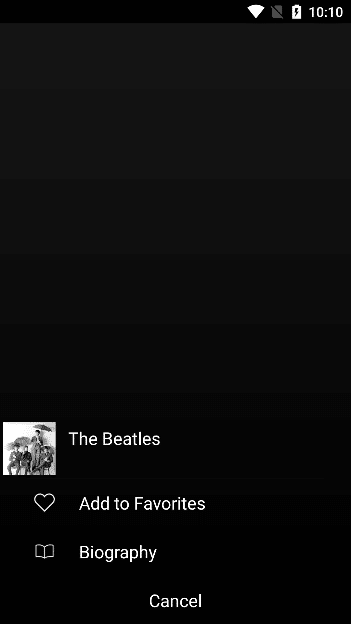
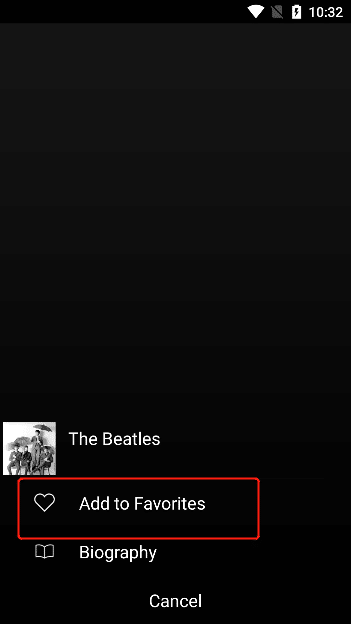
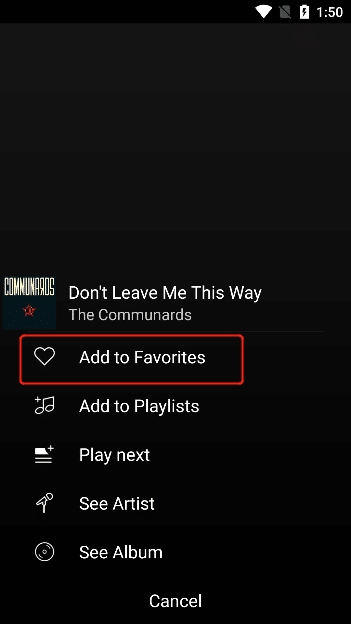
3.5.3.1.1. Add to Favorites
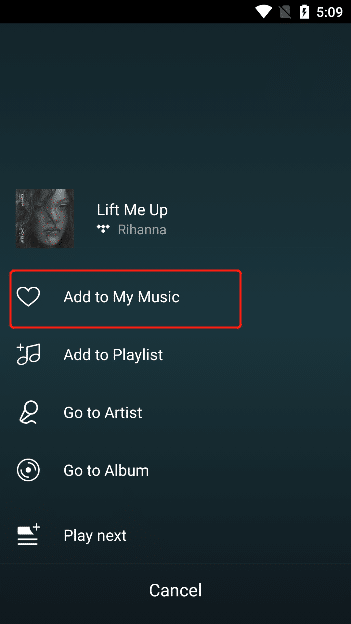
method one:
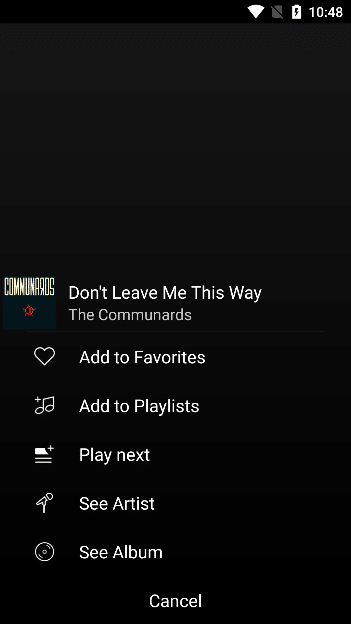
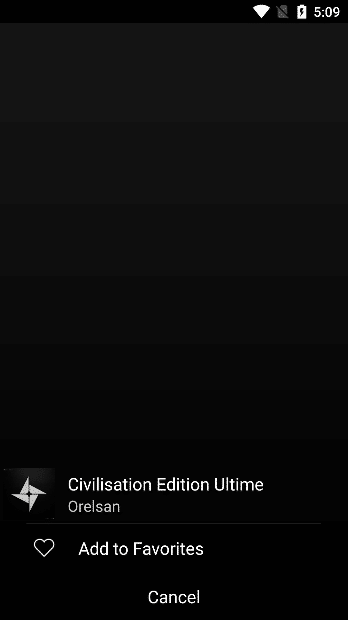
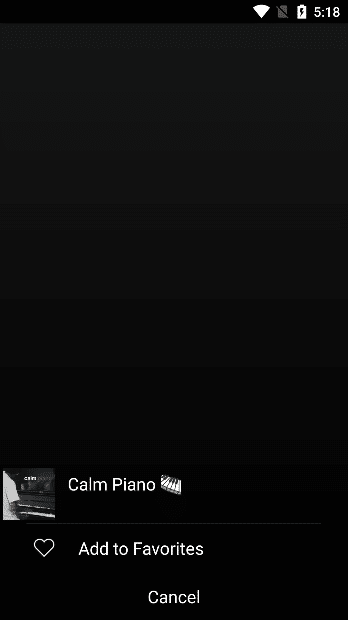
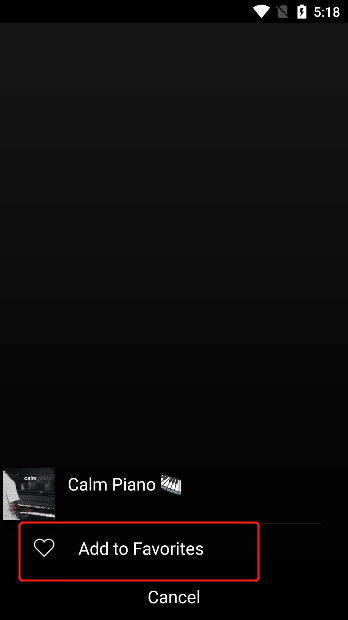
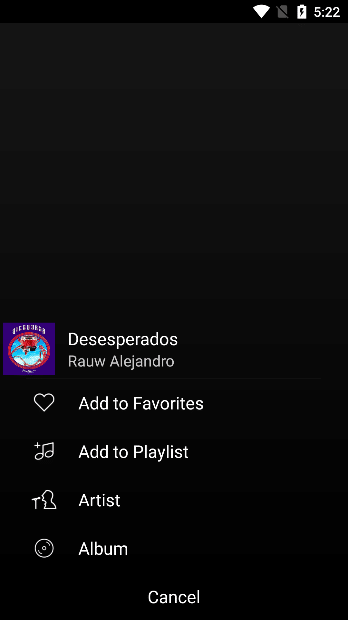
On the "Big Player" interface, click the "..." button, and click the "Add to favorites" option in the action list .
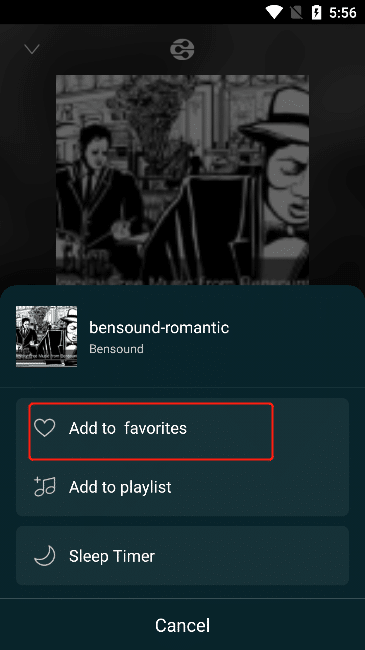
"The Songs added to favorites successfully" is displayed , and you can open the "Favorites" interface to view the added songs.

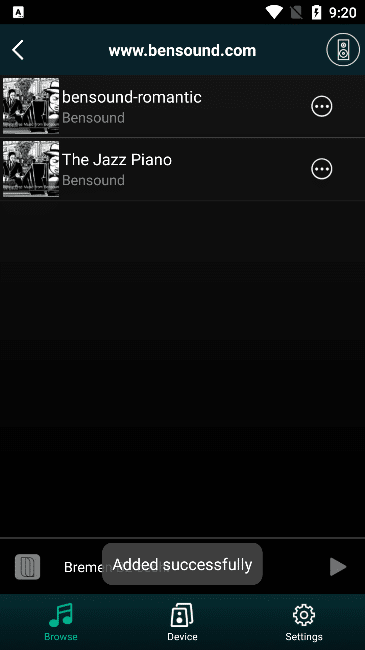
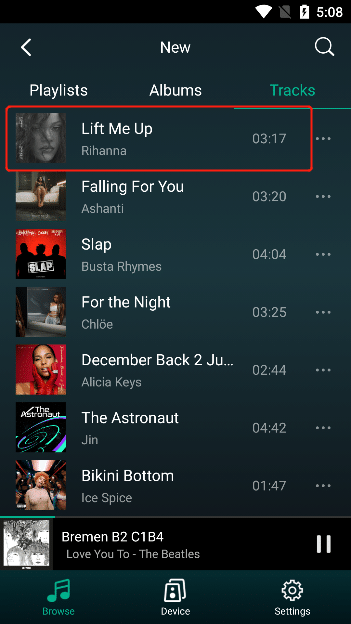
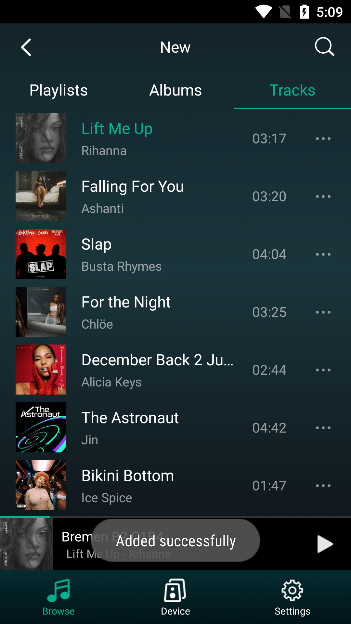
Method two:
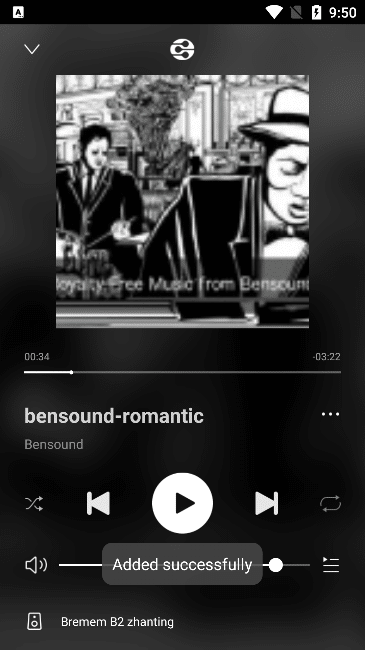
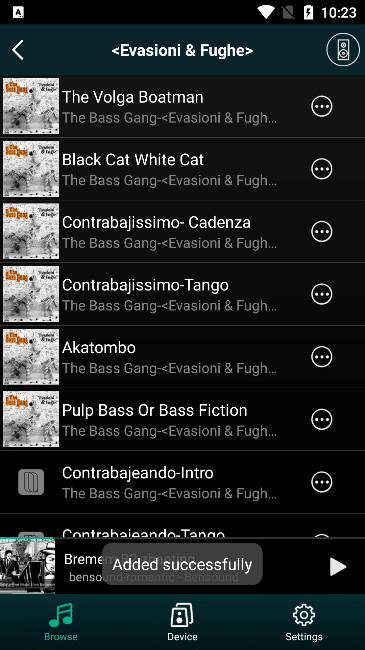
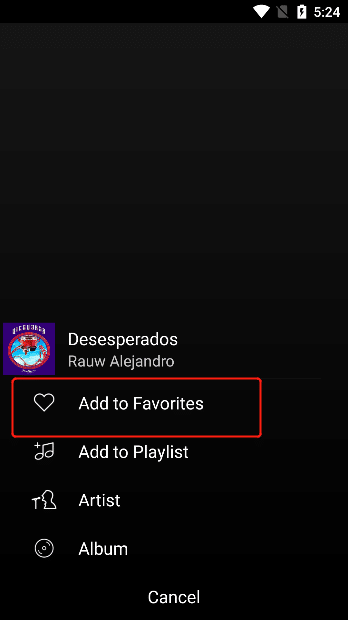
In the song browsing interface, click the "..." button, and click the "Add to Favorites" option in the action list .
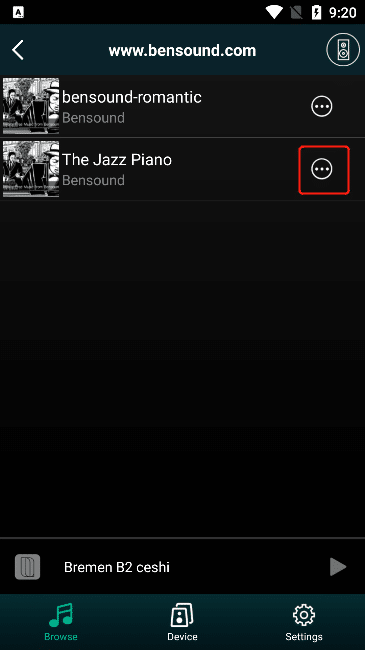
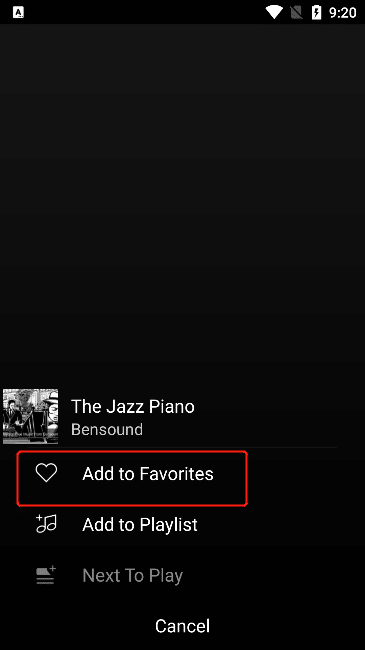
"Added Successfully" is displayed , and you can open the "Favorites" interface to view the added songs.
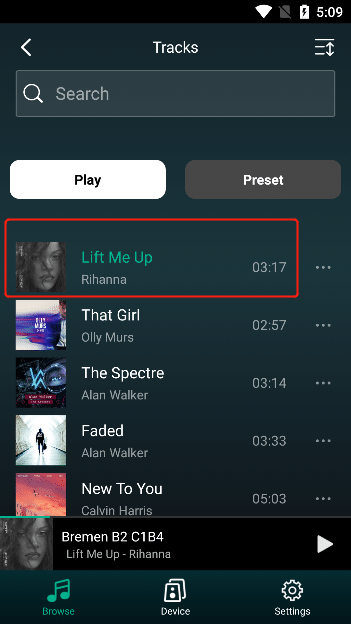
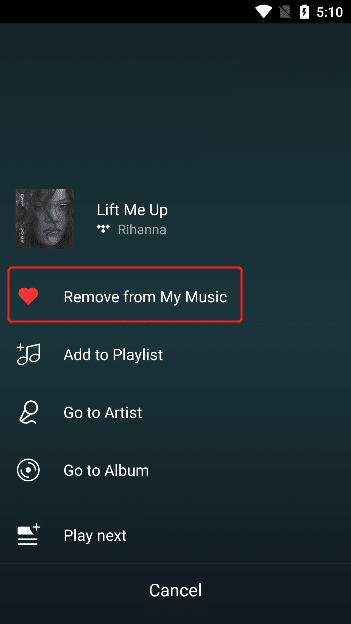
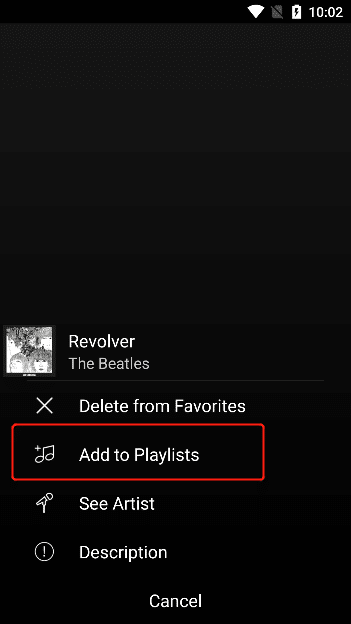
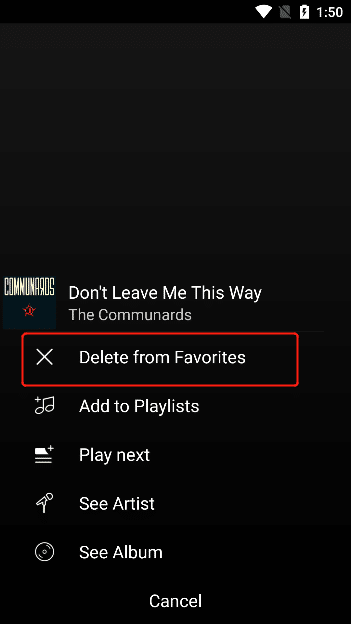
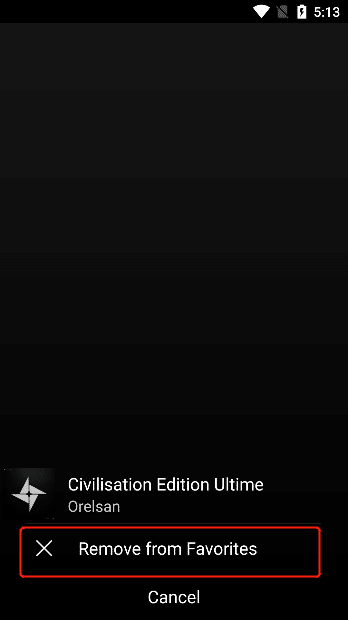
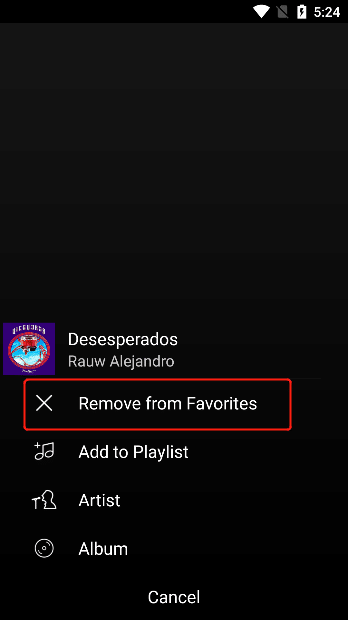
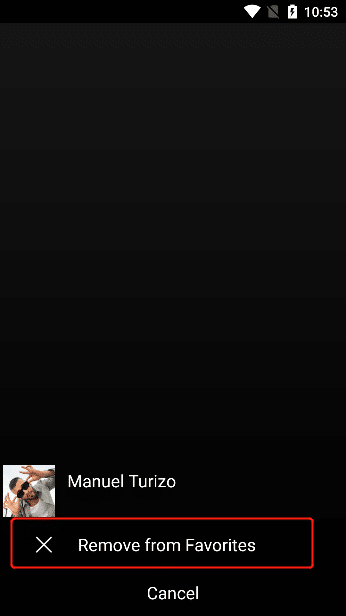
3.5.3.1.2. Remove From Favorites
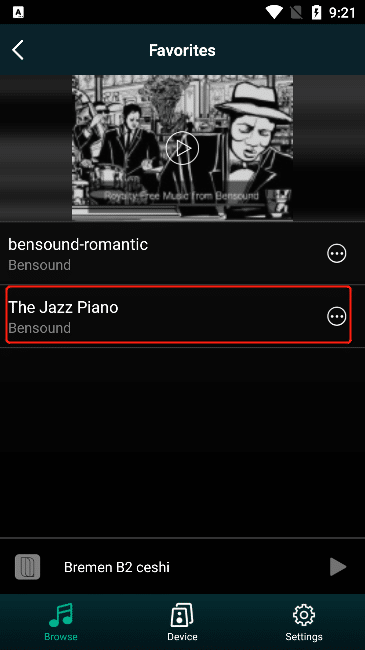
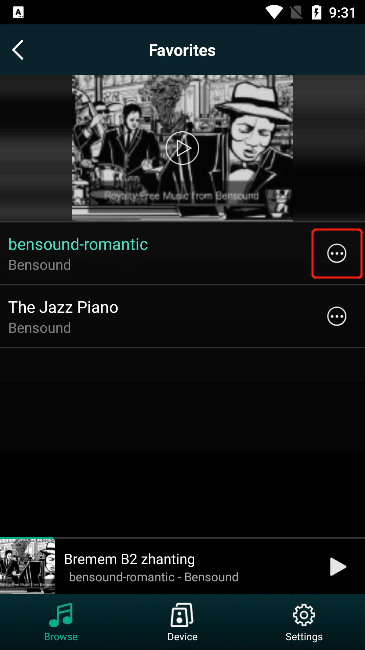
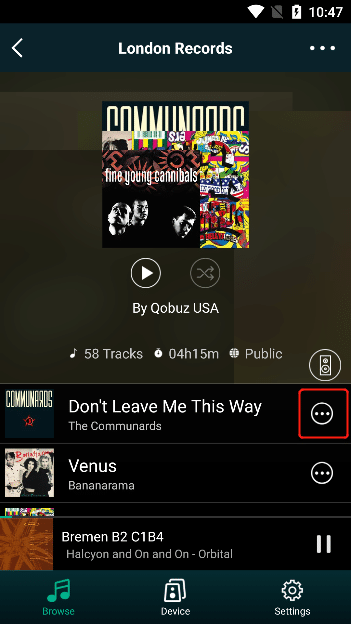
Click the "..." button on the right side of the song, select "Remove" in the action list , and the corresponding song will be removed from the favorites.


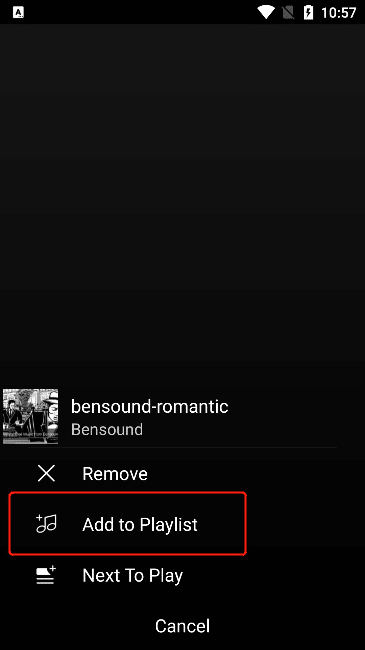
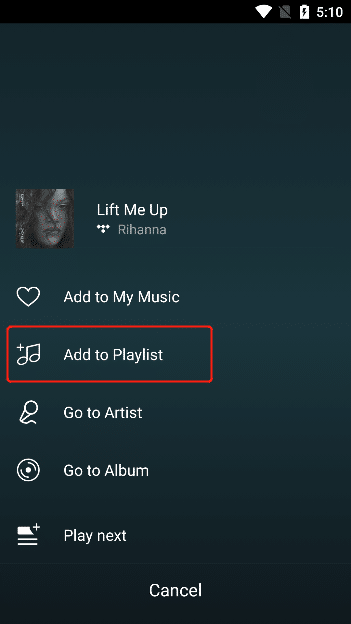
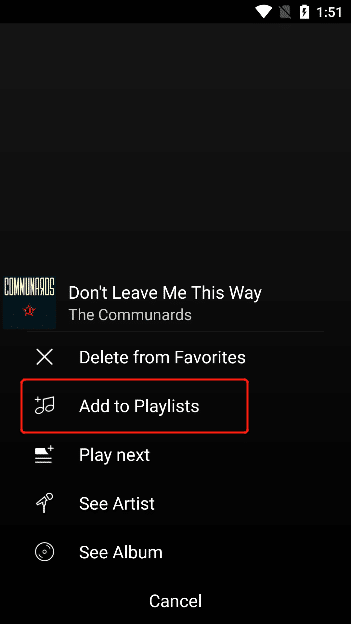
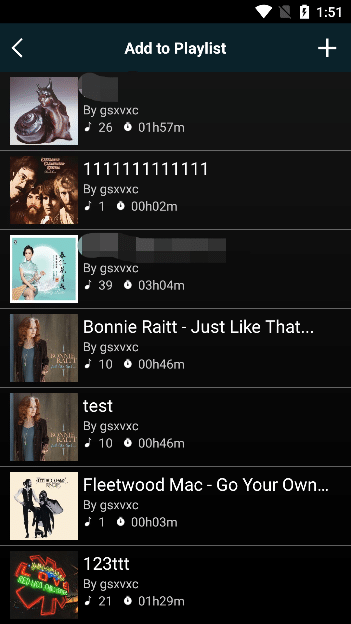
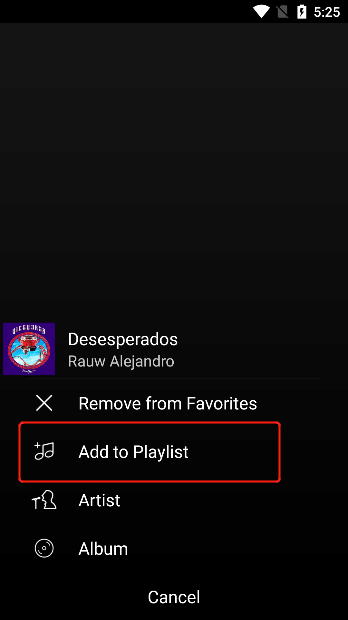
3.5.3.1.3. Add to Playlist
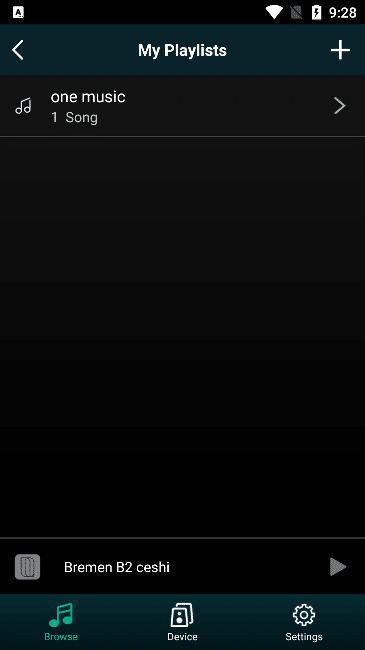
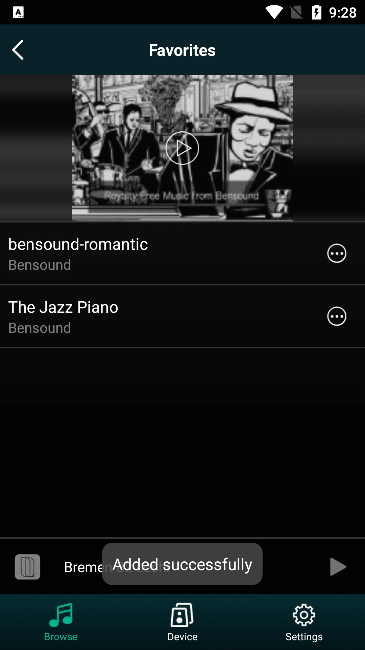
"..." button to the right of the song and select "Add to Playlist" in the action list
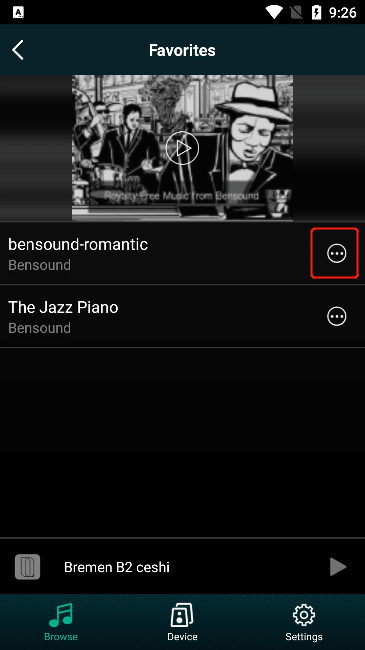

The "My Playlist" interface pops up , click the playlist you need to add the song to, and it will display "Added Successfully" in the playlist (Note: the playlist can be viewed in step 3.5.3.2.3)
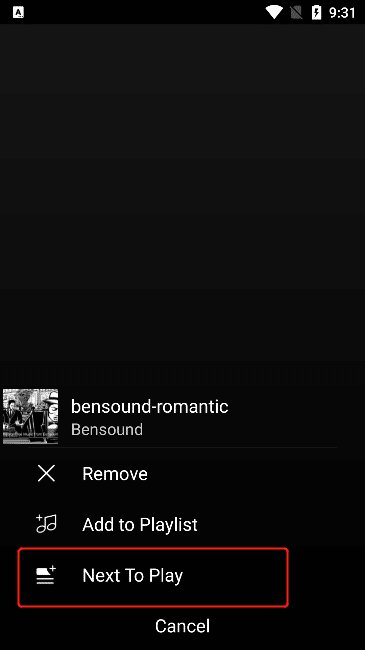
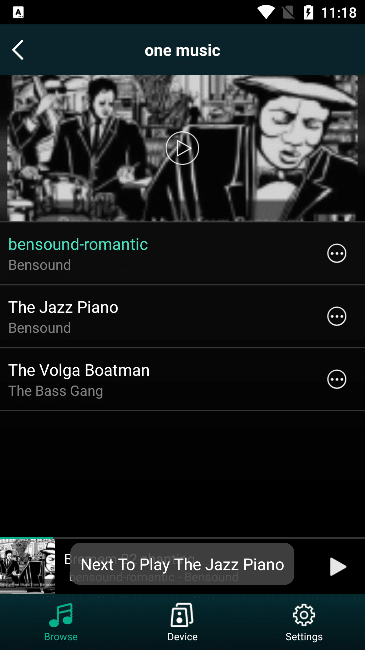
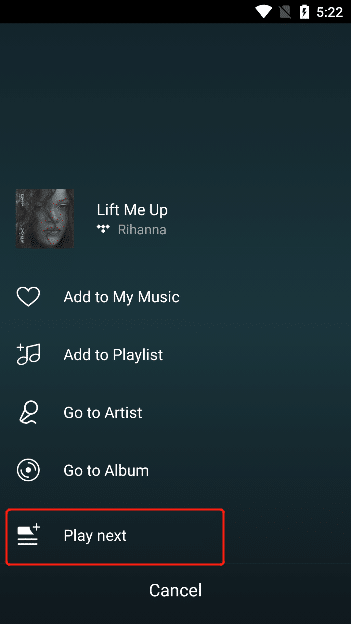
3.5.3.1.4. Next to Play
Click the "..." button on the right side of the song, and select "Next to Play" in the operation list , then the corresponding song will be added to the playlist, and the song will be played in the next song. (Note: the playlist is viewed in step 3.6.2.9).
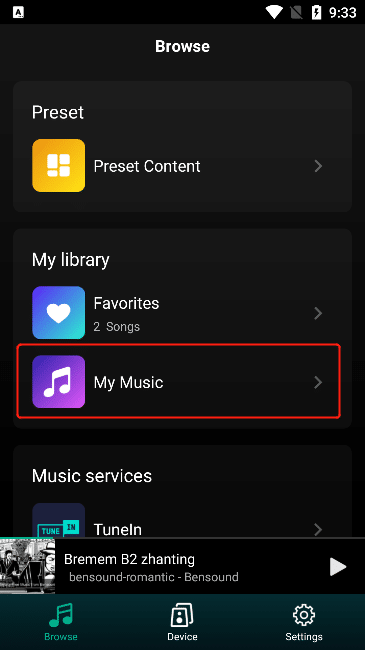
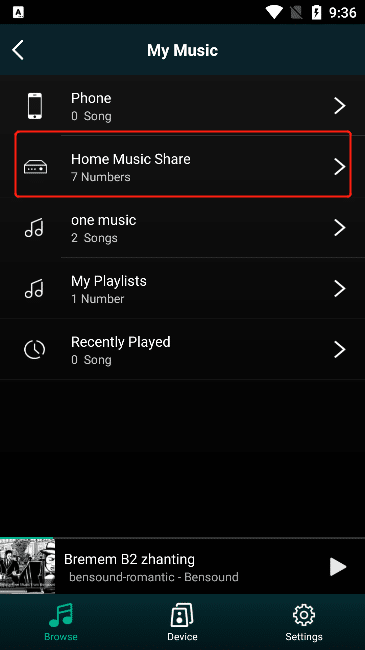
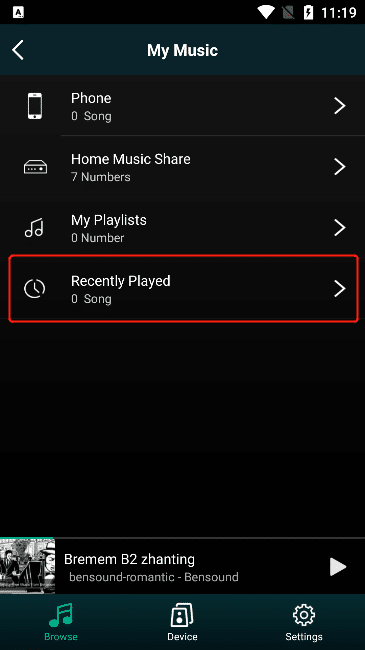
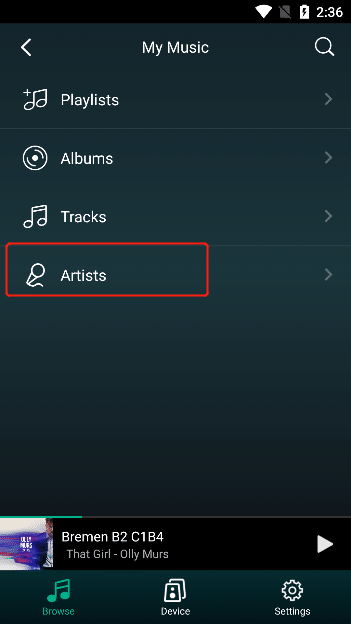
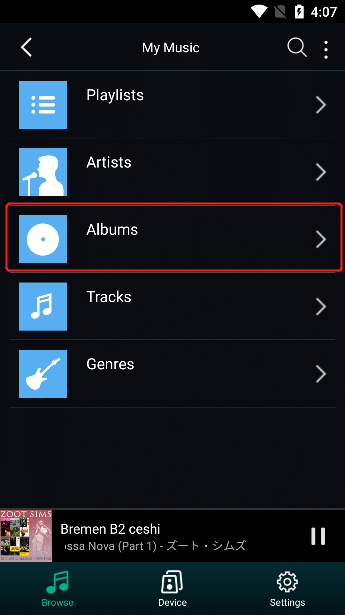
3.5.3.2. My Music
Click“My Music”to enter my music list.

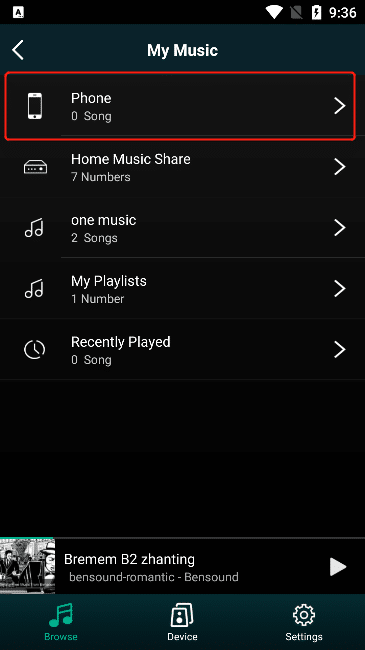
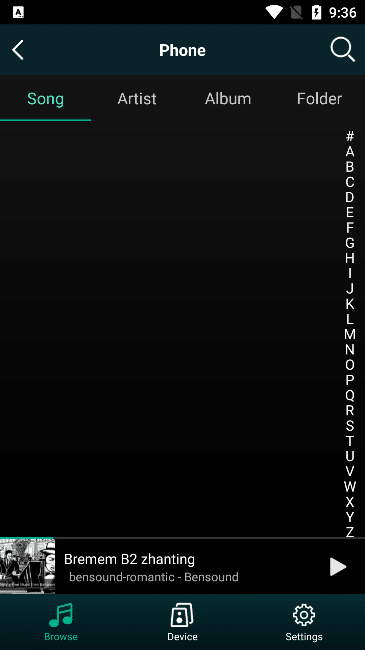
3.5.3.2.1. Phone
In the "My Music" interface, select "Phone" to view all the music in the music APP that comes with your mobile phone (the built-in music APP refers to the music player that comes with the mobile phone, not by downloading it from the application market). installed), if it is empty, it means that there are no songs in the local music.
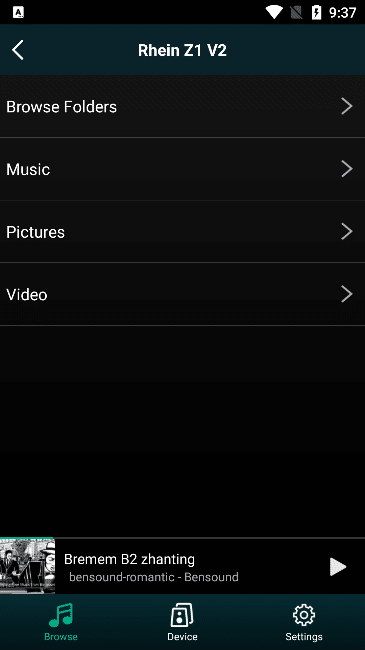
3.5.3.2.2. Home Music Sharing
In the "My Music" interface, select "Home Music Sharing" , you can view the music shared by the computer, NAS (the NAS needs to support DLNA) and "Z1" shared by you (Note: these three kinds of shares are currently supported. Way).
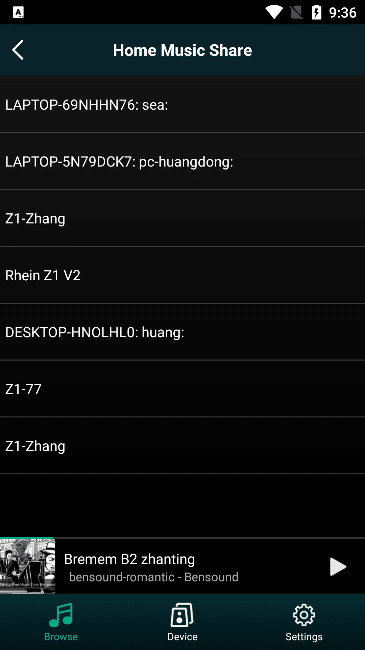
Find the name you shared, click to enter the music or playlist you shared, and then find the song to play according to the location of your saved music.
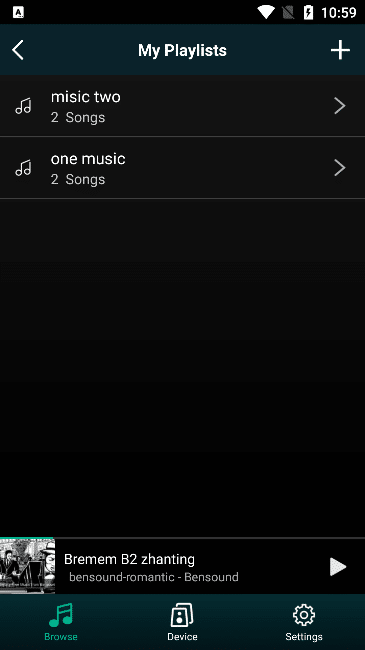
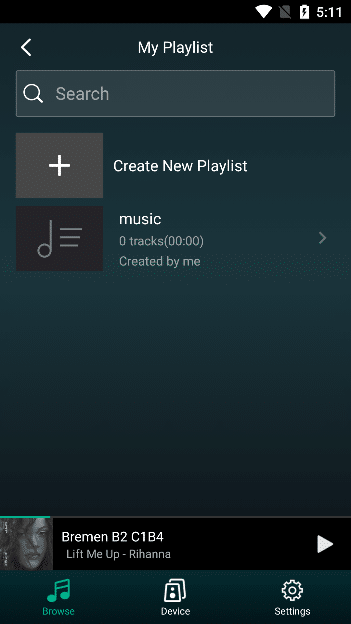
3.5.3.2.3. My Playlists
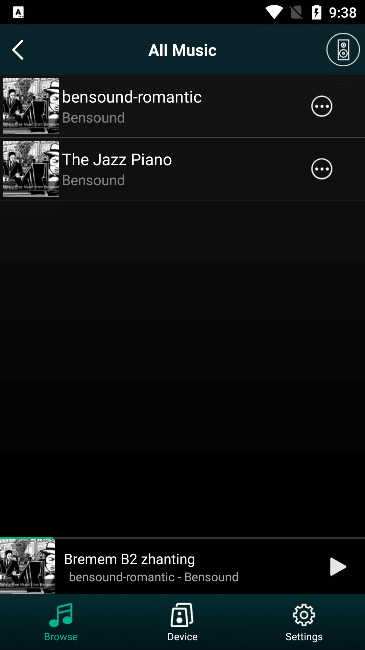
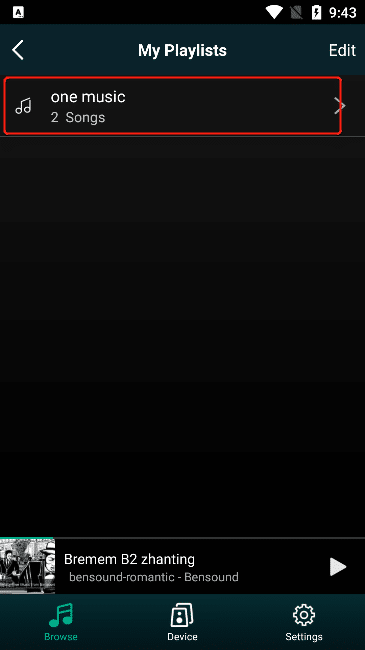
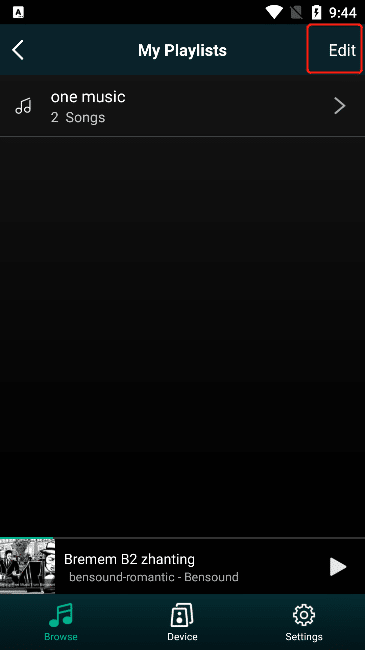
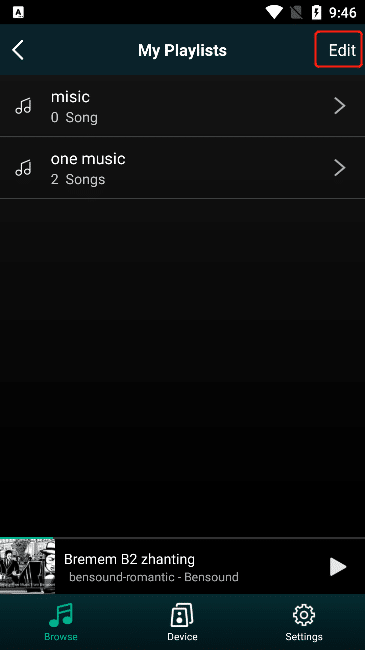
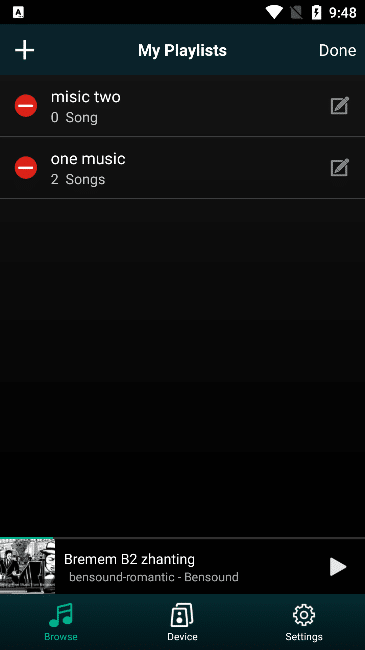
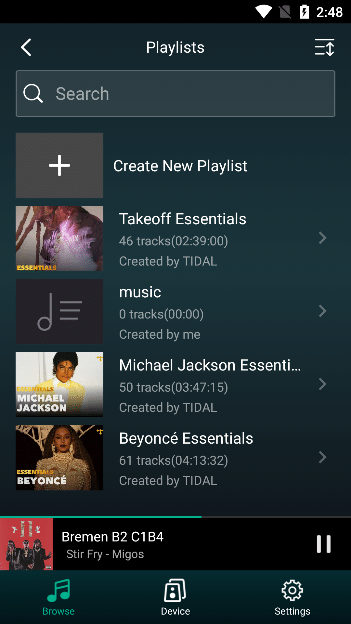
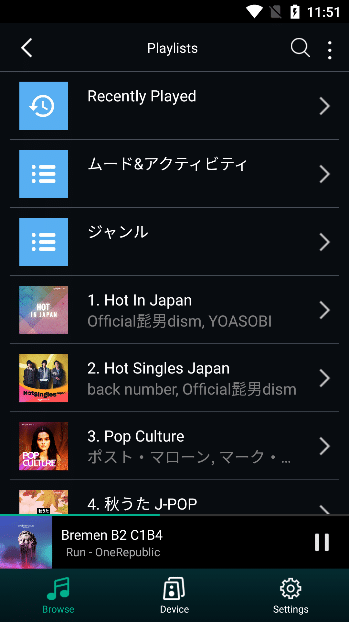
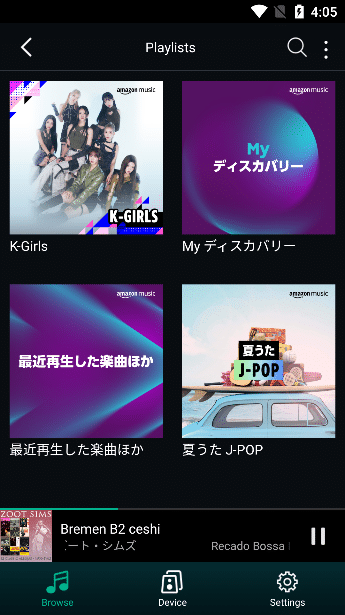
Click "My Playlists" to enter the "My Playlists" interface, where you can see all the playlists you have added.

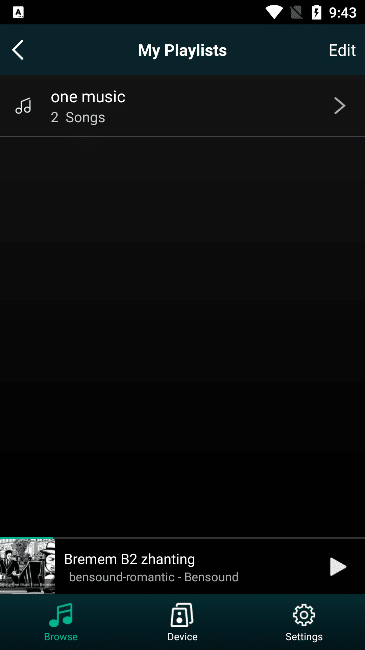
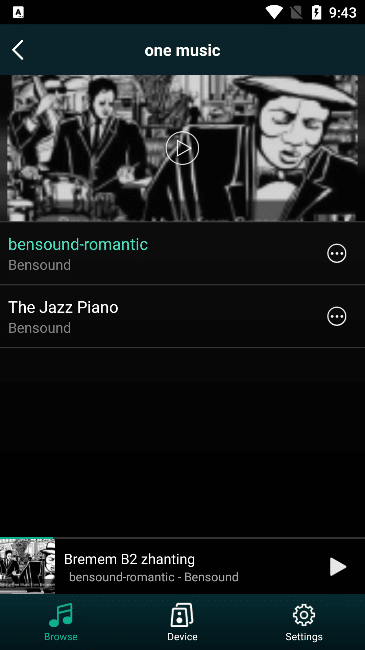
Click the "Playlist" you added to enter the playlist and see all the songs you added.
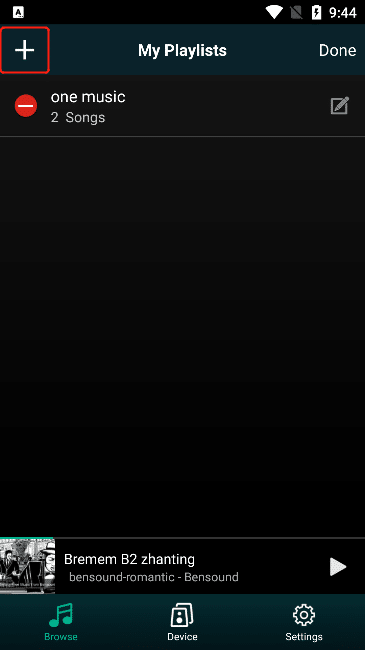
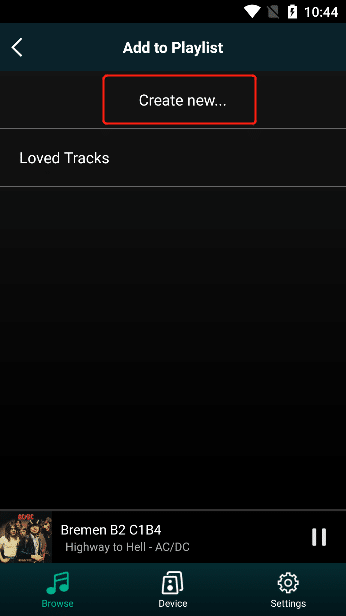
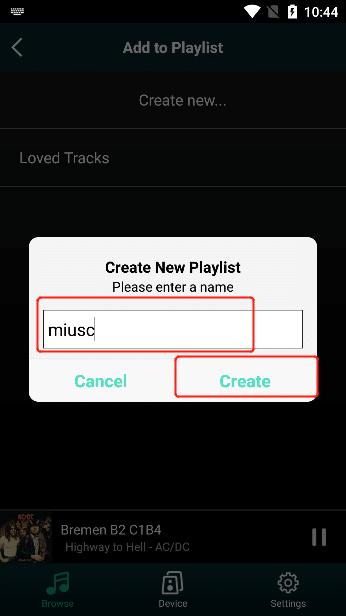
3.5.3.2.3.1. Add Playlist
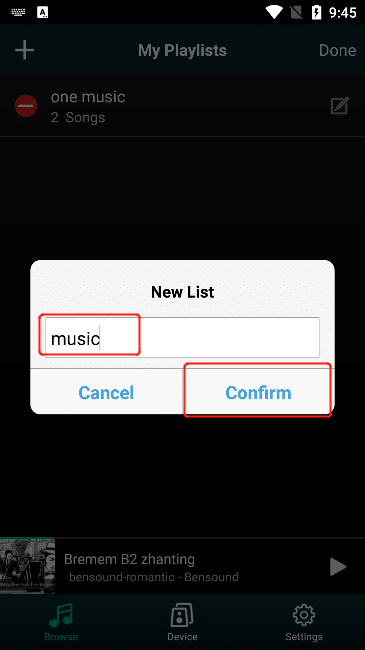
In the "My Playlist" interface, click "Edit" , and then click the "+" button
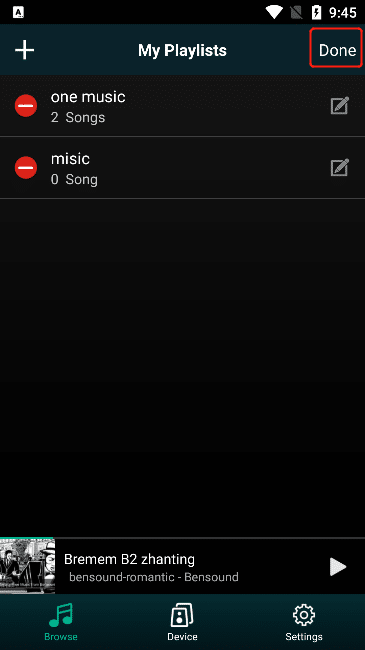
"Playlist Name" you need to create in the pop-up window , click the "Confirm" button, and then click "Finish" to successfully add the playlist
3.5.3.2.3.2. Delete Playlist
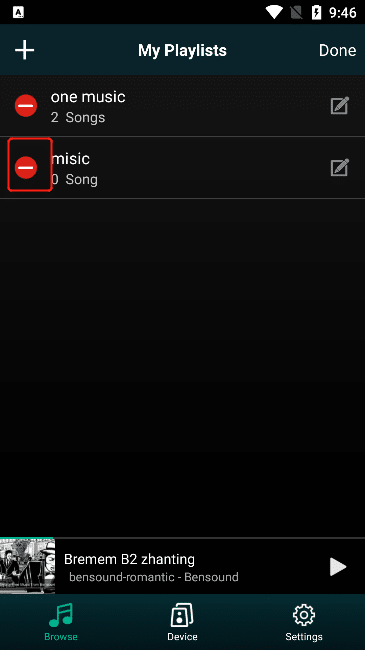
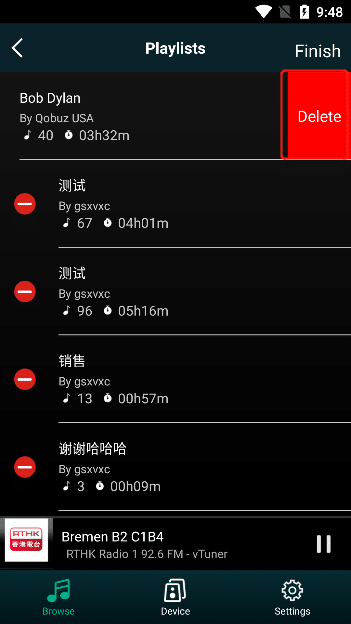
"Edit" on the "My Playlist" interface , and then click the "-" button on the left side of the playlist you want to delete to successfully delete the corresponding playlist.

3.5.3.2.3.3. Edit Playlist Name
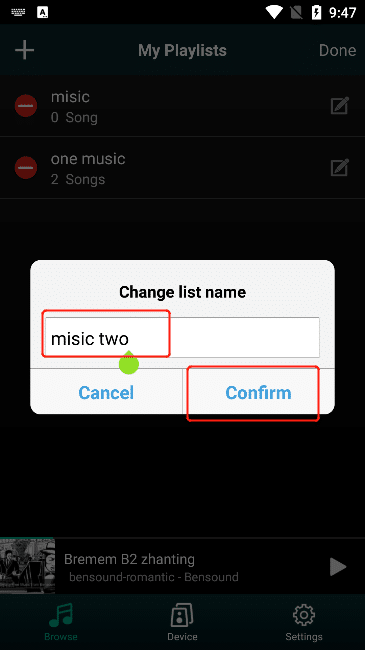
"Edit" on the "My Playlists" interface , and then click the "Edit" button to the right of the playlist you want to delete
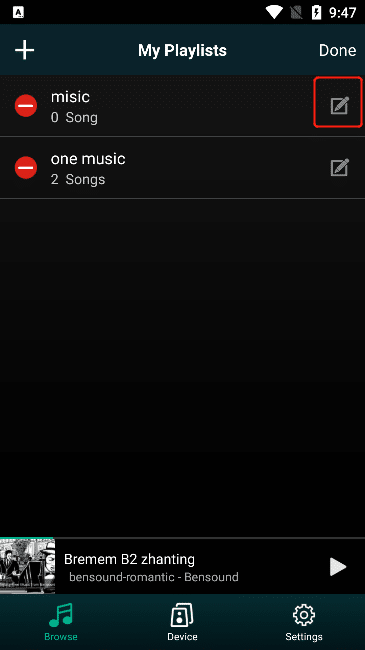
Enter your modified "New Playlist Name" in the pop-up window , click the "Confirm" button, and then click "Finish" ,You can successfully modify the playlist name.
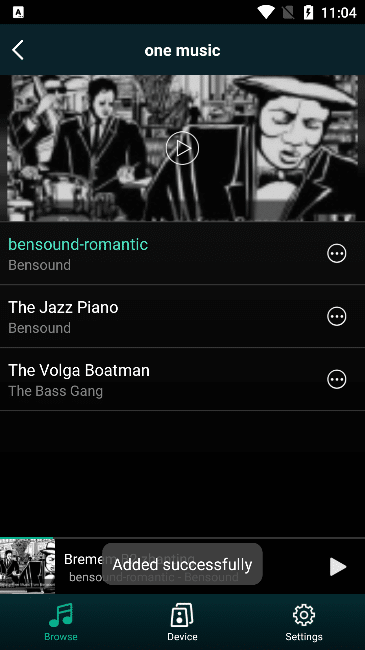
3.5.3.2.3.4. Add Songs to the Playlist
method one:
On the "Big Player" interface, click the "..." button on the right side of the song , and select "Add to Playlist" in the action list.
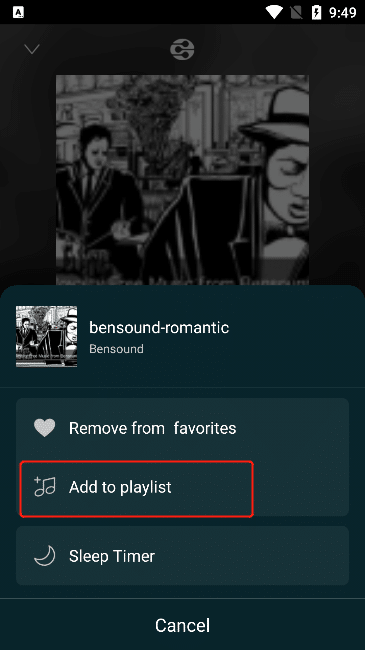
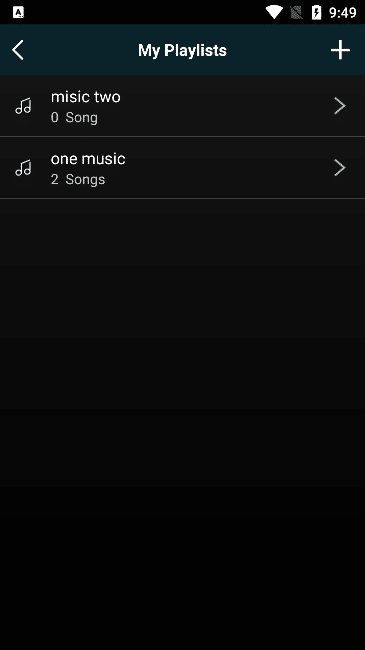
The "My Playlist" interface pops up , click the playlist you need to add the song to, and it will display "Added successfully" in the playlist (Note: the playlist can be viewed in step 3.5.3.2.3)
Method two:
While browsing songs, click the "..." button to the right of the song and select "Add to Playlist" in the action list.
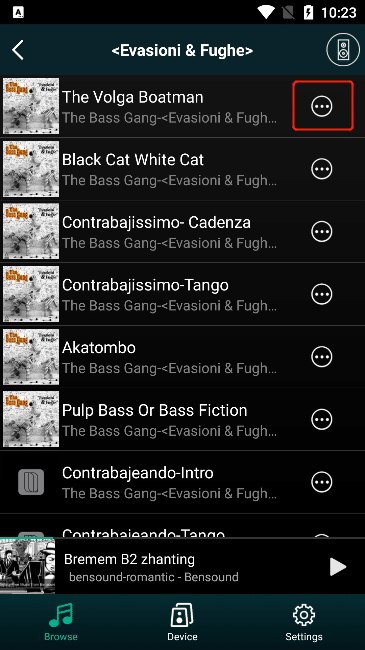
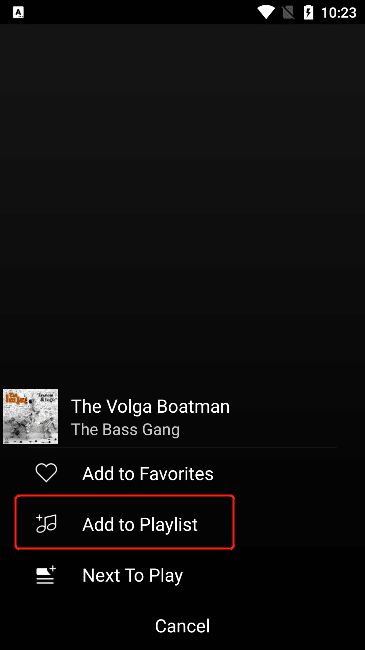
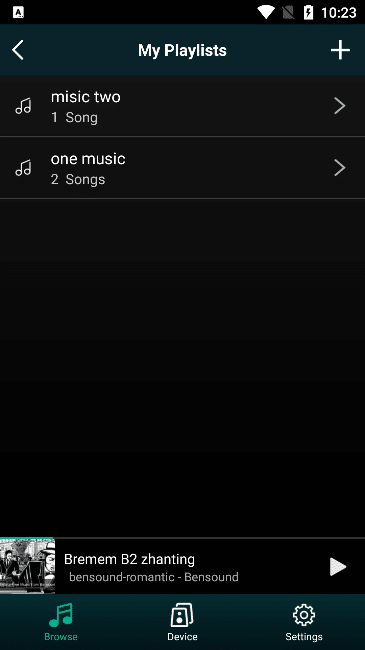
The "My Playlists" interface pops up , click the playlist you need to add the song to, and it will display "Added successfully" in the playlist (Note: the playlist can be viewed in step 3.5.3.2.3)
3.5.3.2.3.5. Remov Songs From the Playlist
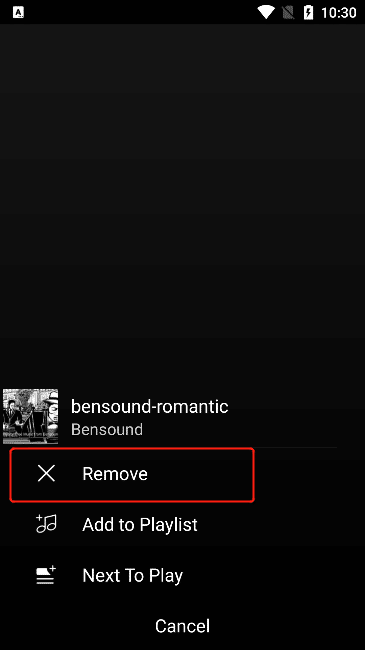
In the playlist, click the "..." button on the right side of the song, select "Remove" in the action list , and the corresponding song will be removed from the favorites.

3.5.3.2.3.6. Add Songs in Playlist to Favorites
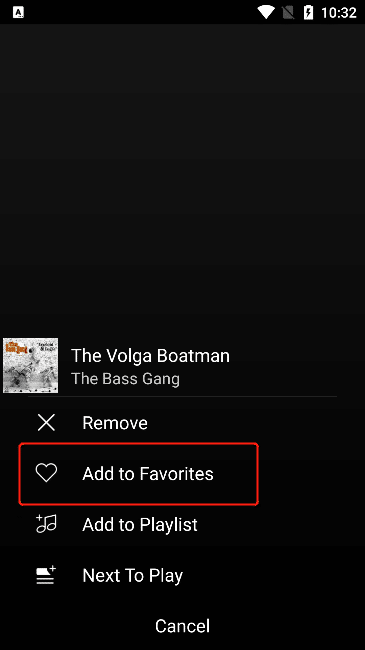
In the playlist, click the "..." button on the right side of the song, and select "Add to Favorites" in the operation list , and the corresponding song will be added to the favorites. (Note: Favorites are viewed in step 3.5.3.1)
3.5.3.2.3.7. Add Songs to the Playlist Again
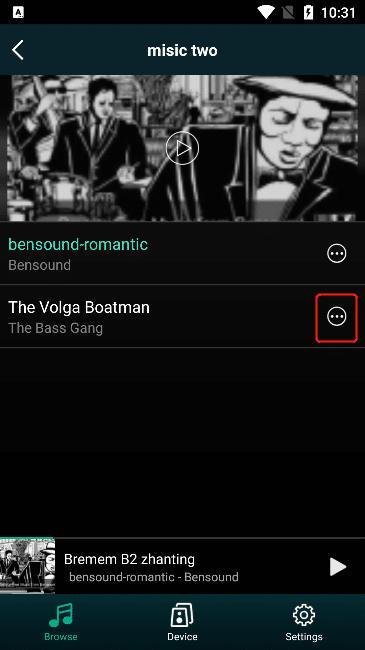
In the playlist, click the "..." button to the right of the song, and select "Add to Playlist" in the action list

The "My Playlist" interface pops up , click the playlist you want to add the song to, and it will display "Added successfully" in the playlist. If the current song already exists in the playlist you added, it will display "This song already exists" . (Note: the playlist is viewed in step 3.5.3.2.3)
3.5.3.2.3.8. Next to Play
In the playlist, click the "..." button to the right of the song, and select "Next to Play" in the action list

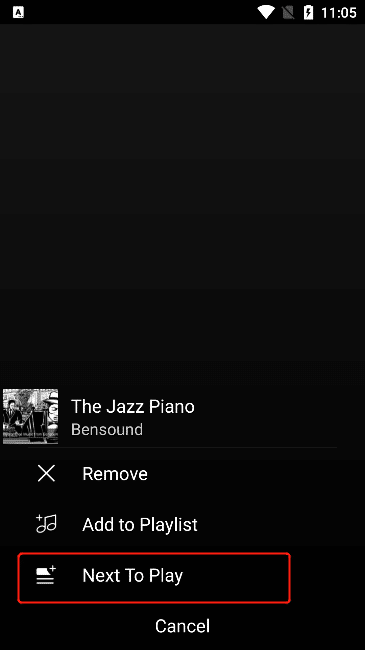
"Next to Play..." is displayed , it means that the song will be played after the current song is played, and the song will be added to the play queue (Note: the play queue can be viewed in step 3.5.3.2.3)
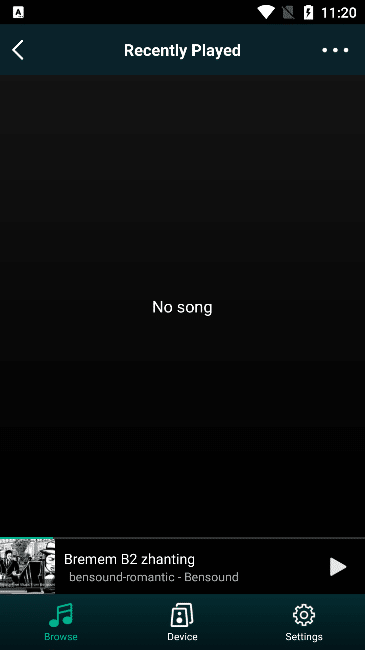
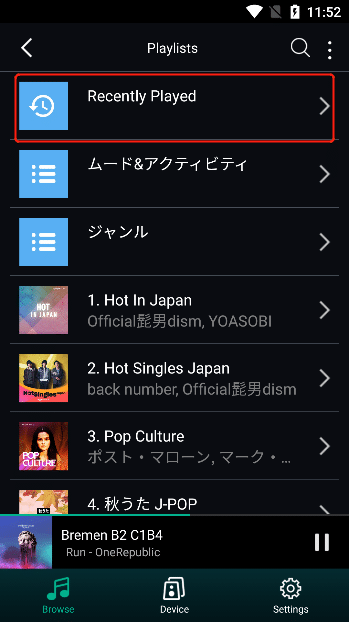
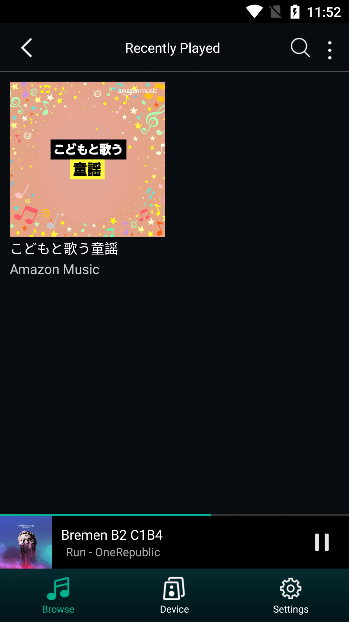
3.5.3.2.4. Recently Played
On the "My Music" interface, select "Recently Played" and click to view the list of recently played songs in "Phone" . (Note: the phone is checked in step 3.5.3.2.1)
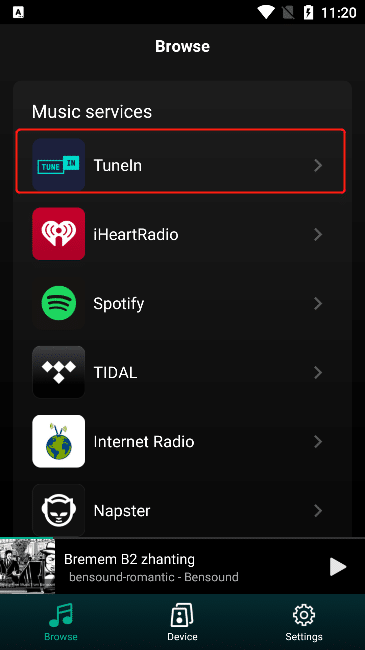
3.5.4. Music Service
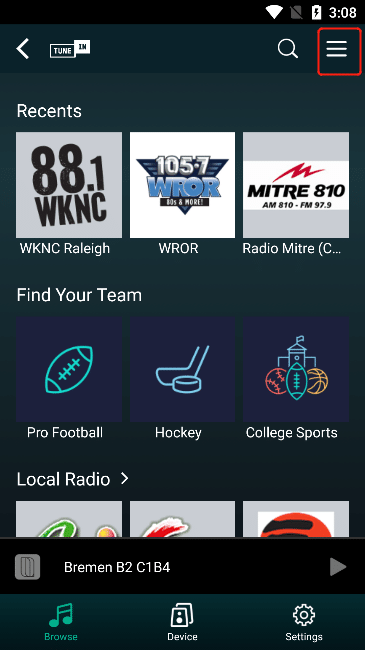
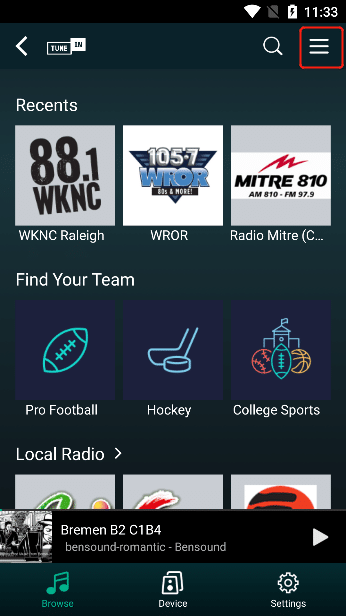
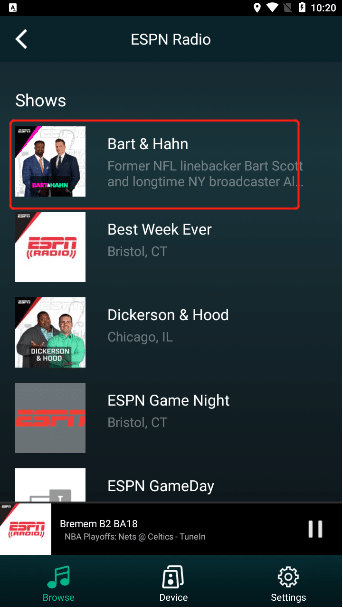
3.5.4.1. Tuneln
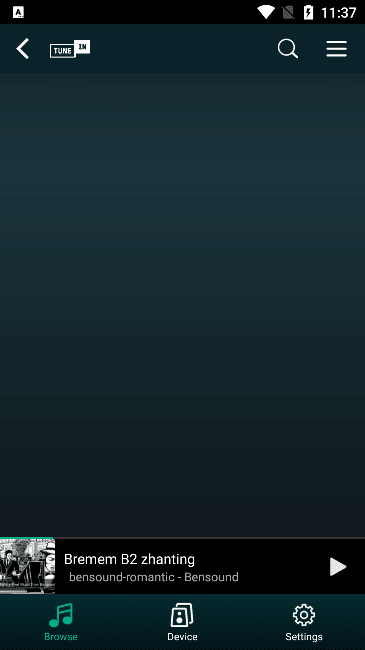
Click "Tuneln" to enter the "Tuneln" interface
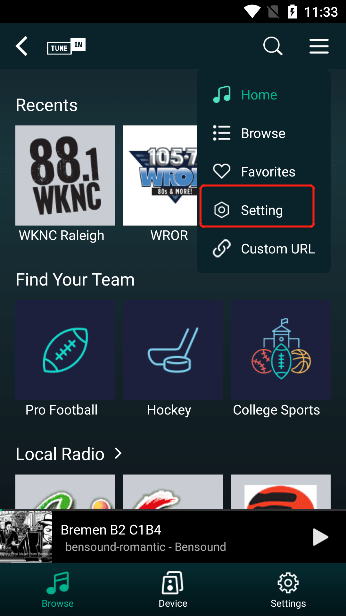
3.5.4.1.1. Tuneln Login
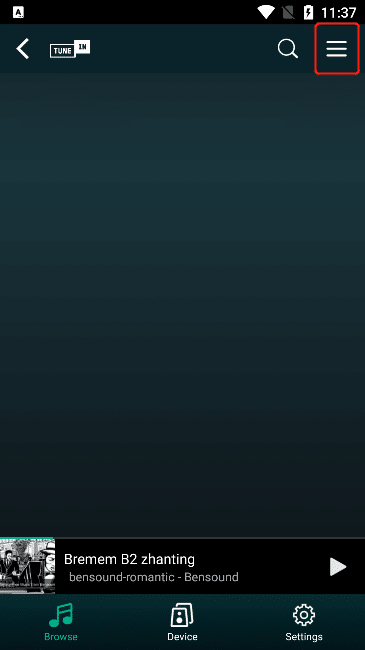
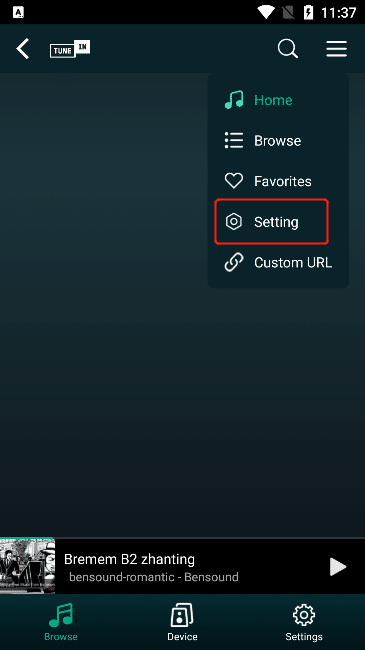
Click the "More" button at the top right and select the "Settings" option
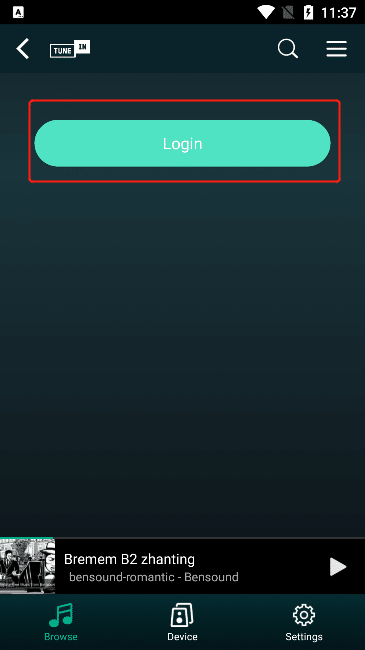
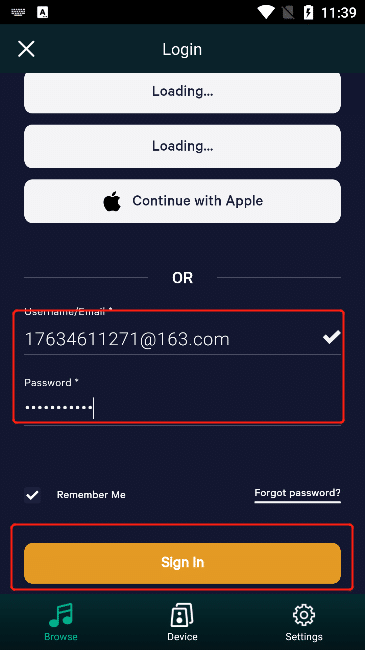
Click the "Login" button to enter the "Tuneln" official website login interface, fill in the "Username/Email" and "Password" of Tuneln, and then click the "Sign in" button.


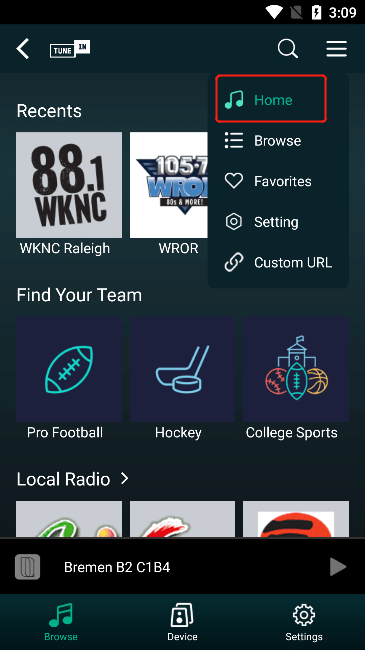
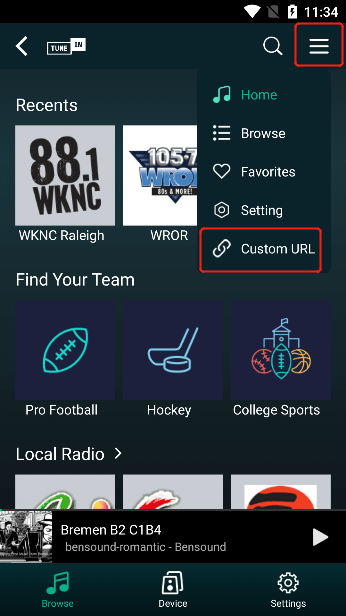
3.5.4.1.2. Home
Click the "More" button at the top right and select the "Home" option
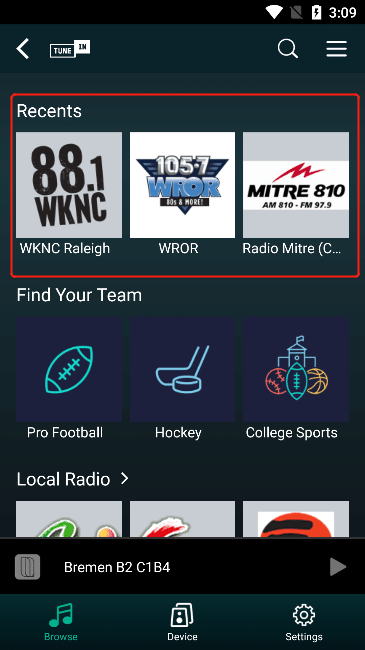
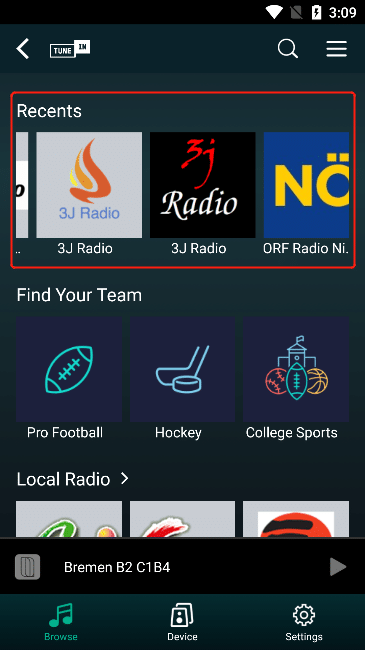
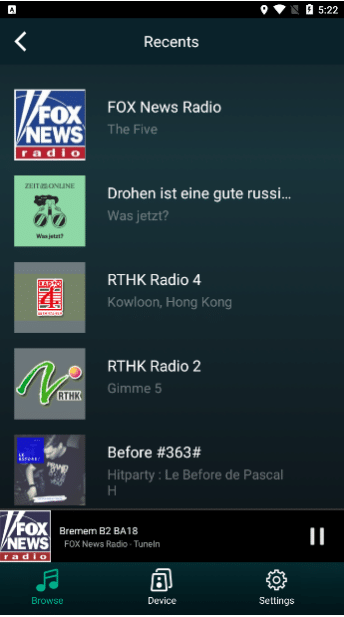
3.5.4.1.2.1. Recents
view more "Recently Played" by swiping the "List" to the left
3.5.4.1.2.2. Your New Episodes
out "Your New Episodes" for a list of new shows.
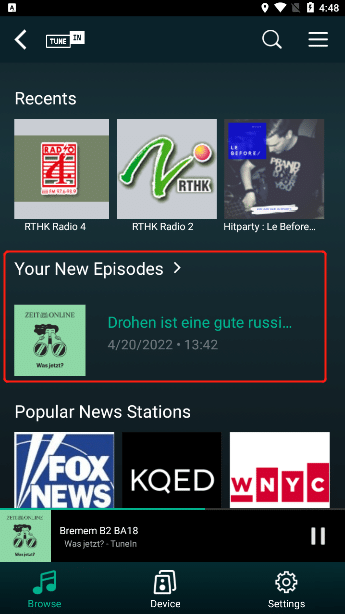
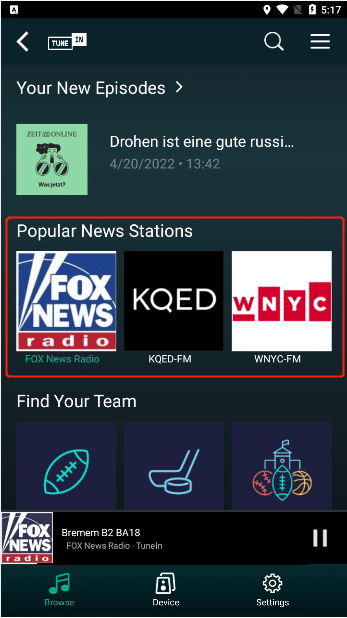
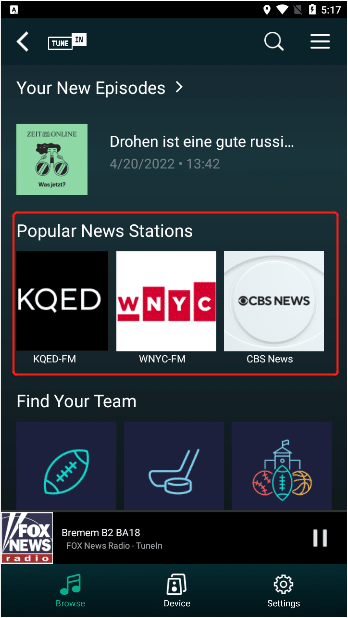
3.5.4.1.2.3. Popular News Stations
view more "Top News Stations" by swiping the "List" to the left
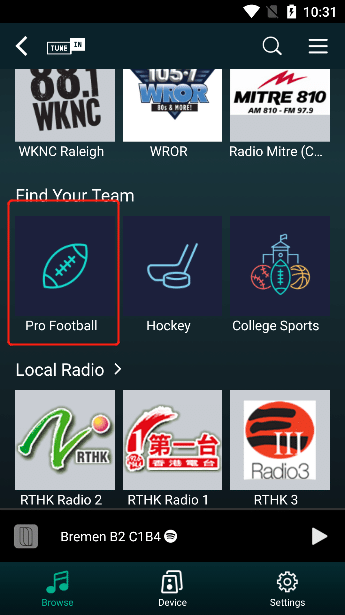
3.5.4.1.2.4. Find Your Team
view more "supported teams" by swiping left on the "list "
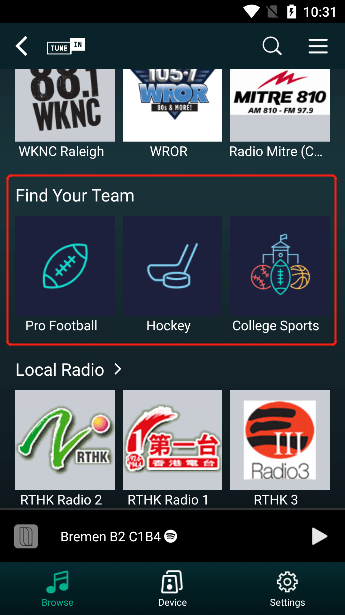
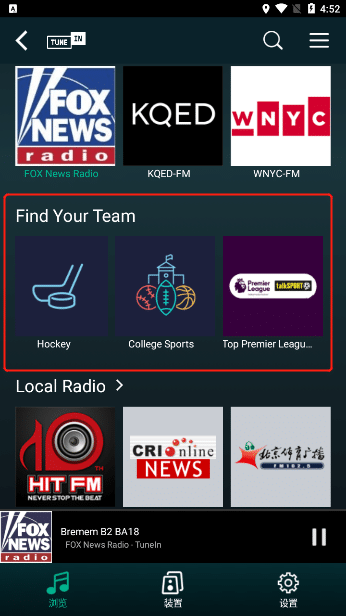
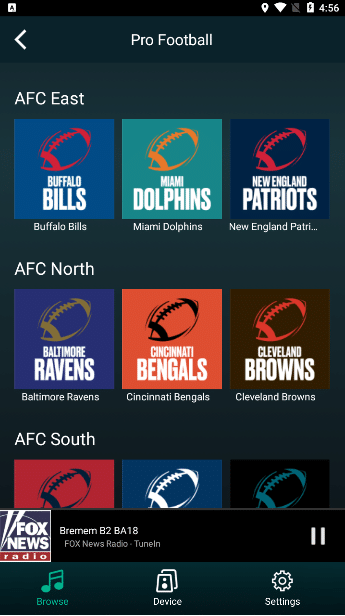
Click on a team in the "Find Your Team" list to see more categories under the team
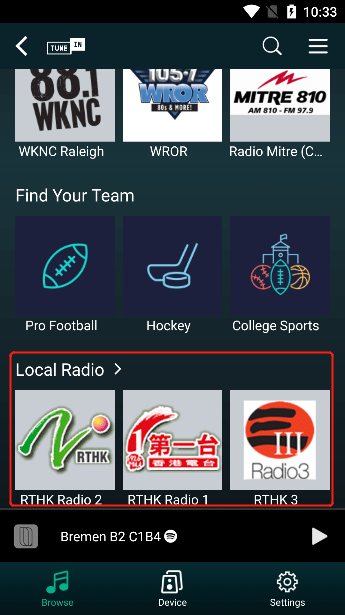
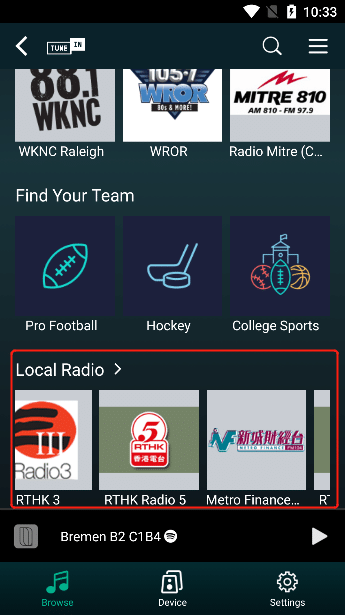
3.5.4.1.2.5. Local Radio
More local stations can be viewed by swiping the "List" to the left
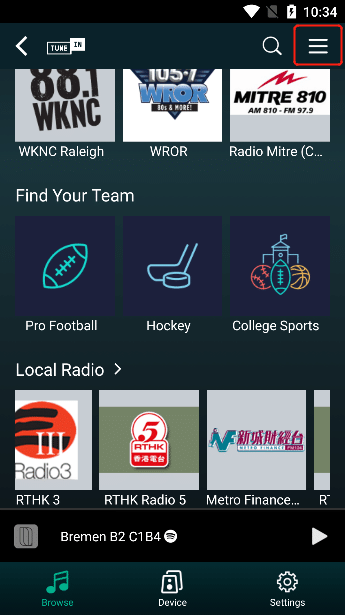
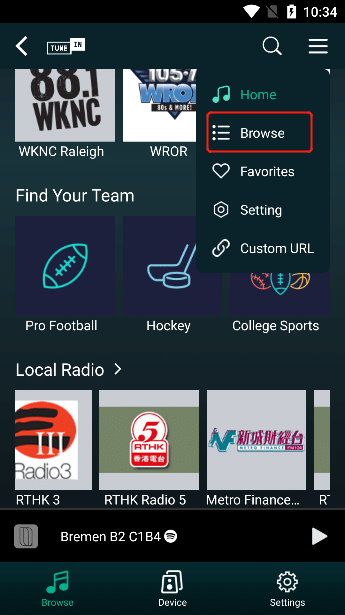
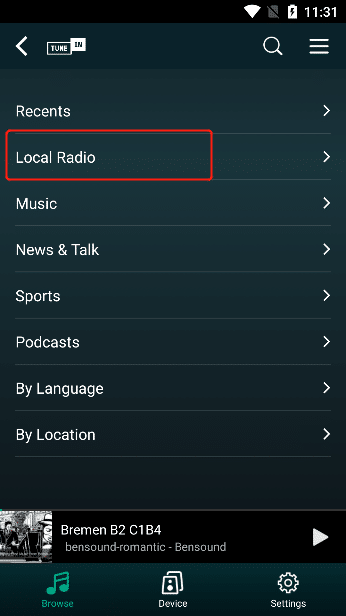
3.5.4.1.3. Borwse
Click the "More" button at the top right and select the "Browse" option
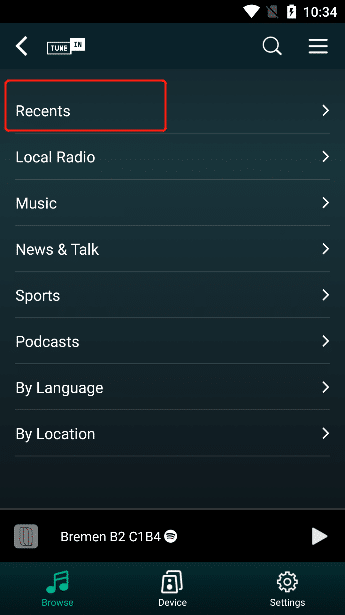
3.5.4.1.3.1. Recents
Select "Recents" to view all "Recent Plays" .
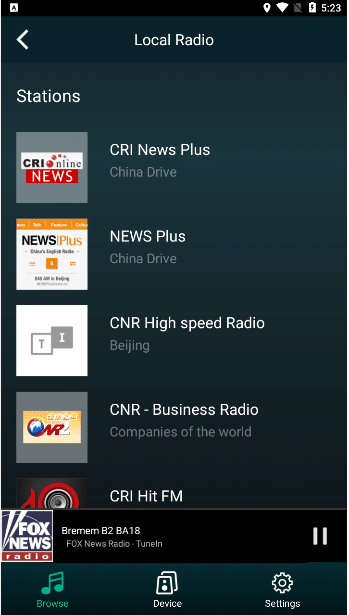
3.5.4.1.3.2. Lacal Radio
Select "Lacal Radio" to view all "Local Radio Stations" .
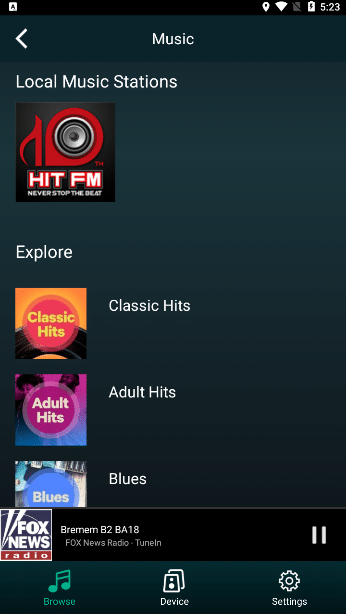
3.5.4.1.3.3. Music
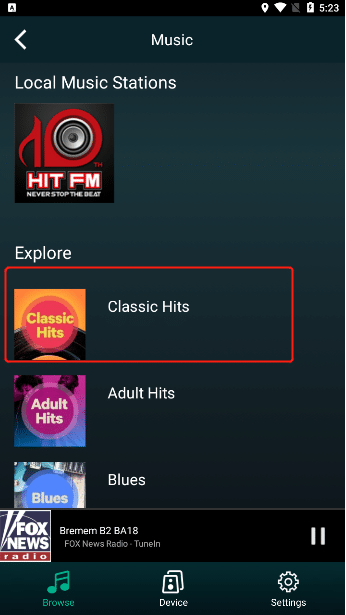
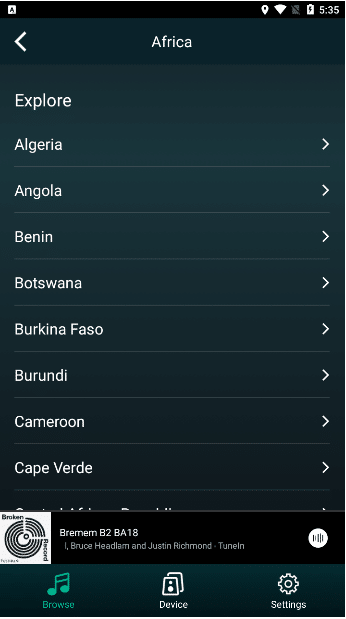
Select "Music" to view "Local Music Stations" , "Explore"
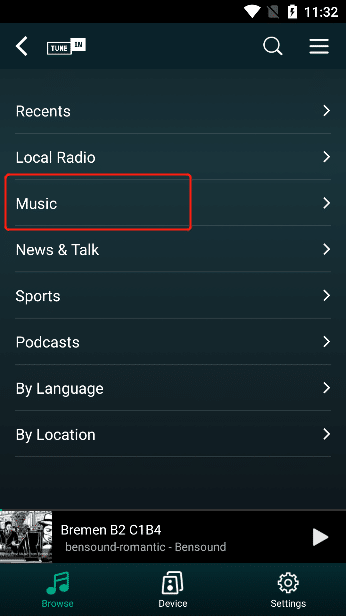
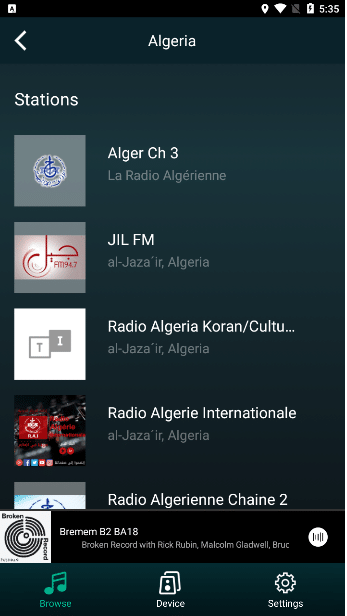
Select a music category in the "Explore" list to enter the "Stations" list for that category

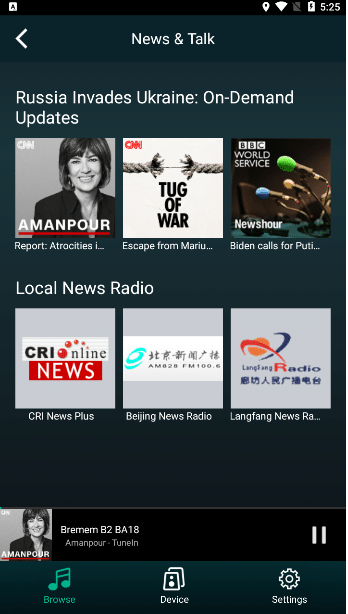
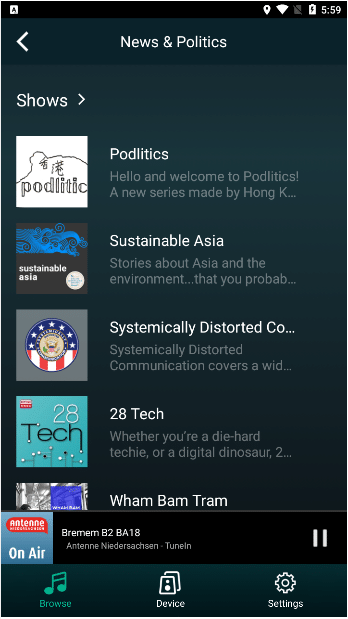
3.5.4.1.3.4. News&Talk
Select "News&Talk" to view "Russia Invades Ukraine (local news broadcast)" , "Local News Radio (special report)"

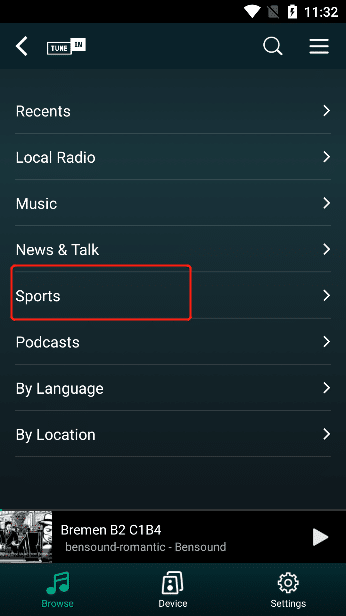
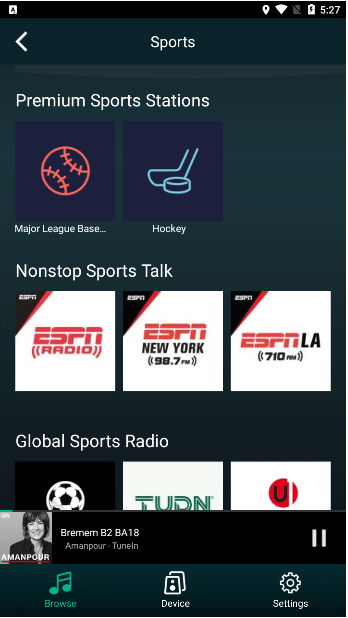
3.5.4.1.3.5. Sports
Select "Sports" to view "Premium Sports Stations" , "Nonstop Sports Talk" , "Global Sports Radio"
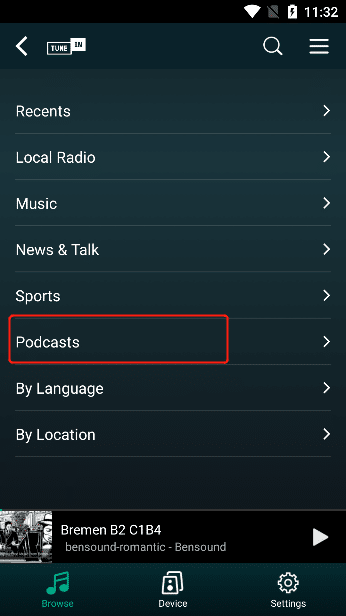
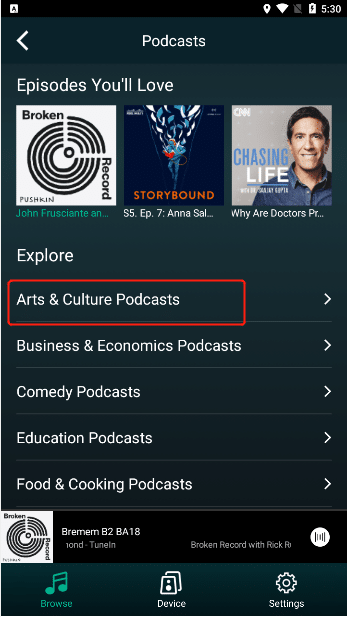
3.5.4.1.3.6. Podcasts
Select "Podcasts" to view "Top Podcast Genres" , "Episodes You'll Love" , "Explore"
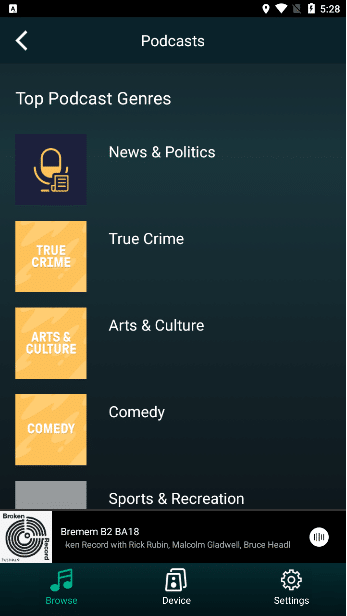
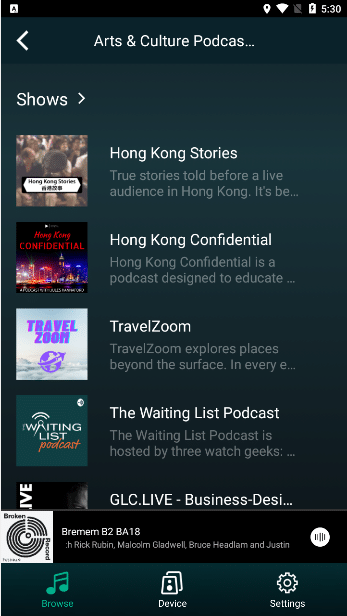
Select the play category in the "Top Podcast Genres" list and enter the "Shows" of the category

Select a podcast category in the "Explore" list to go to "Shows" for that category
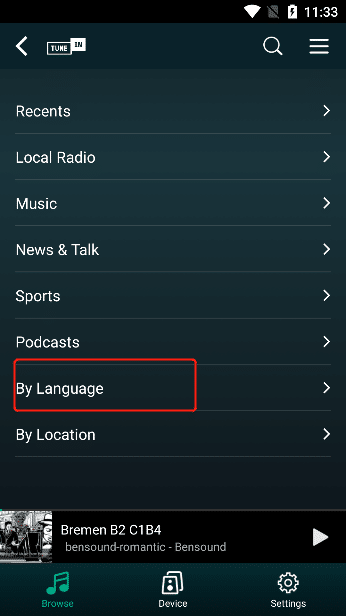
3.5.4.1.3.7. By Language
Select "By Language" to enter the "By Languages" list
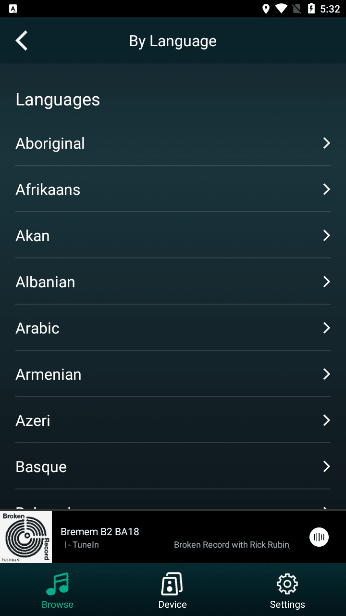
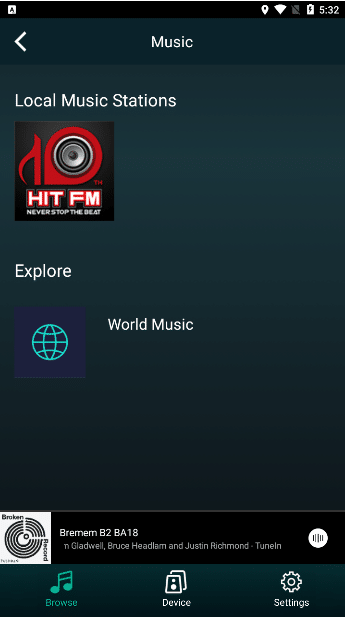
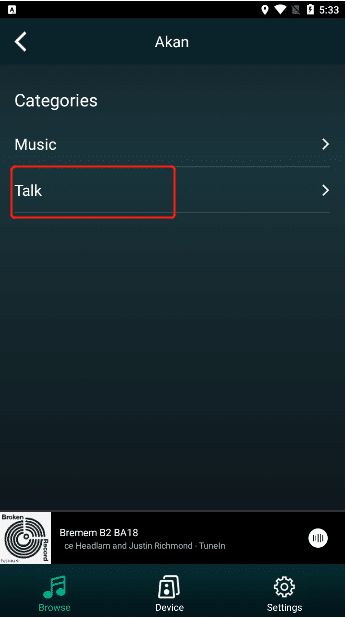
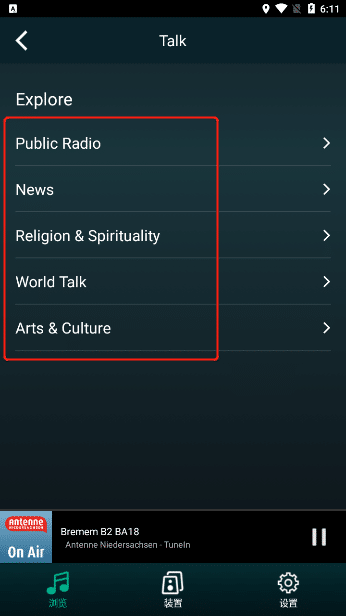
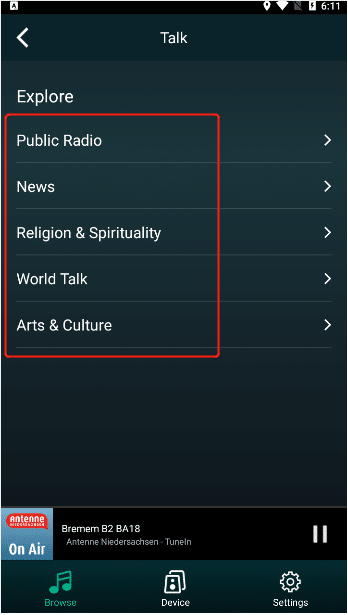
After selecting the language, go to "Categories" , click "Music" , you can view "Local Music Stations" , "Explore"
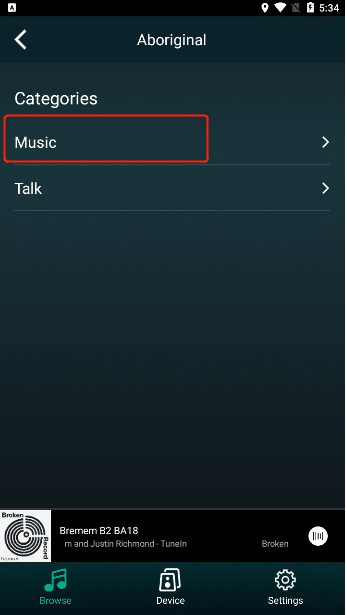
After selecting the language, go to "Categories" , click "Talk" , you can view "Explore"
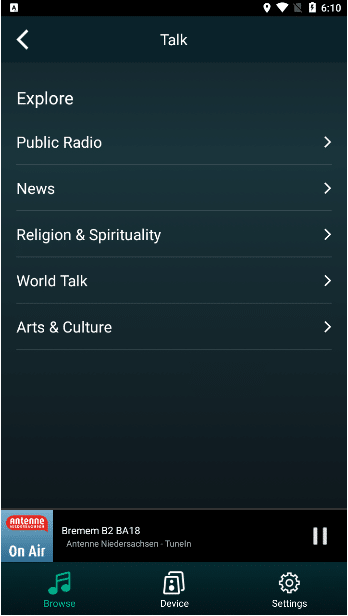
Select a station category in Explore to go to Stations for that category .
3.5.4.1.3.8. By Location
Select "By Location" to enter the "Recents (region)" list
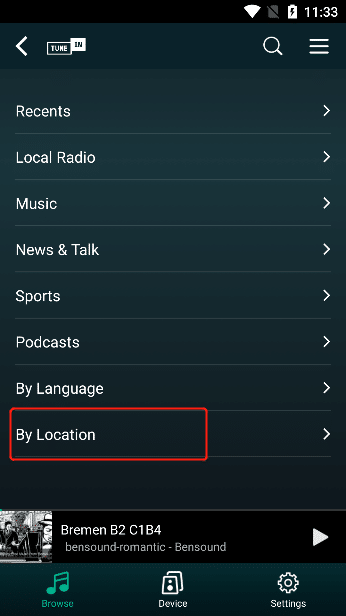
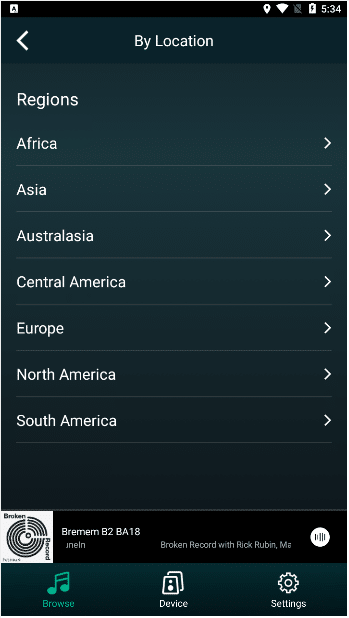
selecting "Recents (region)" , enter the "Explore (Explore)" of the region , click on the content of the region in "Explore (Explore)", enter the "Stations (radio station)" in the region .
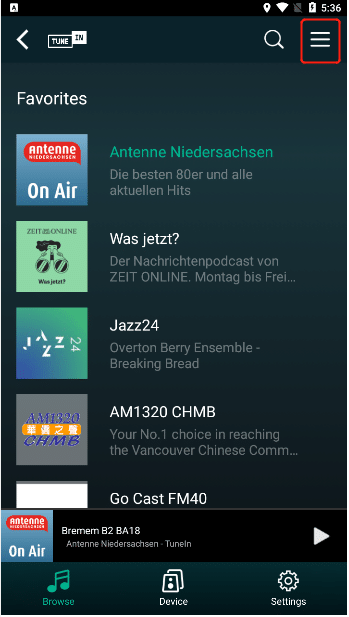
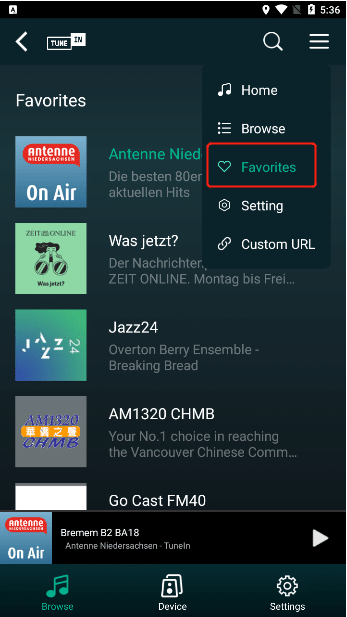
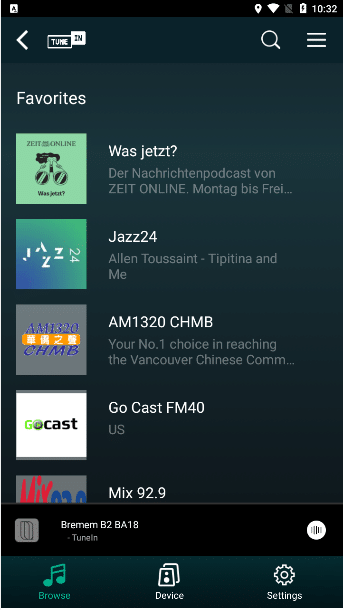
3.5.4.1.4. Favorites
Click the "More" button on the upper right, select the "Favorites" option, enter the "Favorites" list, and you can view the songs and radio stations you have added.
3.5.4.1.5. Setting
Click the "More" button at the top right and select the "Settings" option
Click the "Login" button to enter the "Tuneln" official website login interface, fill in the "Account" and "Password" of Tuneln, and then click the "Login" button.
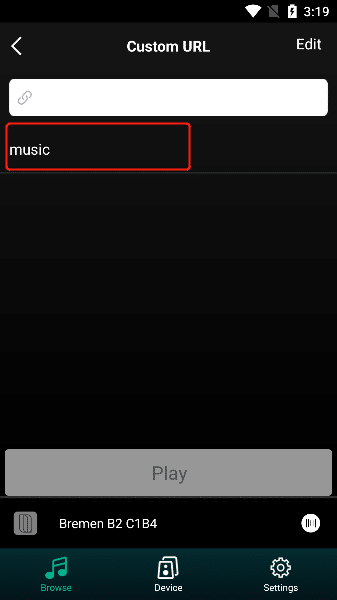
3.5.4.1.6. Custom URL
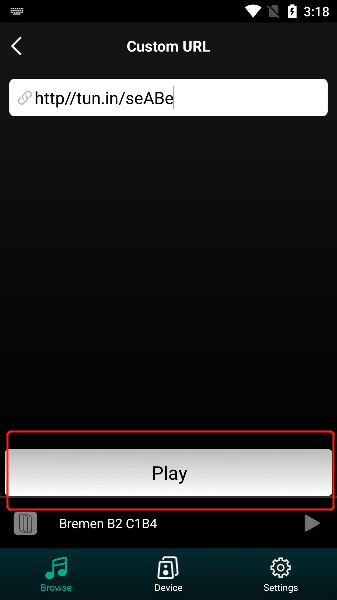
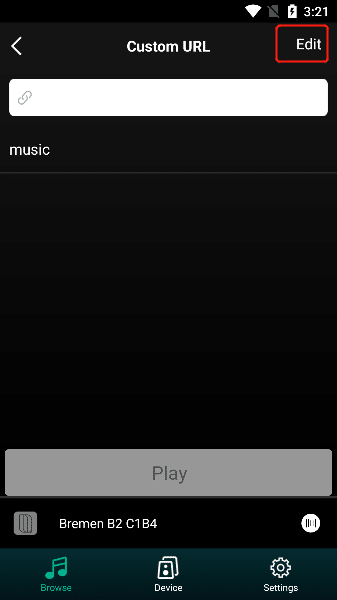
Click the "More" button at the top right, select the "Custom URL" option, you can enter the url address of the station in the input box above
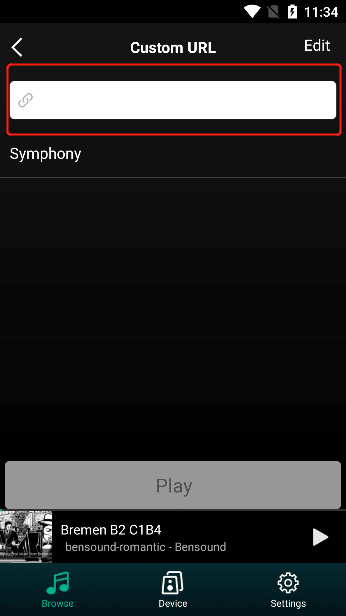
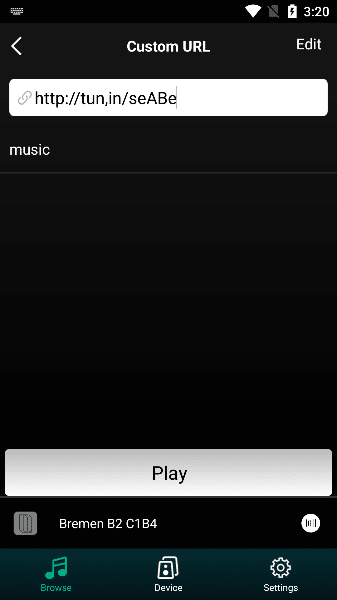
3.5.4.1.6.1. Save Custom URL
Click the "Play" button below, enter the name of the current url address you want to save in the input box, and then click the "Finish" button
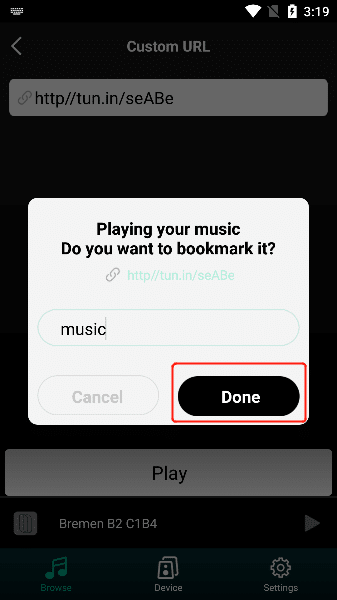
Under the input box, you can view the name of the url address. After clicking the name, you can view the specific url address in the input box.
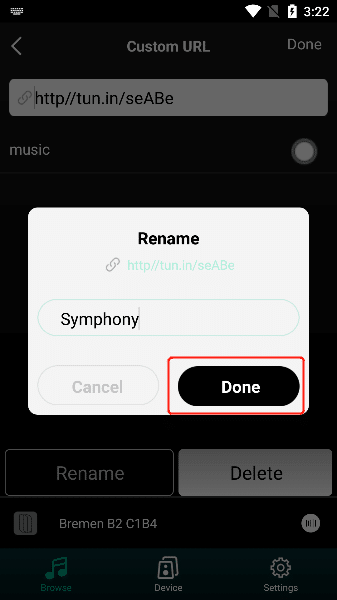
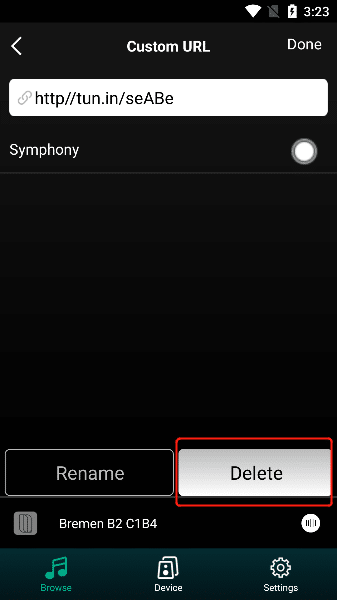
3.5.4.1.6.2. Edit Custom URL
Click "Edit" in the upper right corner , select the button corresponding to the url address name you want to edit, and then click the "Rename" button


Edit the new name of the url address, and then click "Done" to edit and modify
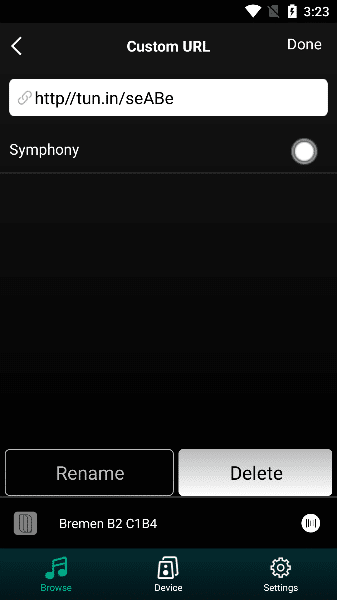
3.5.4.1.6.3. Remove Custom URL
Click "Edit" in the upper right corner , select the button corresponding to the url address name you want to delete, and then click
"Delete" button, you can successfully delete the corresponding url address.
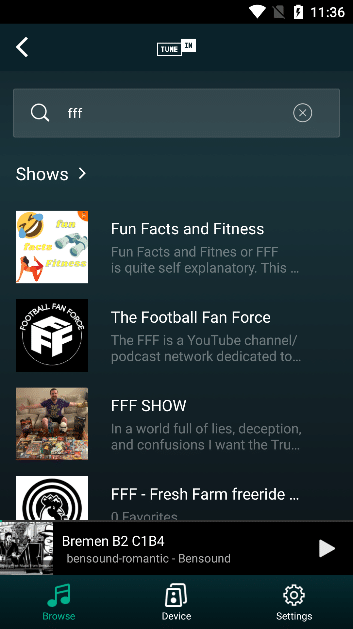
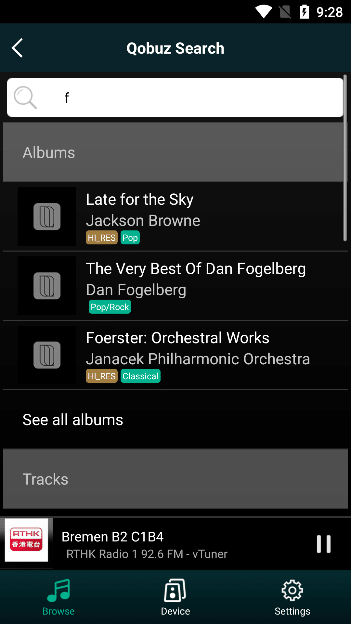
3.5.4.1.7. search
Select the "Search" button to enter the "Search" interface.
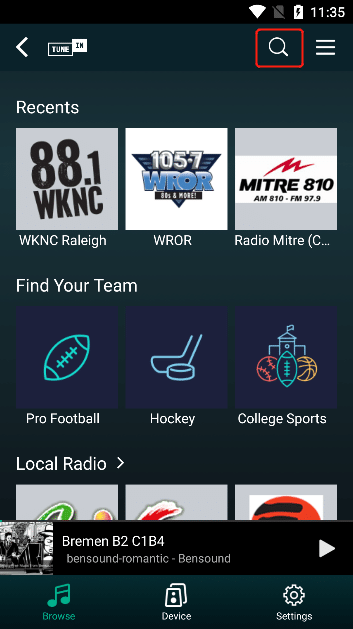
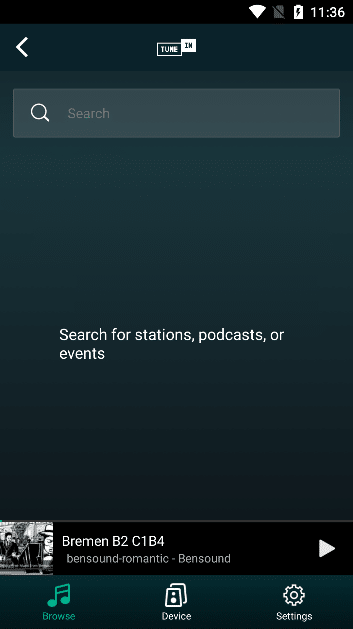
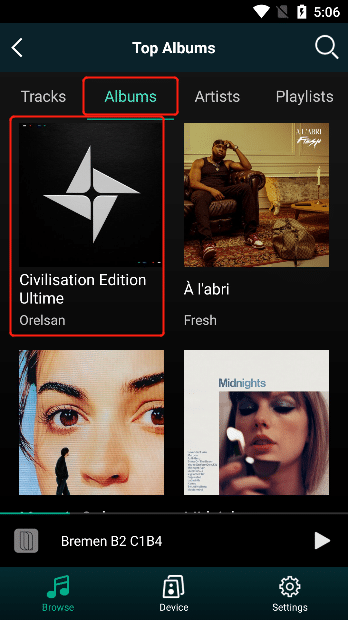
Enter the content you want to query in the search box, and then click the "Search" button to search for "Albums" , "Tracks" , "Playlists" , "Artists" and other information that match the content.
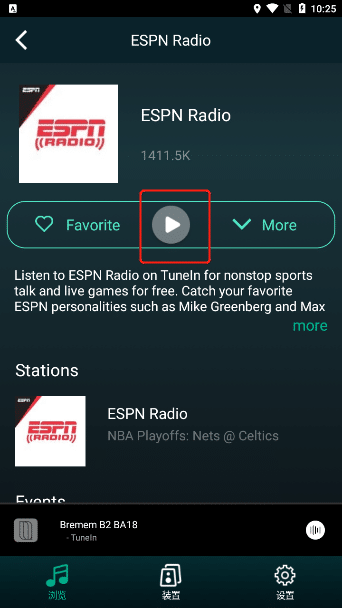
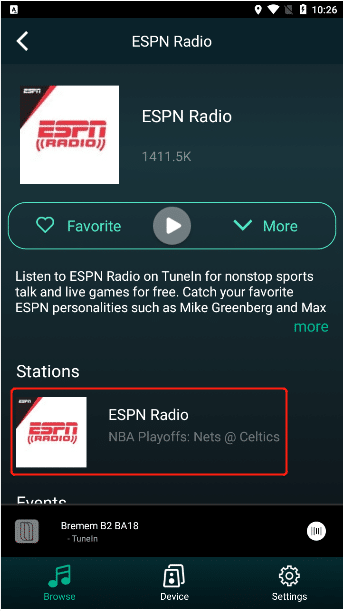
3.5.4.1.8. Play Operation
selecting "station" , you can view the station's "Station" , "Events" , "Shows"
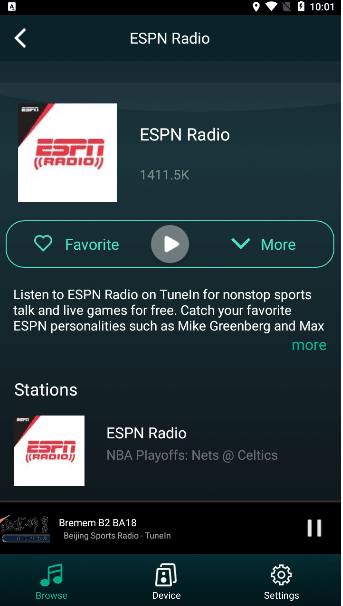
3.5.4.1.8.1. Station
Click the "Play" button, or select the content in the "Station" list to play,
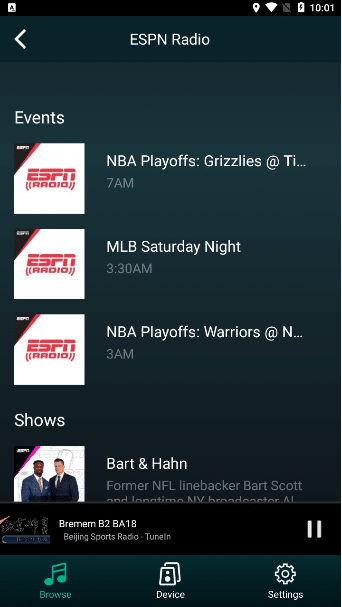
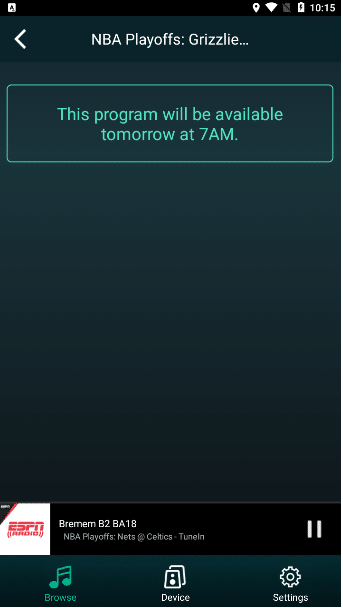
3.5.4.1.8.2. Events
Select the content in "Events" , if the current time is not within the specified time of "Events", it will not be able to play.
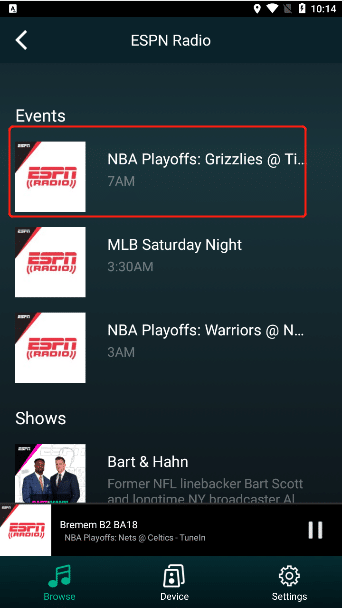
3.5.4.1.8.3. Shows
Select the content in "Shows" , you can view more program content of the program, you can click the "Play" button or the program content to play.
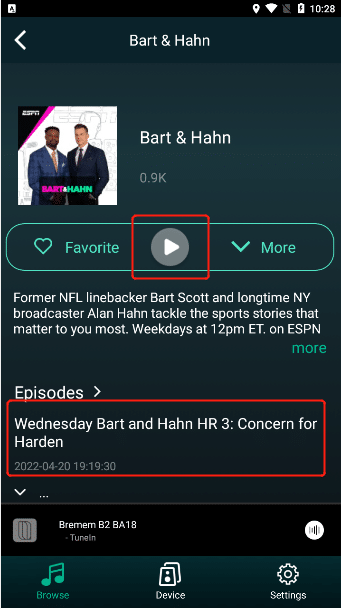
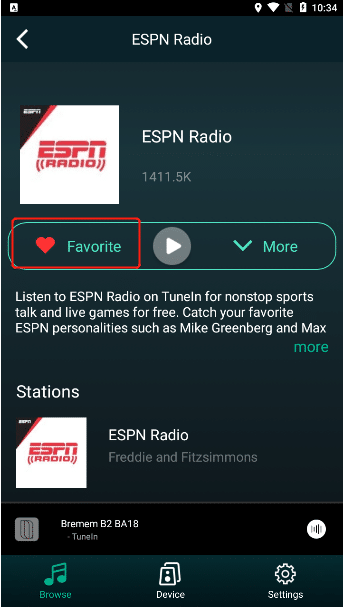
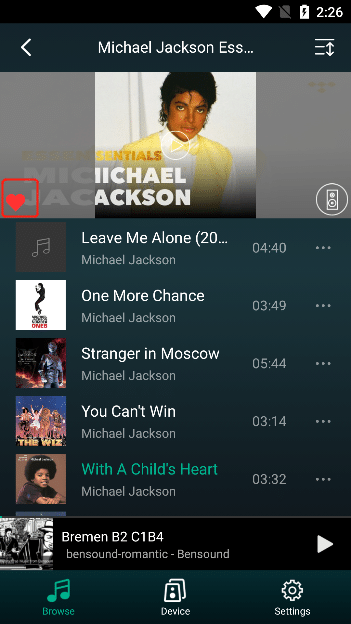
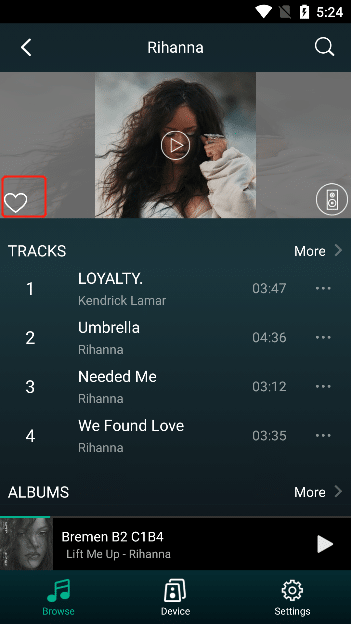
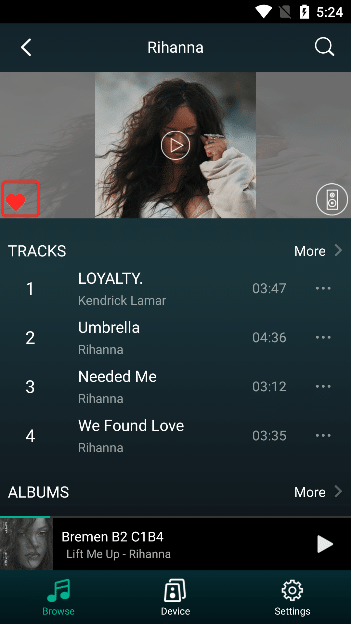
3.5.4.1.8.4. Add to Favorites
"Favorites" on the left side of a radio station or program. After clicking, the heart-shaped icon turns red, indicating that it has been successfully added to "Favorites" (Note: "Favorites " can be viewed in step 3.5.4.1.4 )
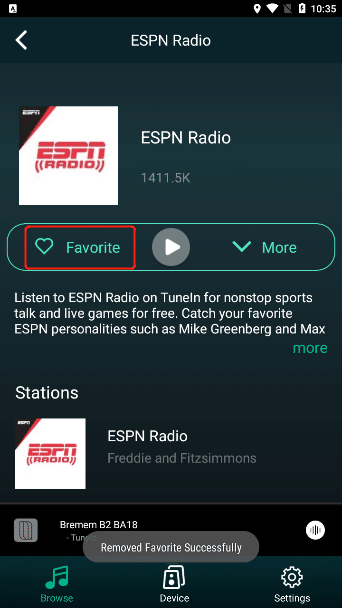
3.5.4.1.8.5. Removed from Favorites
"Favorites" on the left side of a radio station or program , if the heart-shaped icon is green after clicking, it means that it has been successfully removed from "Favorites" (Note: "Favorites" in step 3.5.4.1.4 View)

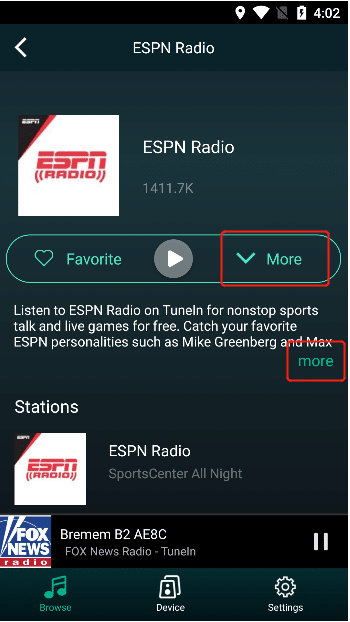
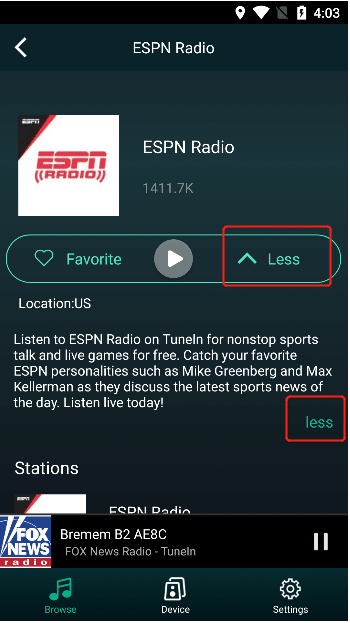
3.5.4.1.8.6. More / Less
Click "More" to show more information about the station, Click "Less" to hide some information.
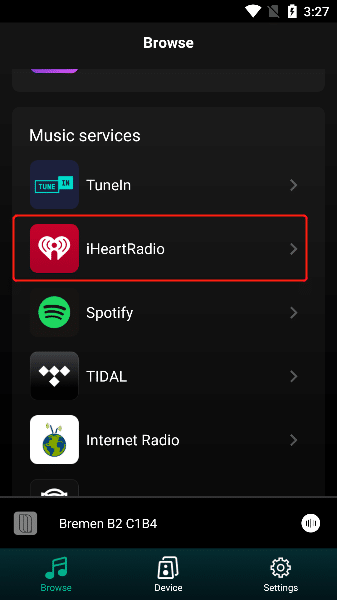
3.5.4.2. iHeartRadio
Click "iHeartRadio" to enter the "iHeartRadio" interface
3.5.4.2.1. iHeartRadioLogin
Click the "have an account? Log in" button to enter the "iHeartRadio" login interface, fill in the "Email Address" and "Password" of iHeartRadio , and then click the "Login" button.
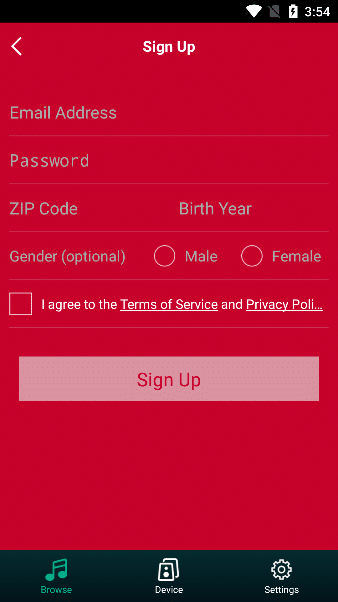
3.5.4.2.2. iHeartRadio Registration
If you do not have an iHeartRadio account, you can click the "Register" button, fill in your registration information, and then click the "Register" button to register an account. (Domestic users need to go over the wall to successfully register an account)

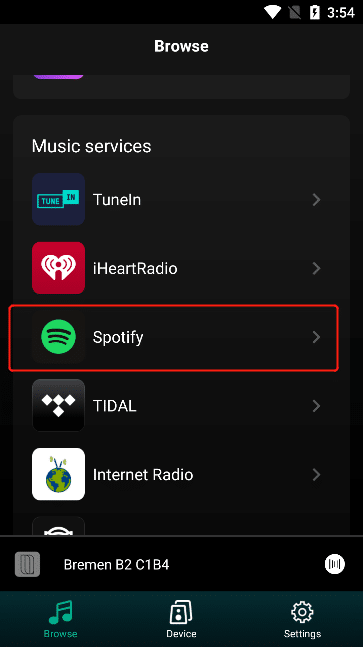
3.5.4.3. Spotify
Click "Spotify" to enter the "Spotify" prompt interface, if you want to play Spotify music, you need to open the "Spotify App" .
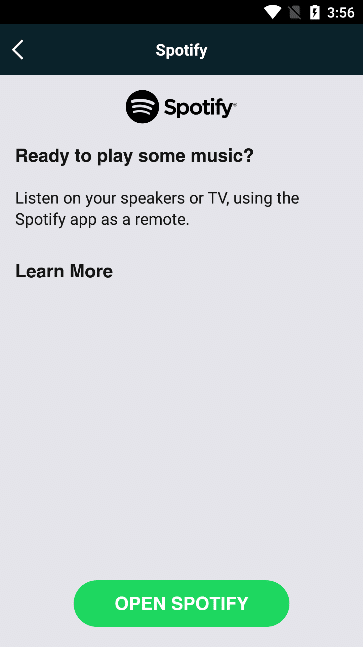
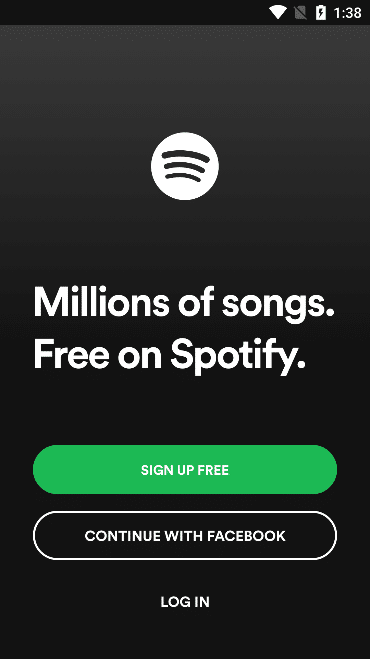
3.5.4.3.1. Connect Spotify
Make sure that the "Mobile Phone Device" and the B series device are connected to the same WiFi network. Then open the "Spotify" app to connect the B series device to play music.
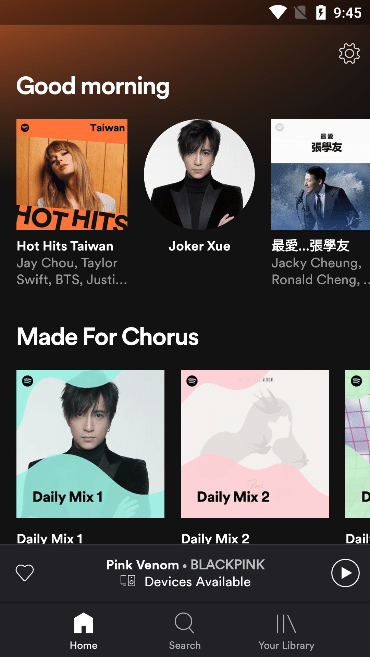
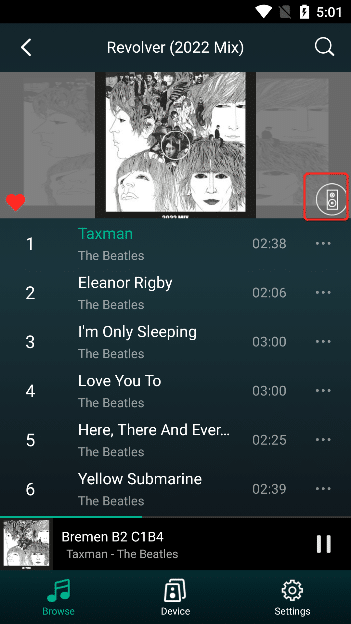
3.5.4.3.2. Select Device
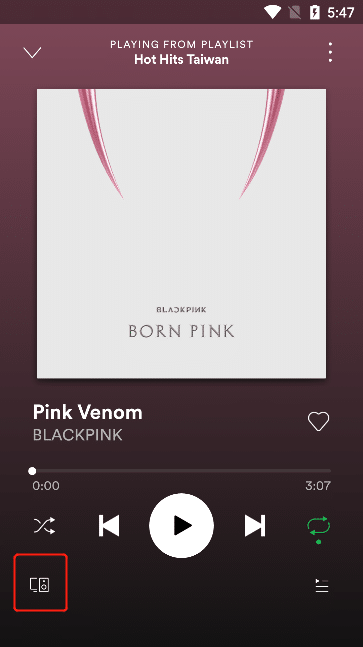
"Small Player" to play the song to enter the "Big Player" interface.


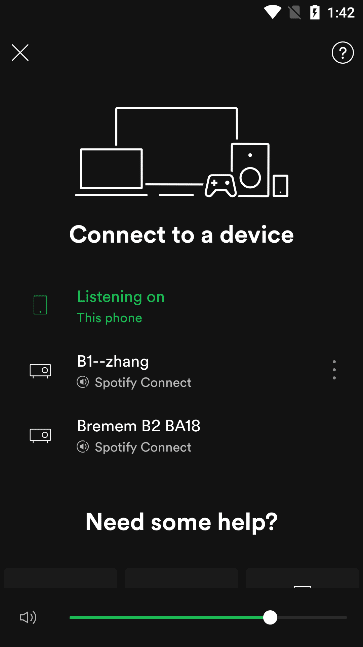
On the "Big Player" interface, click the "Select Device" button at the bottom left to enter the "Connect Device" interface Automatically finds out "devices" that can be connected .
3.5.4.3.3. Connect the Device to Start Playing
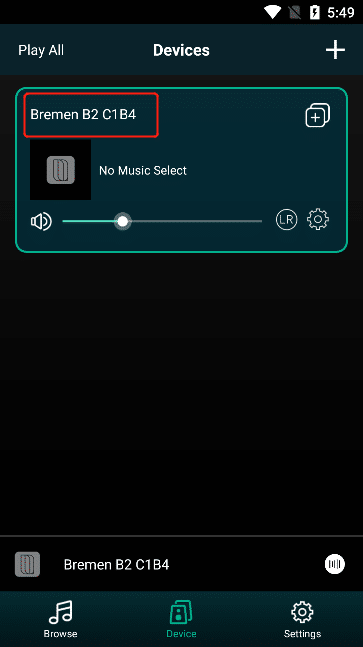
Check the "Device Name" set in the "Device" interface in the "VitOS Lite App" , and click the corresponding "Device" in the "Connect Device" interface in the "Spotify App " .
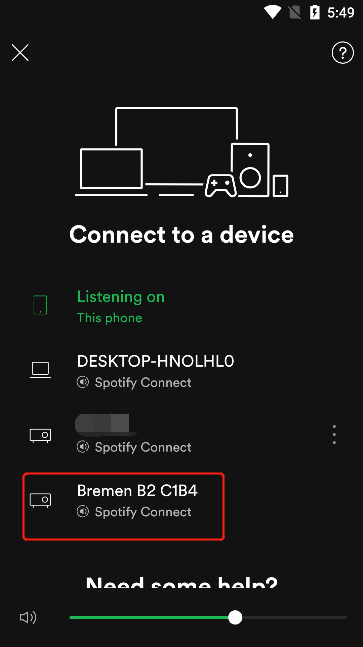
clicking the connected "Device" , "Connecting " will be displayed at the bottom left of the "Big Player" interface .

After the device is connected successfully, the "Device Name" will be displayed on the lower left of the "Big Player" interface .
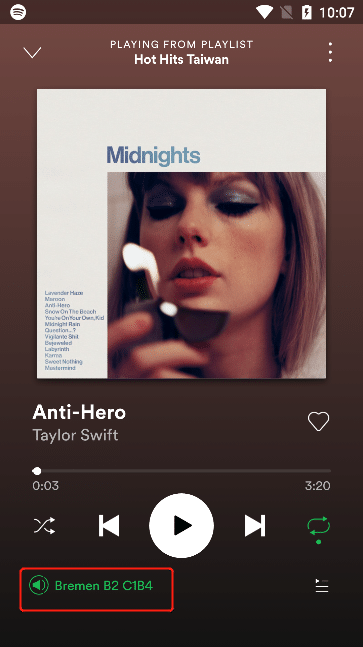
"Spotify App" is successfully connected to the device, the music played on the "Spotify App" can be played through the headphones connected to the B series device or the connected playback device, and the connected device can be seen in the "VitOS Lite App" A song from "Spotify" is playing .

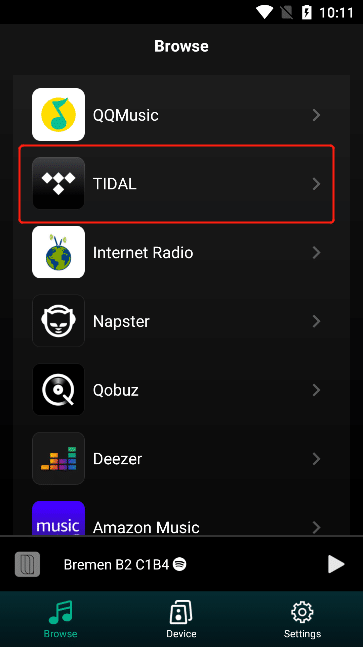
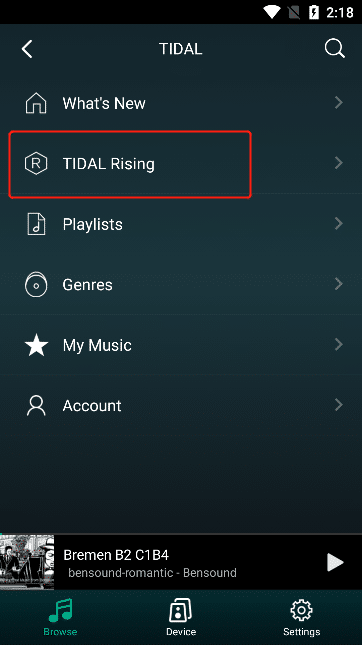
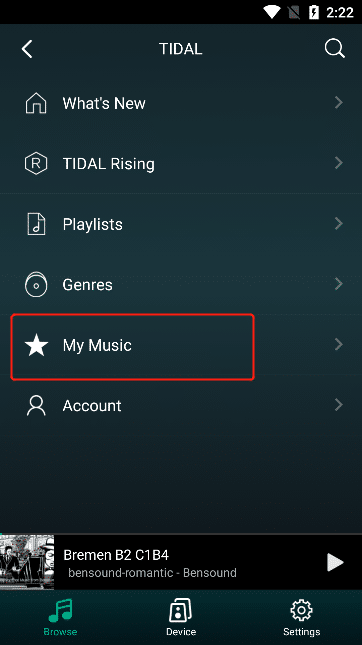
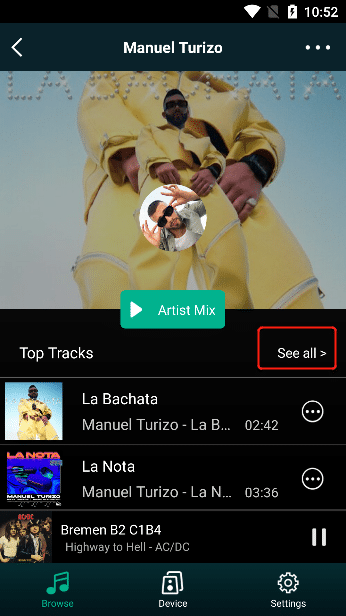
3.5.4.4. TIDAL
Click "TIDAL" to enter the "TIDAL" login interface
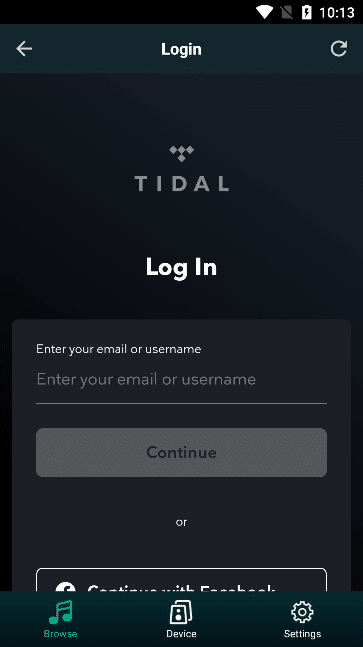
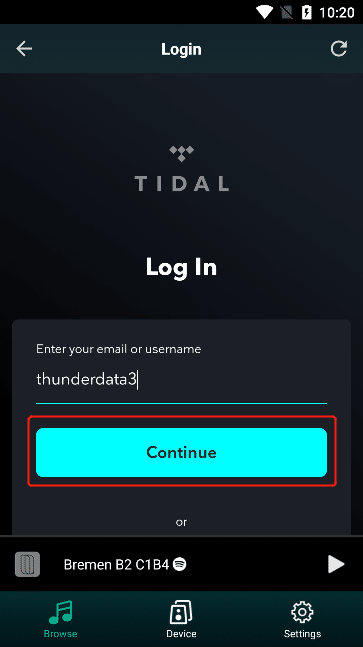
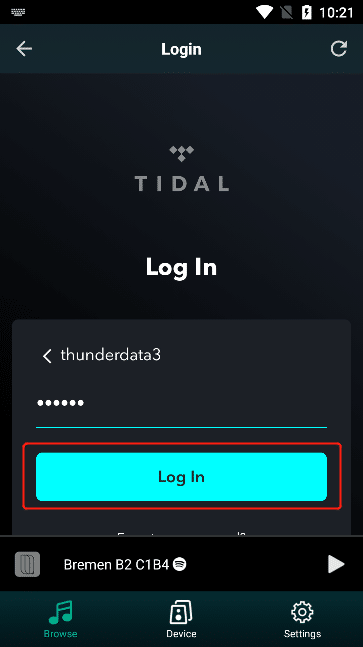
3.5.4.4.1. TIDAL Login
Enter the "TIDAL" official website login interface, fill in the "Account" and click "Continue" to enter the "Password" interface, and then click the "Login" button.
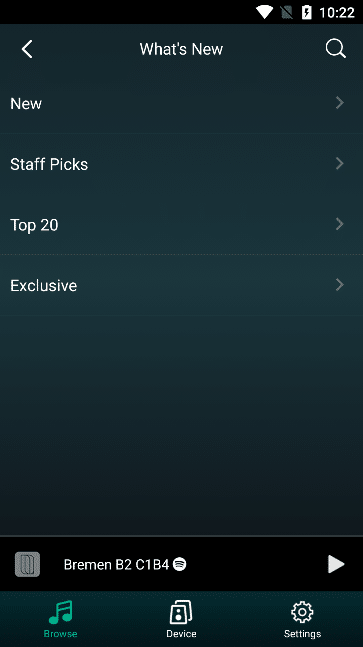
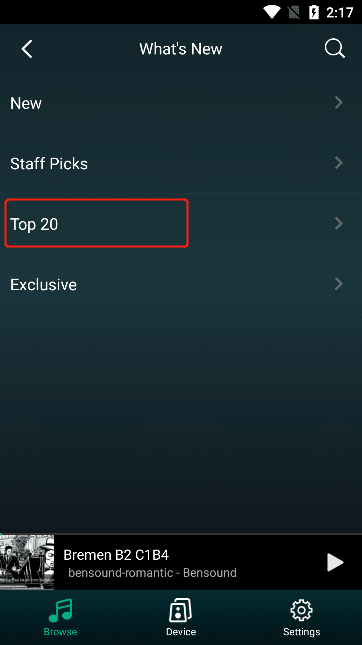
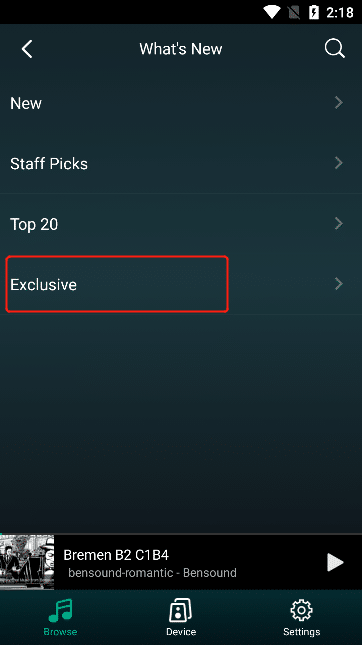
3.5.4.4.2. What's New (Latest)
Select "What's New (latest)" , and check "New" , "Recommended" , "Top 20" , and "Exclusive" after entering .

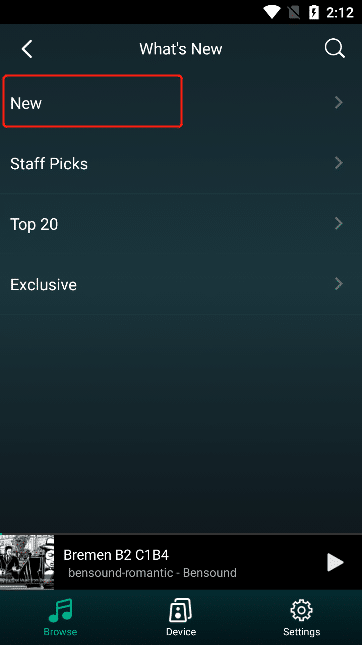
3.5.4.4.2.1. New (latest)
Select "New" to go to "Playlists"
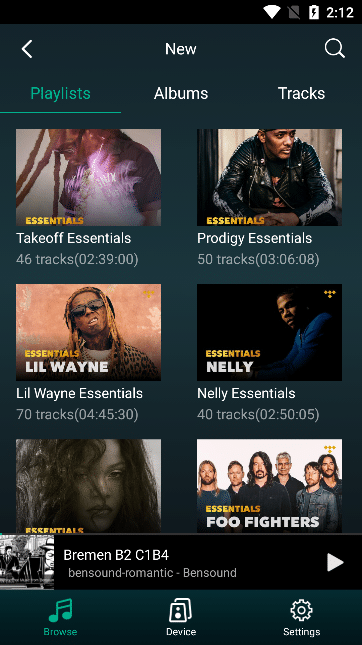
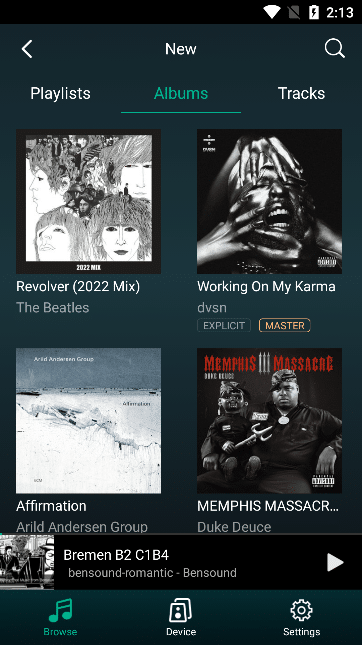
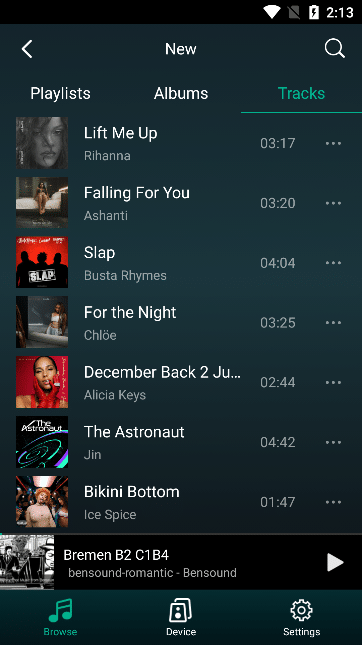
Select "Albums" to enter the latest album list, select "Tracks" to enter the latest track list
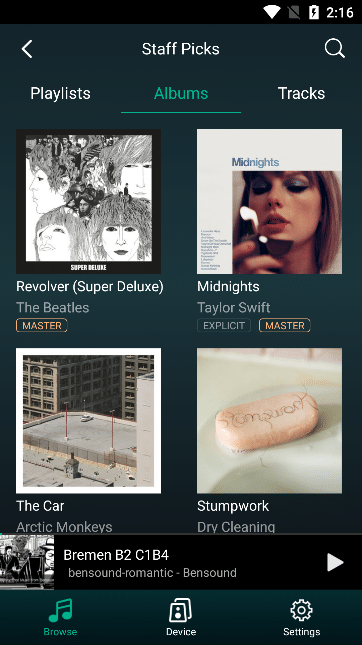
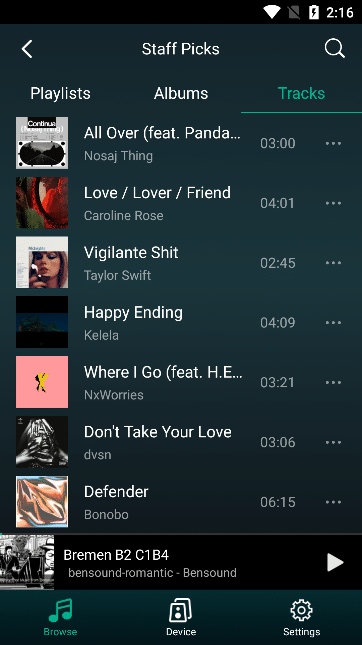
3.5.4.4.2.2. Staff Picks
Select "Staff Picks" to go to "Playlists"
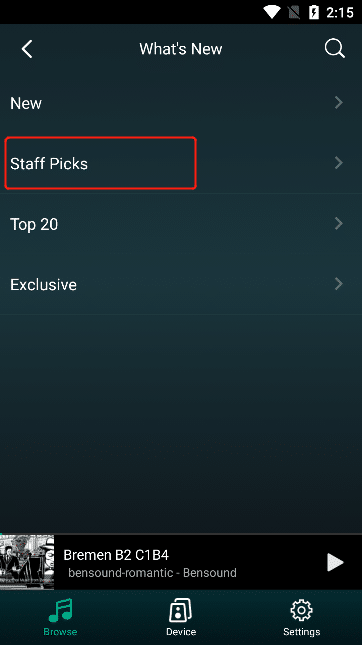
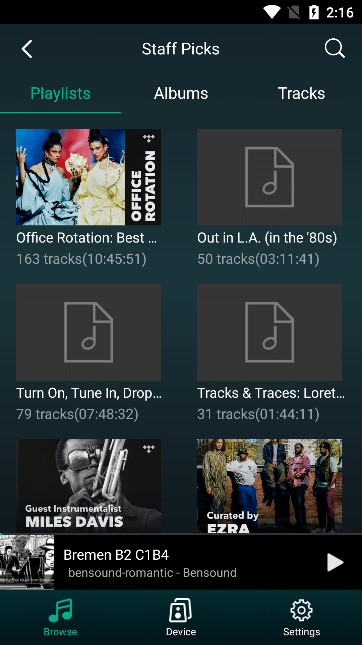
Select "Albums" to enter the recommended album list, select "Tracks" to enter the recommended track list
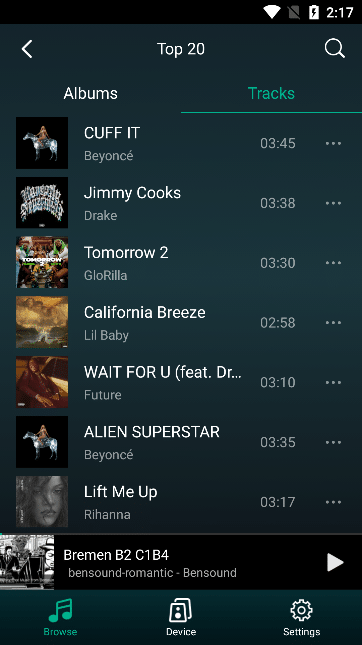
3.5.4.4.2.3. Top 20 (Top 20)
Select "Top 20 (Top 20)" to enter the "Albums (Top 20 Album)" list
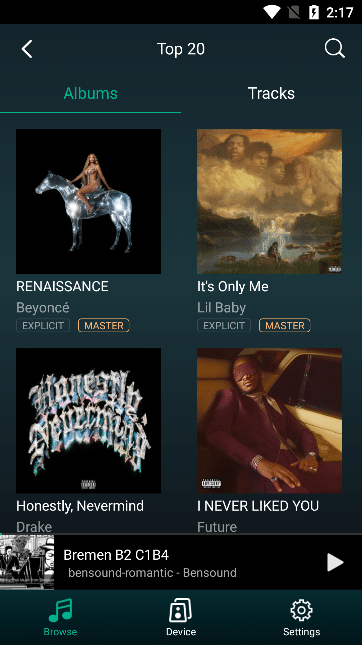
Select "Tracks" to go to the top 20 track list
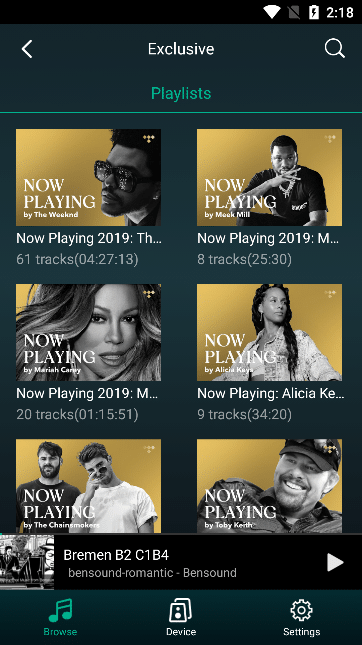
3.5.4.4.2.4. Exclusive
Select "Exclusive" to go to "Playlists"
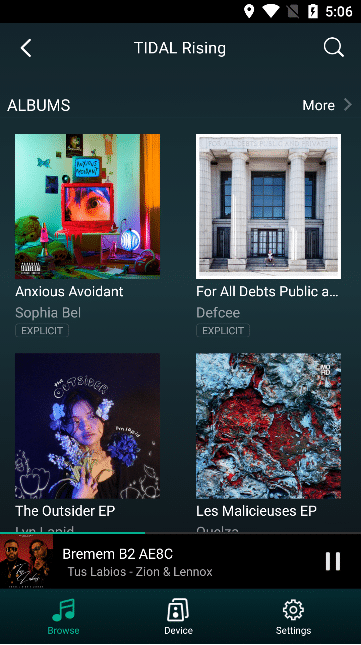
3.5.4.4.3. TIDAL Rising
Select "TIDAL Rising" to enter the "TIDAL Rising" list, click "More" to view all TIDAL Rising Lists.
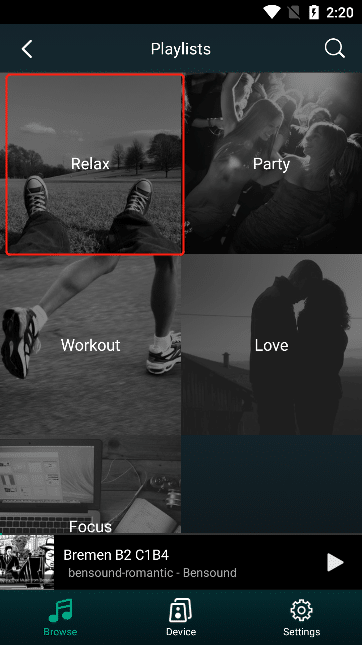
3.5.4.4.4. Playlists
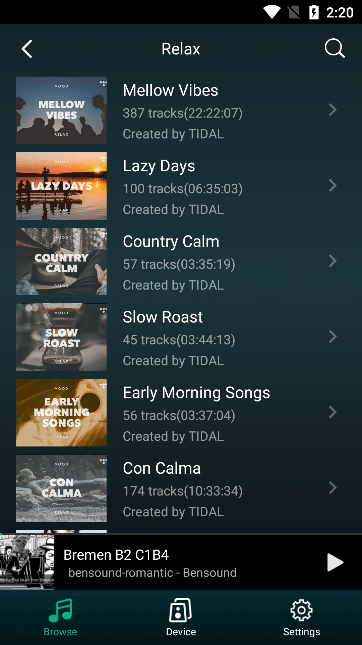
Select "Playlists" to enter the "Mood Menu" list
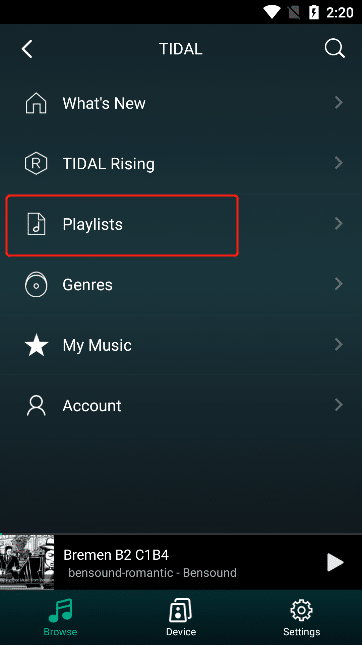
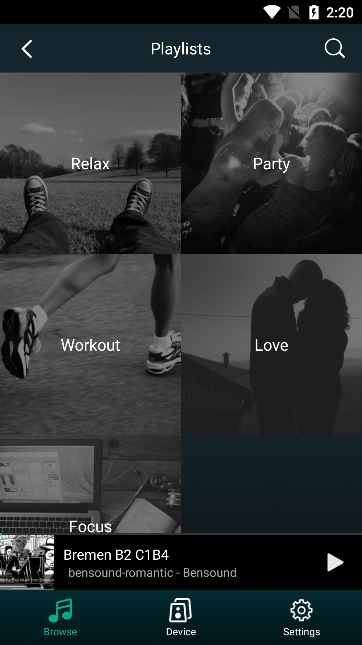
Select the content in the "Mood Menu" to enter the "Playlist" interface of the menu
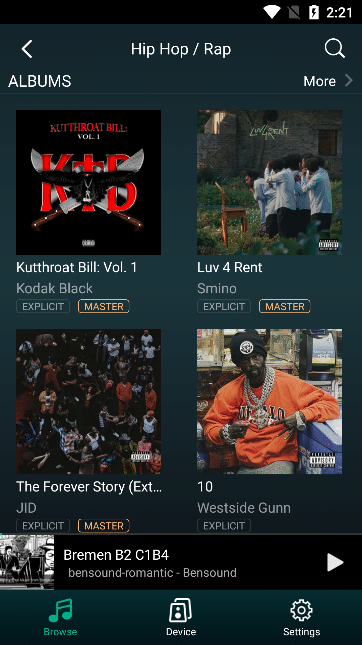
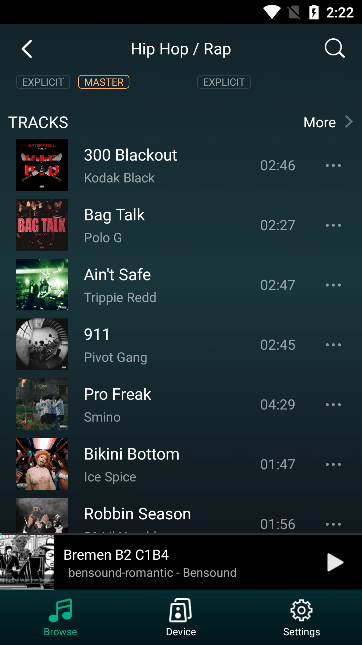
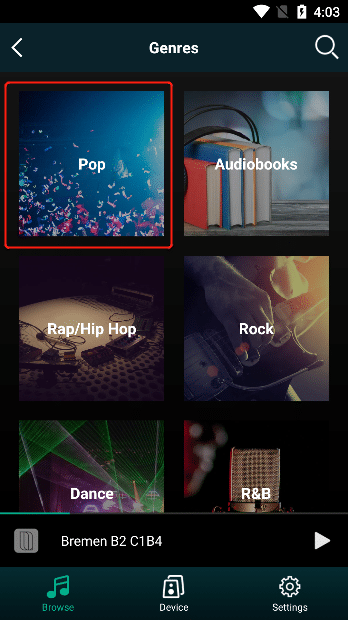
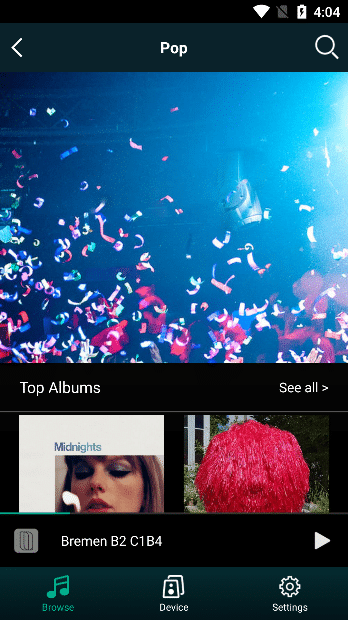
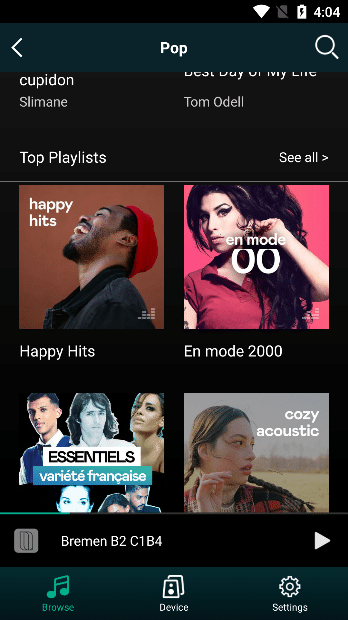
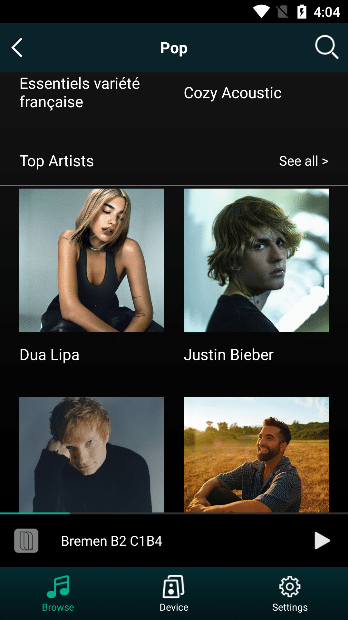
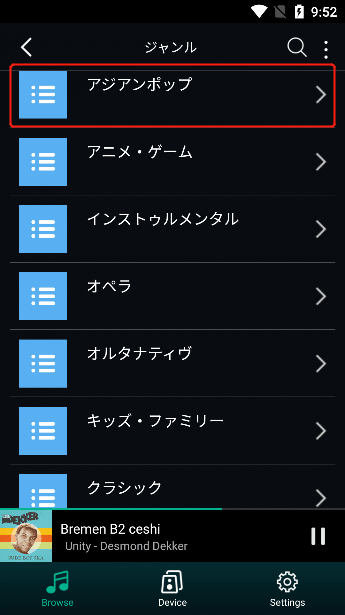
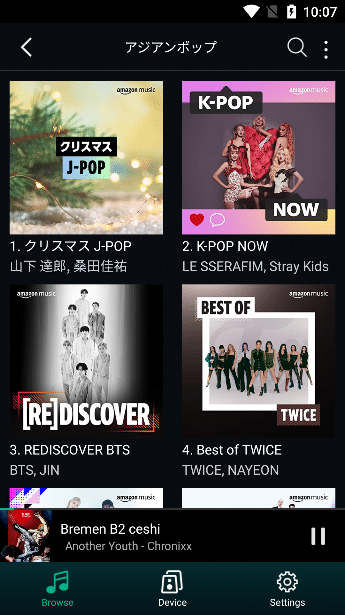
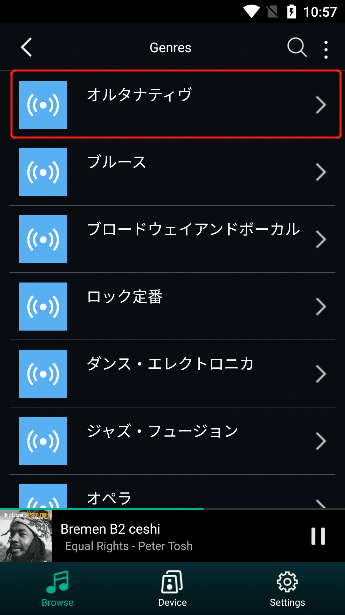
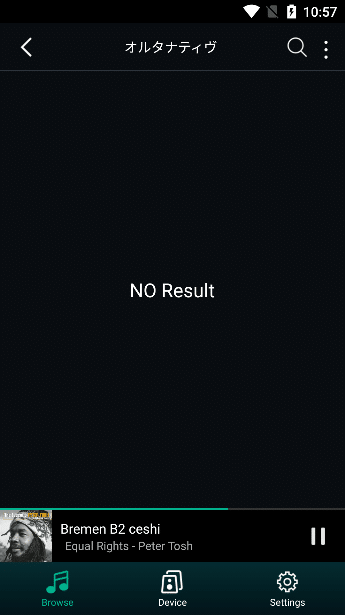
3.5.4.4.5. Genres (musical style)
Select "Genres" to enter the "Genres List" interface
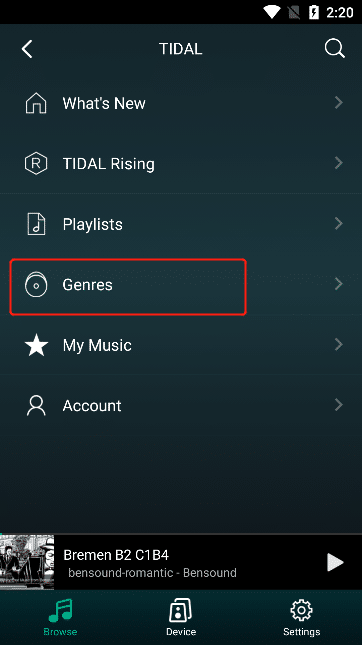
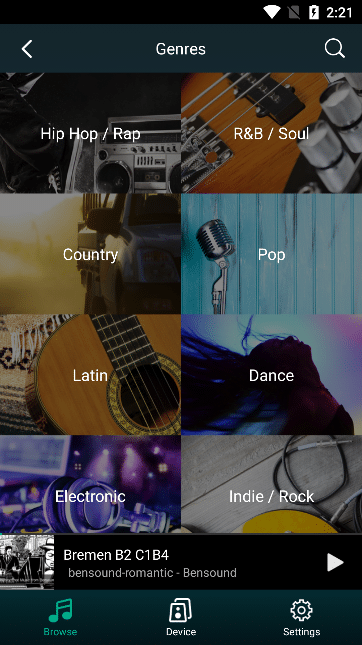
Select the content in the "Genre List" to enter the "Playlists" list of the genre.
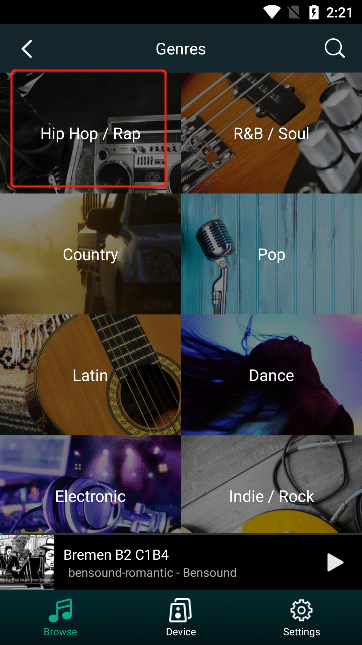
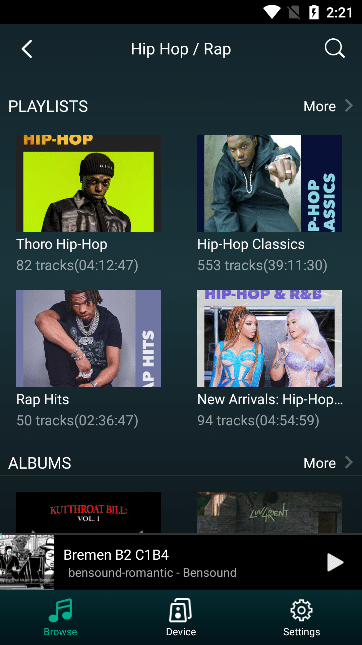
Swipe up to see the "Albums" and "Tracks" lists for that genre.
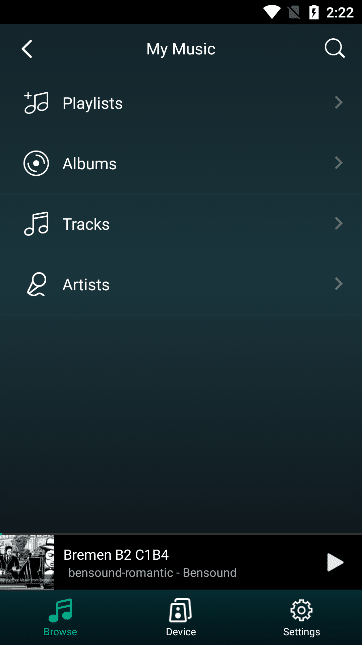
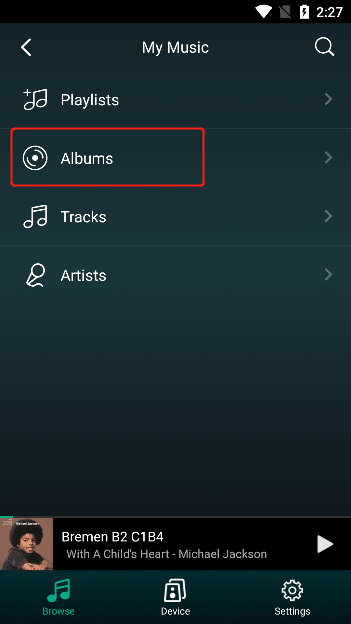
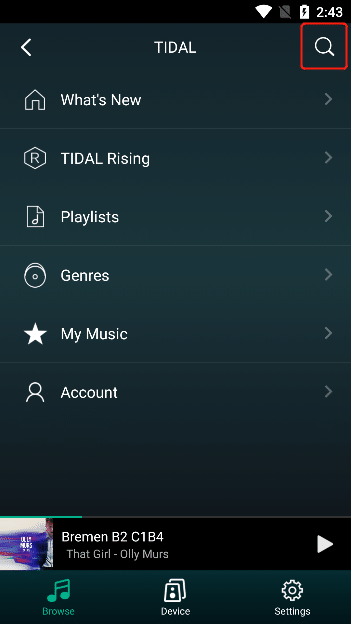
3.5.4.4.6. My Music
Select "My Music" . After entering, view the collection "Playlists" , "Albums" , "Albums" , "Artists" .
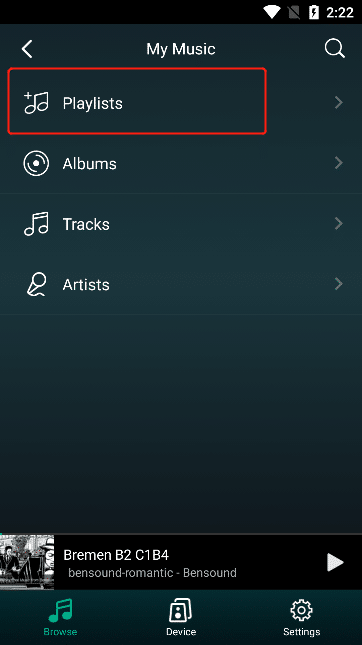
3.5.4.4.6.1. Playlists
Select "Playlists" to enter the "My Favorite Playlists" interface.
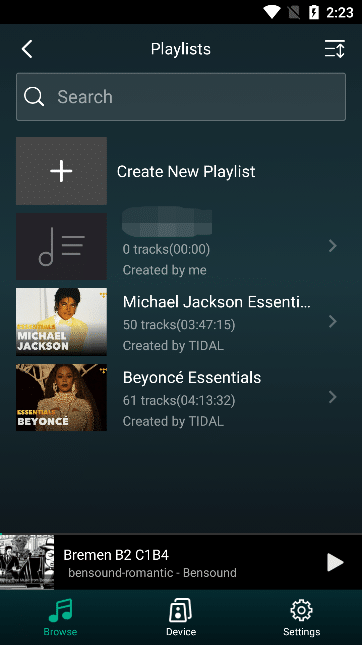
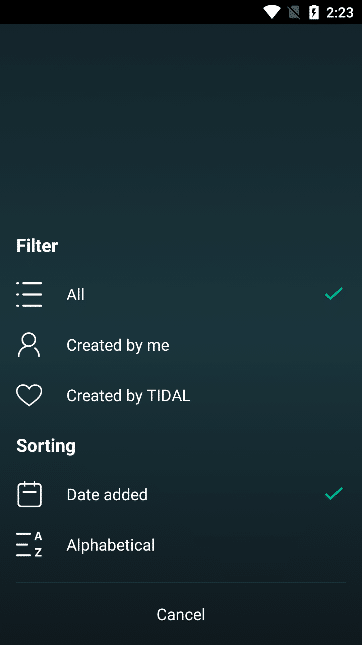
3.5.4.4.6.1.1. Playlist Filter Sort
Select the "Filter Sort" button at the top right, and in the pop-up operation, "All (all) " under "Filter" , "Created by me" , "Created by TIDAL" , "Date Added" and "Alphabetical" under "Sorting" , after selection, the playlist will be filtered and sorted according to the selected display (Note: You need to select an way to display)

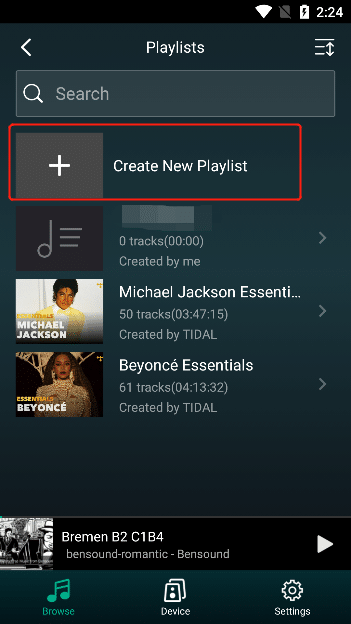
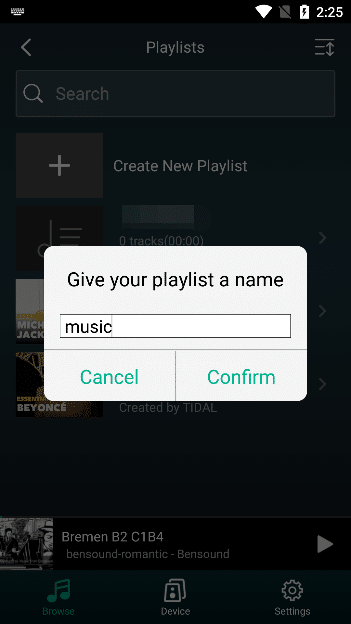
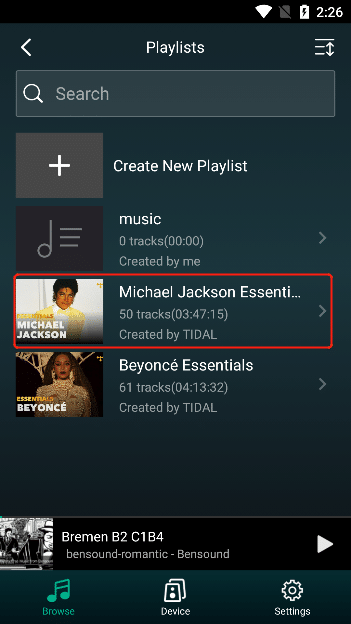
3.5.4.4.6.1.2. Create playlists
Select "Create New Playlist" , enter the playlist name, and then click "Confirm" to successfully create the playlist.
3.5.4.4.6.1.3. Remove Playlist
Select the playlist you want to remove, and then select the "Red Heart" button in the upper left corner to remove the current playlist
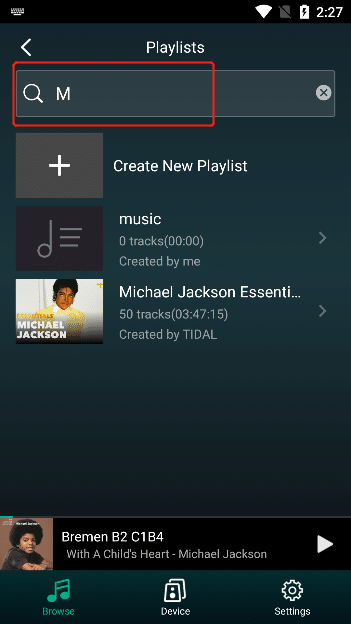
3.5.4.4.6.1.4. Search Playlists
Enter the name of the playlist you want to find, and you can search for playlists that match the name.
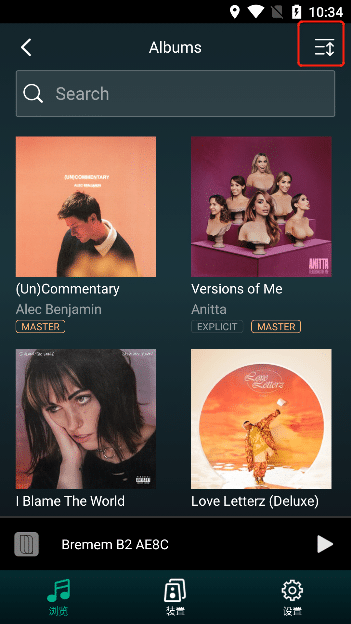
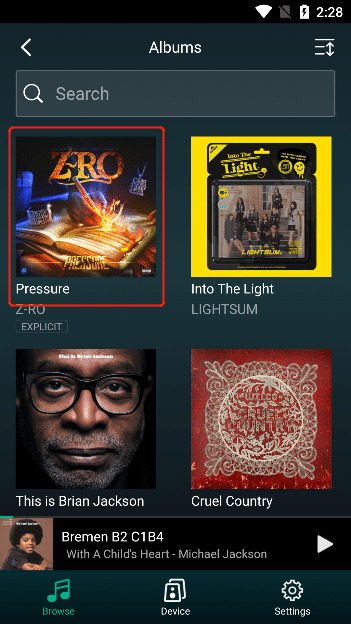
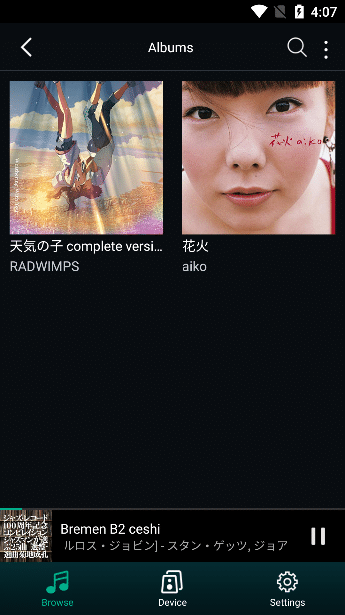
3.5.4.4.6.2. Albums
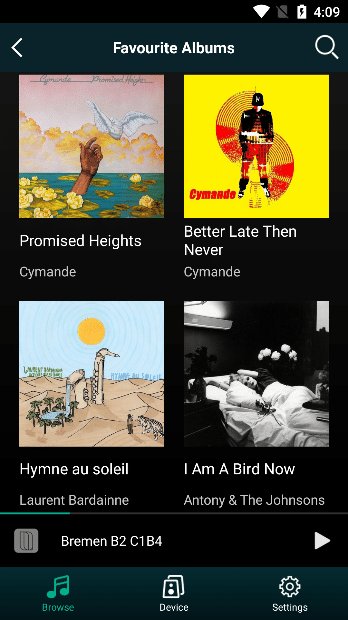
Select "Albums" to enter the "My Favorite Albums" interface.

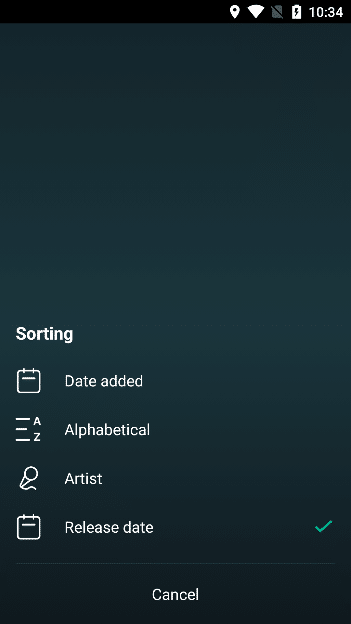
3.5.4.4.6.2.1. Album Sort
Select the "Filter and sort" button at the top right, and in the pop-up operation, under "Sorting" , "Date Added " , "Alphabetical" , "Artist" , " Release date" , the album list will be sorted and displayed according to the selected
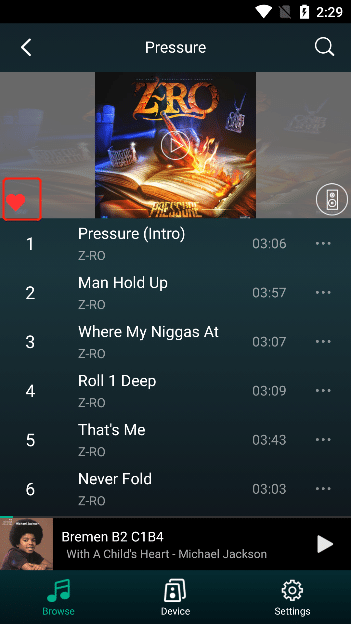
3.5.4.4.6.2.2. Remove Album
Select the album you want to remove, and then select the "Red Heart" button in the upper left corner to remove the current album
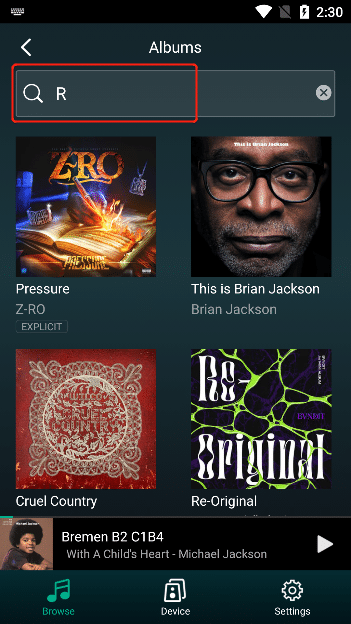
3.5.4.4.6.2.3. Search Album
Enter the name of the album you want to find, and you can search for albums that match that name.
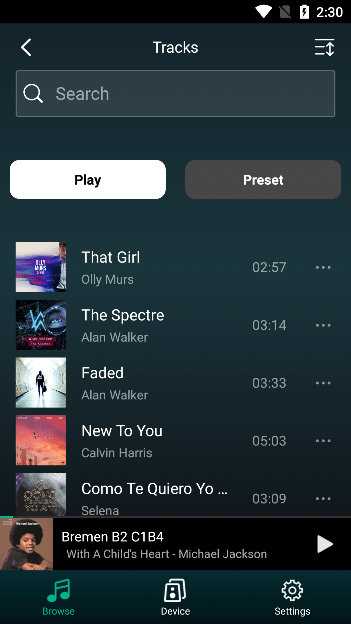
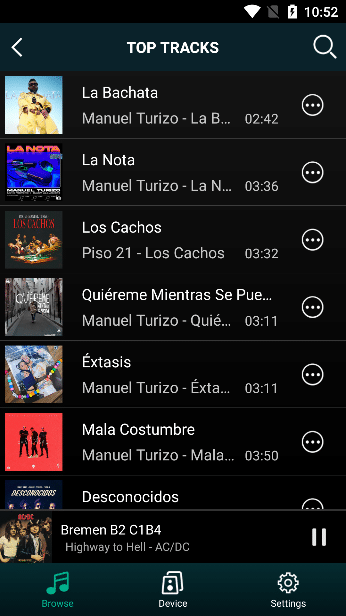
3.5.4.4.6.3. Tracks
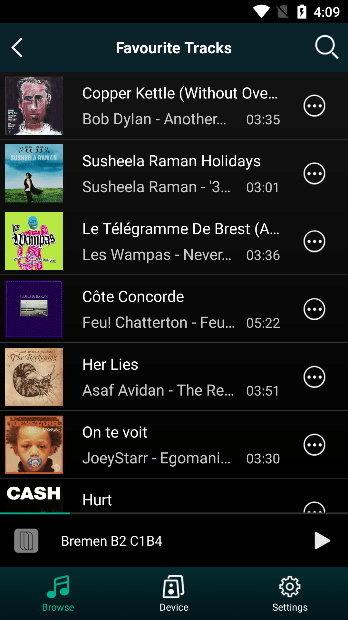
Select “Tracks” to enter the “My Favorite Tracks” interface.
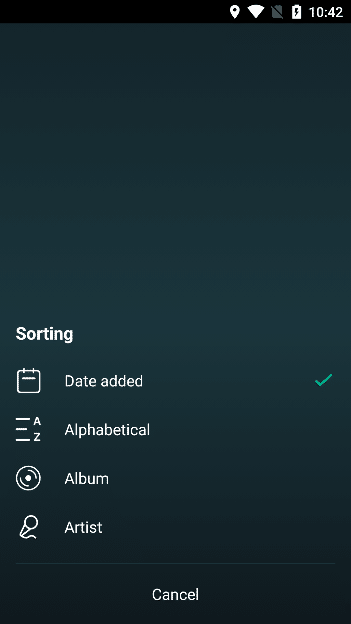
3.5.4.4.6.3.1. Track Sorting
Select the "Filter and Sort" button at the top right, and in the pop-up operation, under "Sorting" , "Date Added " , "Alphabetical " , "Artist" , " Album" , the track list will be sorted and displayed according to the selected
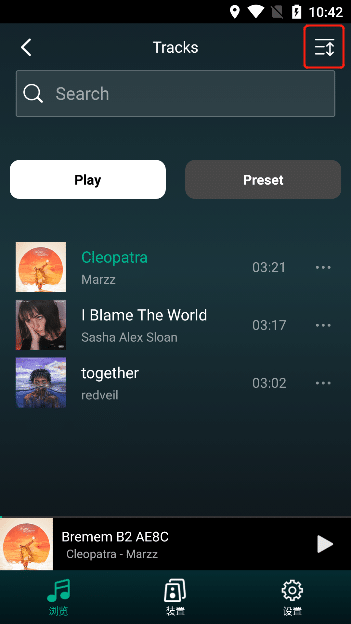
3.5.4.4.6.3.2. Search For a Track
Enter the name of the track you want to find, and you can search for tracks that match that name.
3.5.4.4.6.3.3. Paly
Select the "Paly" button above to play the track and add all the tracks to the play queue (Note: the play queue can be viewed in step 3.6.2.9)
3.5.4.4.6.3.4. Preset
Click the "Preset" button above, all preset content buttons will pop up, you can click the "Content is empty" button to add all my favorite tracks to the "Preset Content" of the specified button, such as After you click, the background color of the button changes to white, which means that the content has been preset successfully. (Note: Presets are viewed in step 3.5.2).

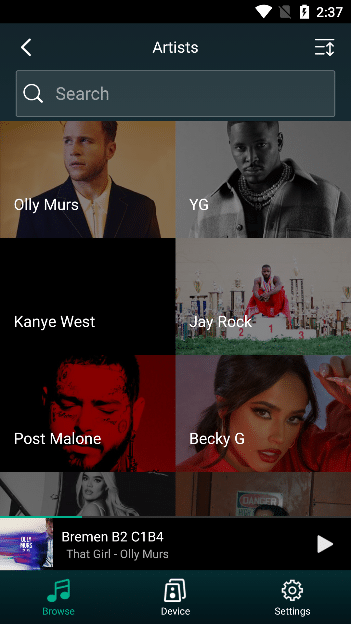
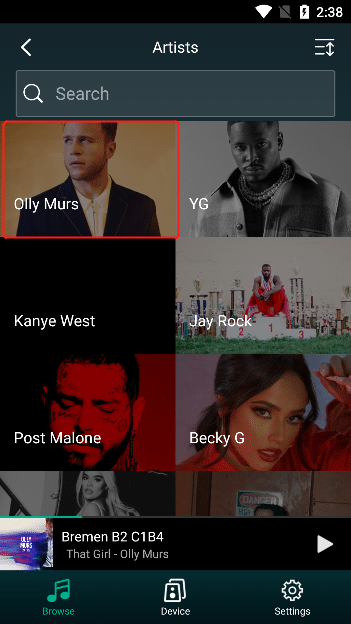
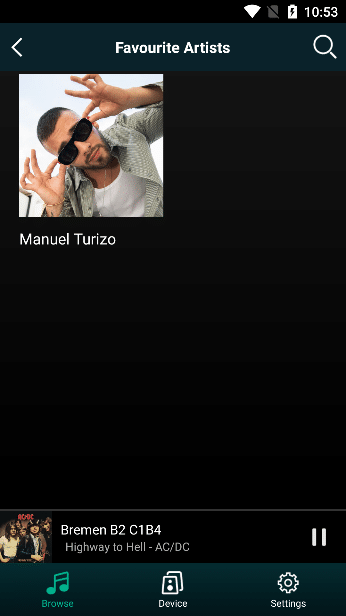
3.5.4.4.6.4. Artists
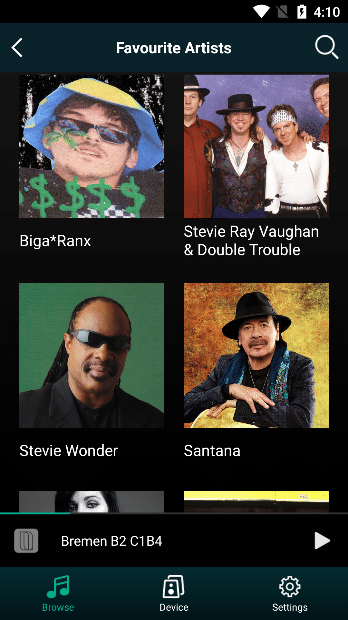
Select "Artists" to enter the "My Favorite Artists" interface.
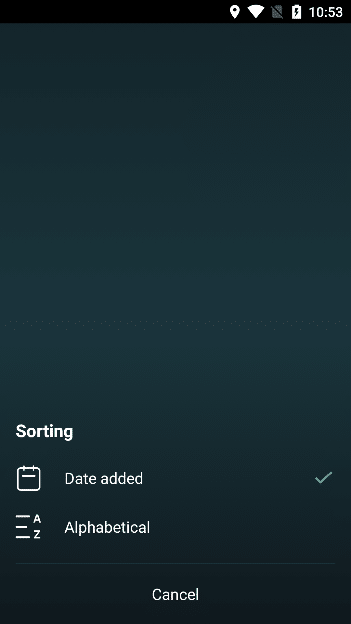
3.5.4.4.6.4.1. Sort By Artist
Select the "Filter and Sort" button at the top right, and in the pop-up operation, "Date Added" and "Alphabetical " under "Sorting " are selected, and the artist list will be sorted and displayed according to the selected ones.

3.5.4.4.6.4.2. Remove Artist
Select the artist you want to remove, and then select the "Red Heart" button in the upper left corner to remove the current artist
3.5.4.4.6.4.3. Search For An Artist
Enter the name of the artist you want to find, and you can search for artists matching that name.
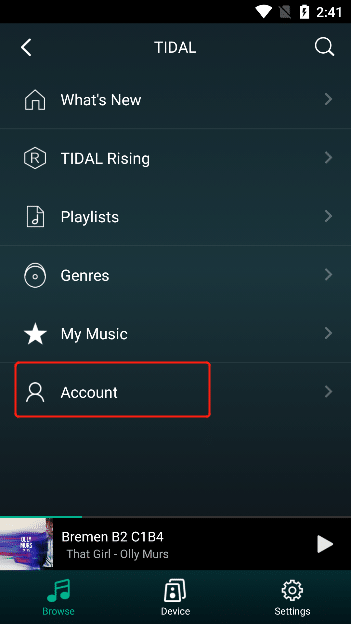
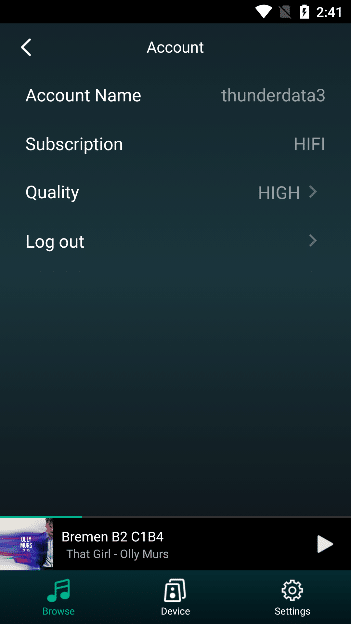
3.5.4.4.7. Account
Select "Account", enter and check "Account Name" , "Subscription" , "Quality" , "Log out"
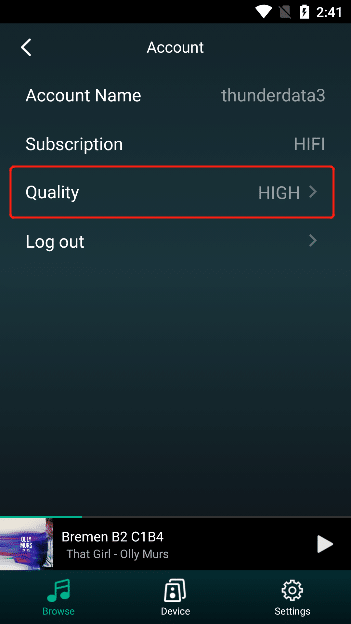
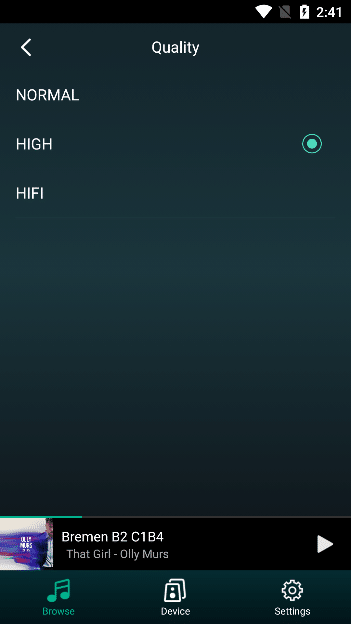
3.5.4.4.7.1. Quality
Select "Quality" , after entering, you can choose "NORMAL" , "HIGH" , "HIFI"
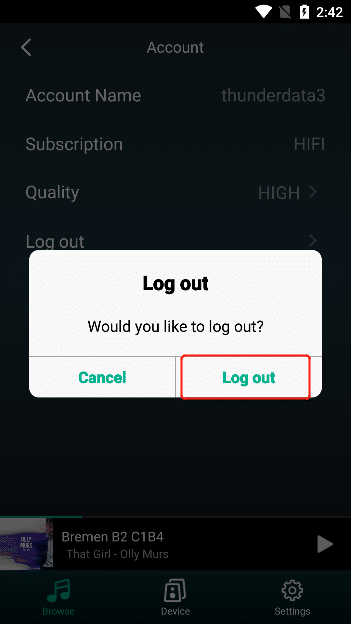
3.5.4.4.7.2. Log out
Select "Log out" , and then select "Log out" after entering to log out of the current account.

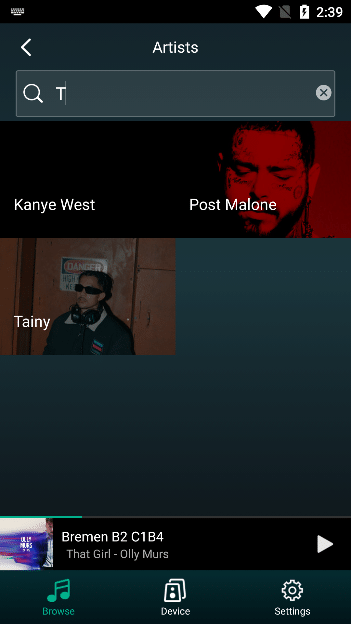
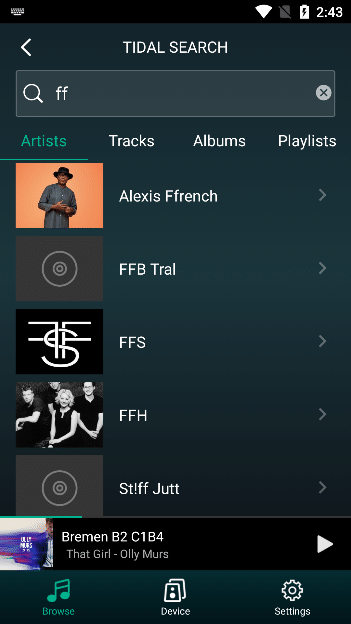
3.5.4.4.8. Search
Click the "Search" button to enter the "Search" interface
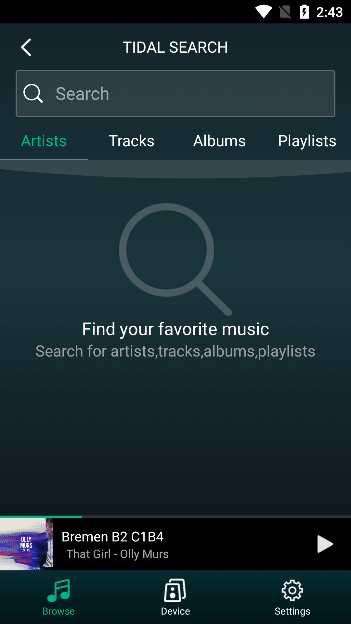
Enter the content you want to search in the search box, and then click the "Search" button to search for albums, tracks, artists and playlists that match the entered content.
3.5.4.4.9. Play Operation
3.5.4.4.9.1. Playlist Operations
selecting the "Playlist" content, enter the corresponding playlist
3.5.4.4.9.1.1. Play Playlist
Select the " Play" button of "Playlist" to play the current list track and add all the current playlist tracks to the play queue. (Note: The playback queue is viewed in step 3.6.2.9).
3.5.4.4.9.1.2. Favorite/Remove Playlist
Select the "Heart" icon in the upper left corner. If the icon is white, if it is red, it means that you have successfully added it to the collection. If the icon is red, if it is white after clicking, it means that you have removed the current playlist from the collection.

After the playlist is successfully added, you can view it in my "My Music- Playlists" . (Note: Playlists are viewed in step 3.5.4.4.6.1)
3.5.4.4.9.1.3. Preset Playlists
Click the "Preset" button in the upper left corner, all preset content buttons will pop up, you can click the "Content is empty" button to add the playlist to the "Preset Content" of the specified button, if you click the button at the bottom If the color changes to white, it means that the content has been preset successfully. (Note: Presets are viewed in step 3.5.2).
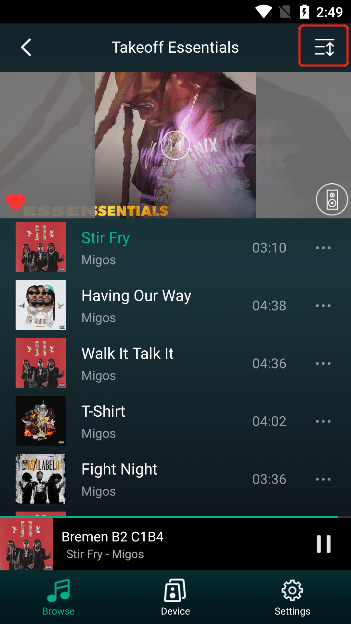
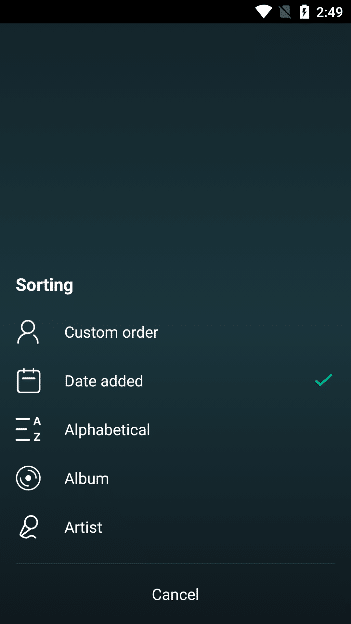
3.5.4.4.9.1.4. Playlist Sorting
Select the "Filter Sort" button at the top right, and in the pop-up operation, under "Sorting" , "Custom order", "Date Added" , "Alphabetical" , " Album" , "Artist" , after selection, the content of the playlist will be sorted and displayed according to the selection
3.5.4.4.9.2. Album Operation
selecting the content of "Album" , enter the corresponding album list
3.5.4.4.9.2.1. Play Album
Select the "Play" button of "Album" to play the tracks of the current album, and add all the tracks of the current album to the play queue (Note: the play queue can be viewed in step 3.6.2.9).
3.5.4.4.9.2.2. Favorite/Remove Album
Select the "Heart" icon in the upper left corner. If the icon is white, if it is red, it means that you have successfully added the collection. If the icon is red, if it is white after clicking, it means that you have removed the current album from the collection.
After the playlist is successfully added, you can view it in my "My Music-Albums" .(Note: Albums are checked in step 3.5.4.4.6.2)
3.5.4.4.9.2.3. Preset Album
Click the "Preset" button in the upper left corner, all preset content buttons will pop up, you can click the "Content is Empty" button to add my current album to the "Preset Content" of the specified button, if you click the button after The background color changes to white, which means that the content has been preset successfully. (Note: Presets are viewed in step 3.5.2).
3.5.4.4.9.2.4. Search
Select the "Search" button to enter the "Search" interface, enter the "Artists" , "Tracks" , "Albums" , "Playlists" you want to search .

3.5.4.4.9.3. Track Operation
Select "..." on the right side of the track to view the operation list of the track
3.5.4.4.9.3.1. Track Playback
Select the track you want to play, you can play the current list track, and add all the tracks at the current position to the play queue (Note: the play queue can be viewed in step 3.6.2.9).
3.5.4.4.9.3.2. Add to My Music
Select "Add to My Music" to add the current track to "My Music-Tracks" . (Note: Tracks are checked in step 3.5.4.4.6.3)
After adding tracks to My Music, you can view them in "My Music-Tracks" . (Note: Tracks are checked in step 3.5.4.4.6.3)
3.5.4.4.9.3.3. Remove From My Music
If the current track has been added to My Music, select "Remove from My Music" to delete the current track from "My Music-Tracks" . (Note: Tracks are viewed in step 3.5.4.4.6.3).
3.5.4.4.9.3.4. Add to Playlist
Select "Add to My Music" to enter the "My Playlist" interface, click on the playlist you want to add the track to, and the addition is successful. (Note: Playlist is checked in step 3.5.4.4.6.1)
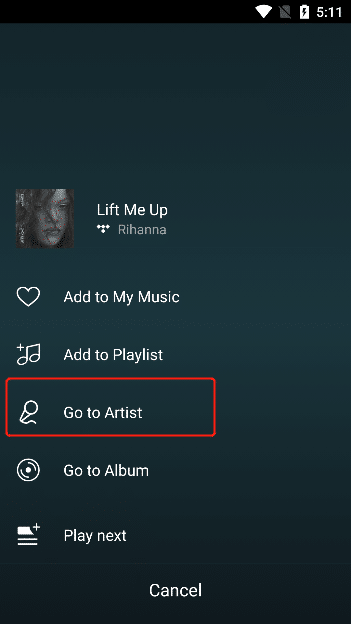
3.5.4.4.9.3.5. Go to Artist
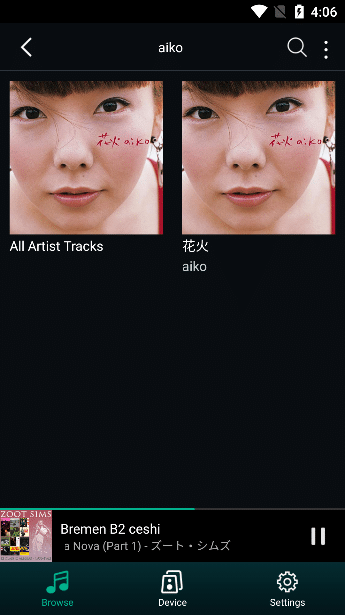
Select "Go to Artist" to enter the "Artist" interface of the track and view the track, album and other information of the artist.
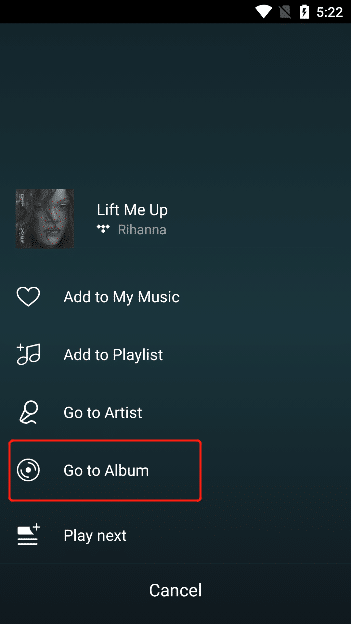
3.5.4.4.9.3.6. Go to Album
Select "Go to Album" to enter the "Album" interface of the track.
3.5.4.4.9.3.7. Play Next
Select "Play Next" , it means that the song will be played after the current song is played, and the song will be added to the play queue (Note: the play queue can be viewed in step 3.6.2.9)
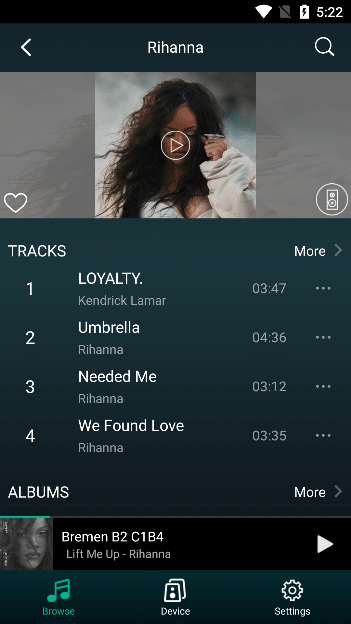
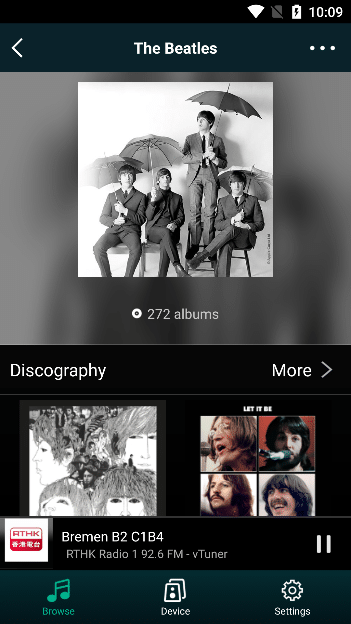
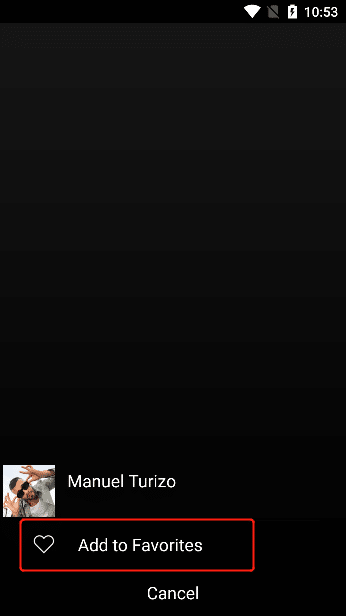
3.5.4.4.9.4. Artist Operation
Select "Go to Artist" to enter the "Artist" interface of the track, to view the artist's tracks, albums and other information, select "More" to view the artist's tracks or album.
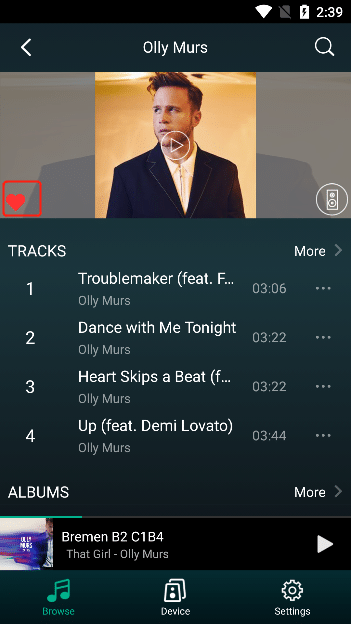
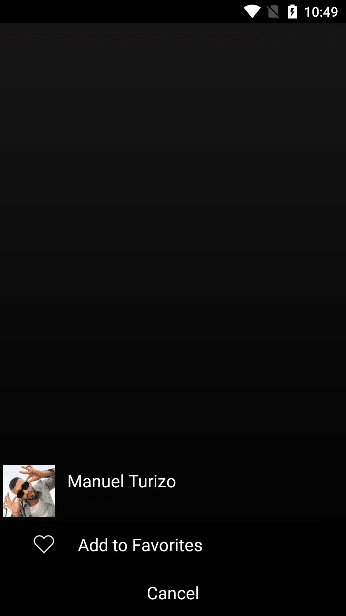
3.5.4.4.9.4.1. Favorite/Remove Artist
Select the "Heart-Shaped" icon in the upper left corner. If the icon is white, if it is red after clicking, it means that you have successfully added the collection. If the icon is red, and if it is white after clicking, it means that you have removed the current artist from the collection.
After the collection playlist is successful, you can view it in my "My Music - Artists" . (Note: Artists are checked in step 3.5.4.4.6.4)
3.5.4.4.9.4.2. Preset
Click the "Preset" button in the upper right corner, all preset content buttons will pop up, you can click the "Content is Empty" button to add the current artist's track to the "Preset Content" , if you click the button background color If it turns white, it means that the content has been preset successfully. (Note: Presets are viewed in step 3.5.2).
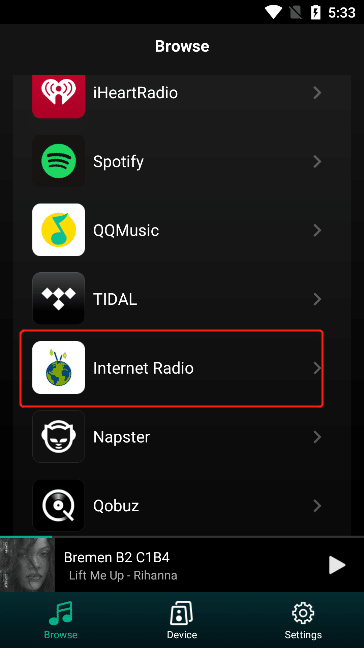
3.5.4.5. Internet Radio
Click "Internet Radio" to enter the "Internet Radio" interface
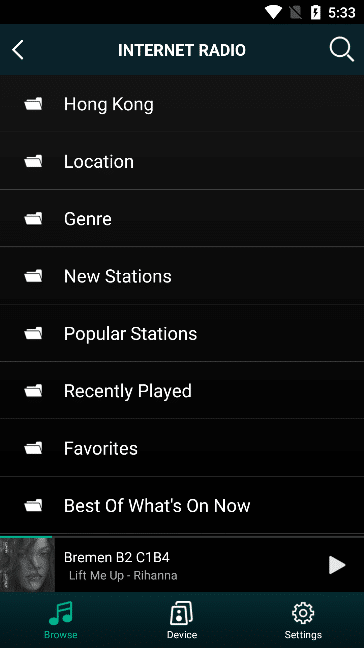
Select the radio station you want to play in the radio station list to enter the radio list of the radio station.
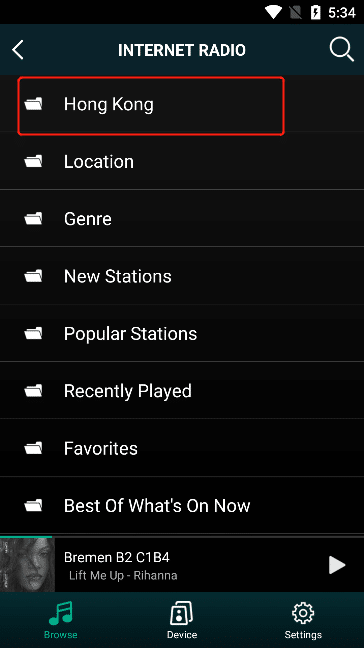
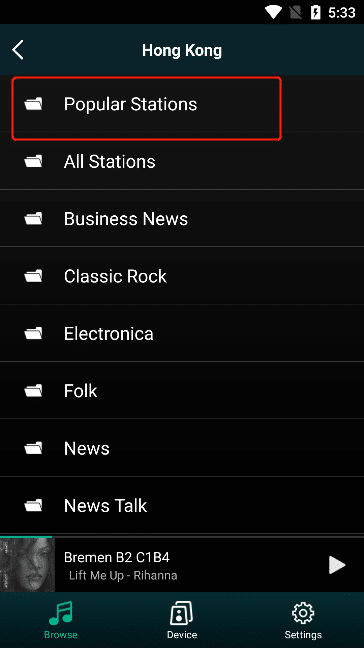
Click the radio you want to play to play
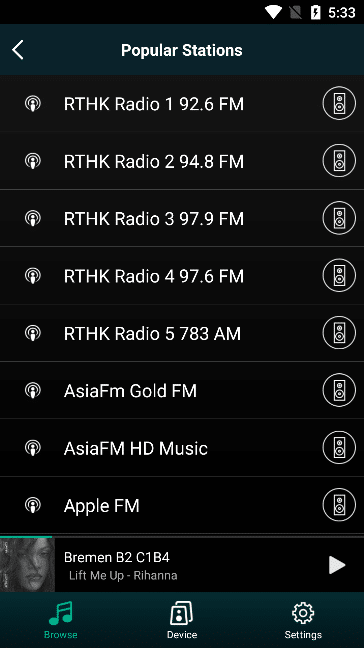

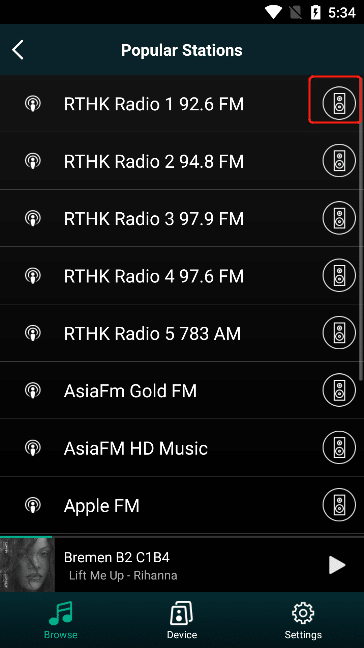
3.5.4.5.1. Preset
"Preset" button on the right of the broadcast to pop up all the preset content buttons. You can click the "Content is Empty" button to add the corresponding broadcast to the "Preset Content" of the specified button. The background color of the button changes to white, indicating that the content has been preset successfully. (Note: Presets are viewed in step 3.5.2).
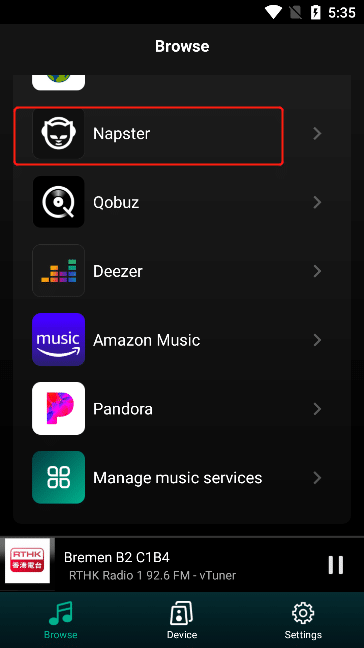
3.5.4.6. Napster
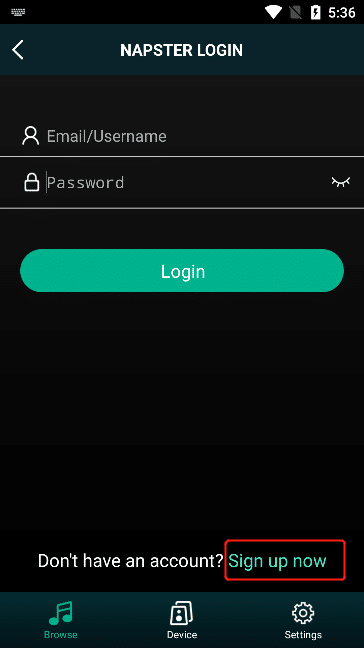
Click "Napster" to enter the "NAPSTER Login" interface
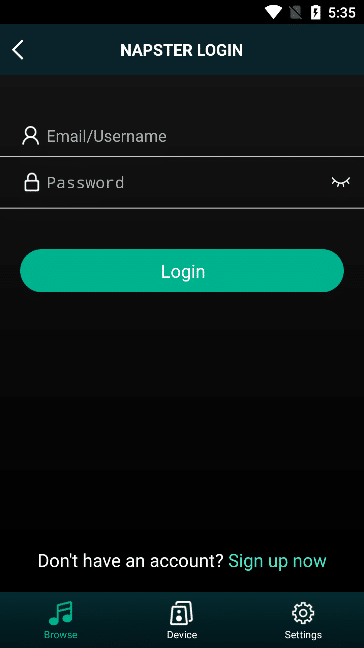
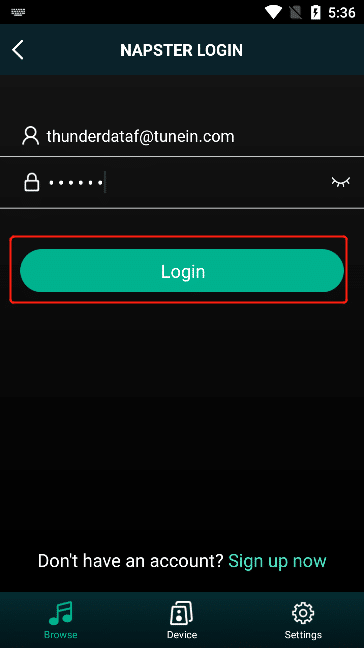
3.5.4.6.1. NAPSTER Login
Enter your account and password on the "NAPSTER Login" interface, and click "Login" to successfully log in to "Napster" .
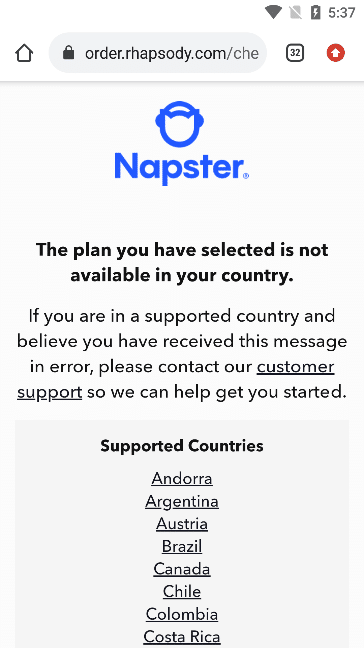
3.5.4.6.2. NAPSTER Registration
Click "Register Now" to enter the "NAPSTER Official Website" for registration.
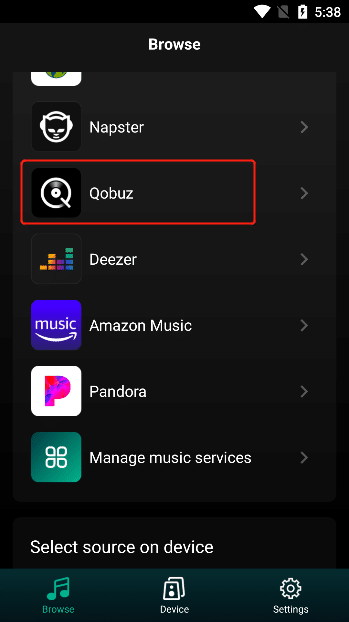
3.5.4.7. Qobuz
Click "Qobuz" to enter the "Qobuz Login" interface
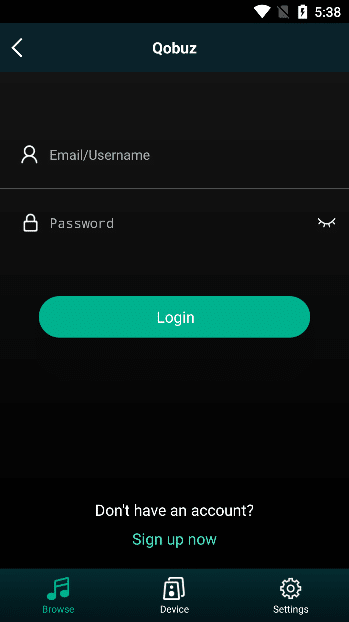
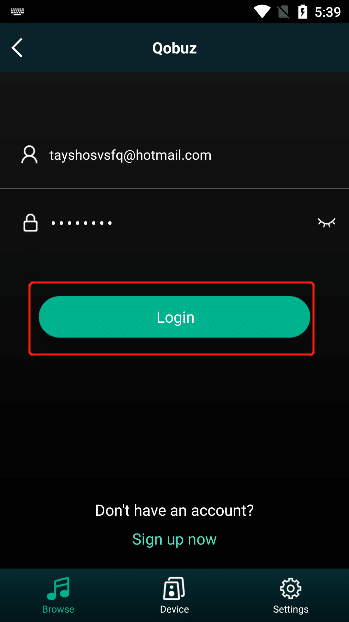
3.5.4.7.1. Qobuz Login
Enter your account number and password on the "Qobuz Login" interface, click "Login" to successfully log in to "Qobuz" .
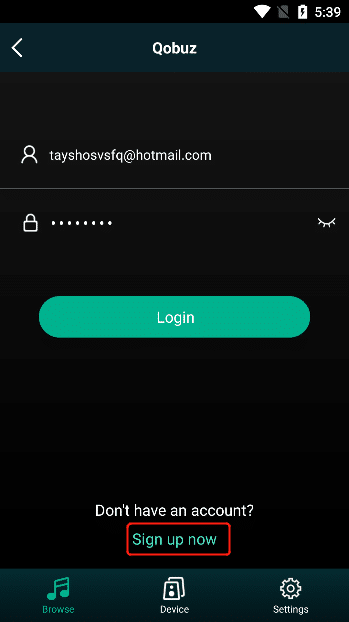
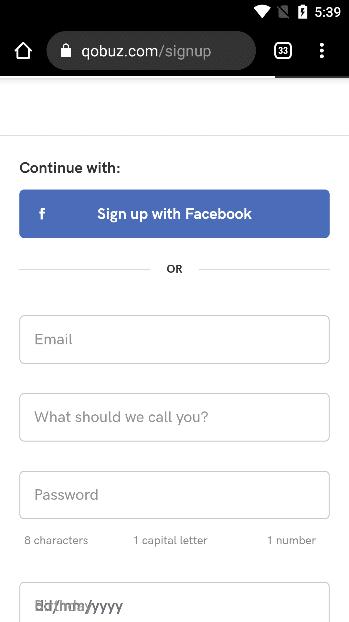
3.5.4.7.2. Qobuz Registration
Click "Register Now" to enter the "Qobuz official website" to register.
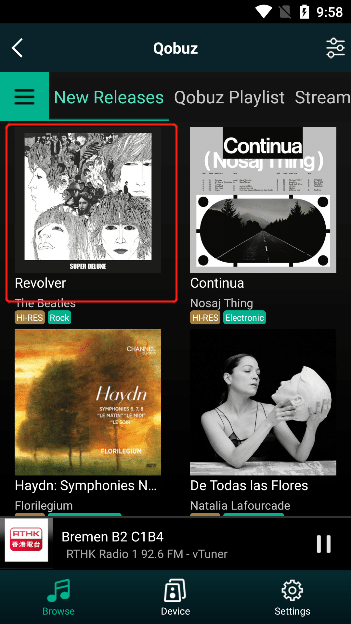
3.5.4.7.3. New Release
Click "New Release" above to view the album list of "New Release" , select "New Release Album" to enter the list of all tracks of the album.
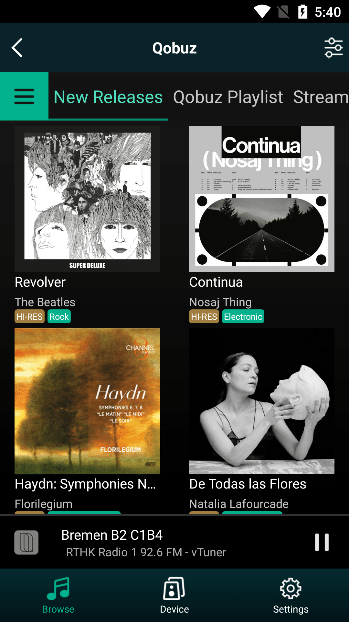
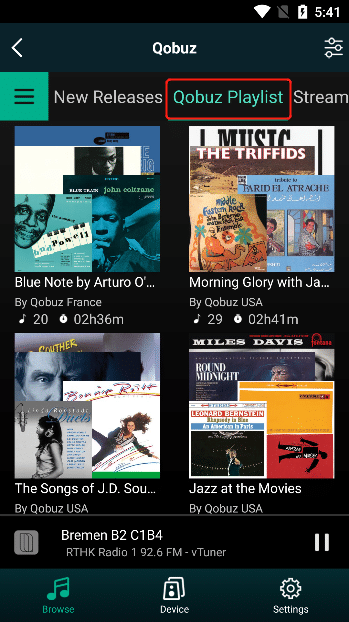
3.5.4.7.4. Qobuz Playlist
Click "Qobuz Playlist" above to view Qobuz's playlist, select "Playlist" to enter the list of all tracks in the playlist.
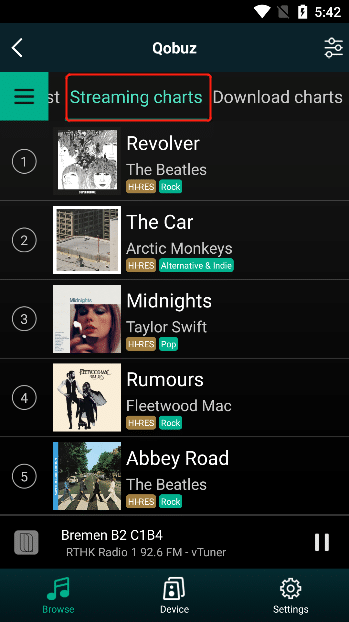
3.5.4.7.5. Streaming Charts
Click "Streaming Chart" above to view the playlist of "Streaming Chart" , select "Playlist" to enter the list of all tracks in the playlist.

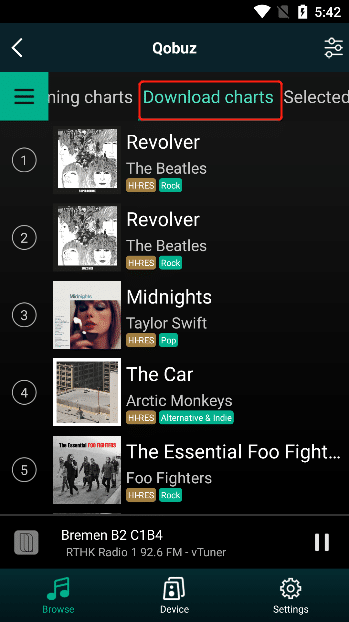
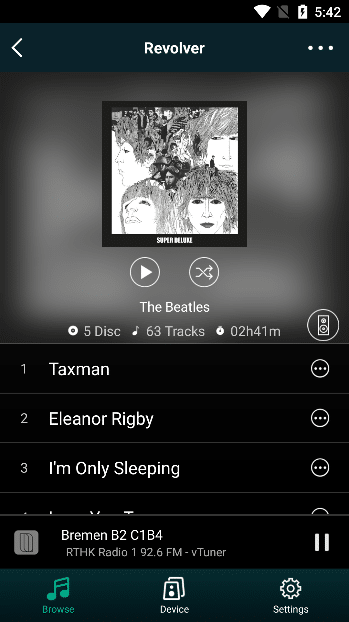
3.5.4.7.6. Download Charts
Click "Download Chart" above to view the playlist of "Download Chart" , select "Playlist" to enter the list of all tracks in the playlist.
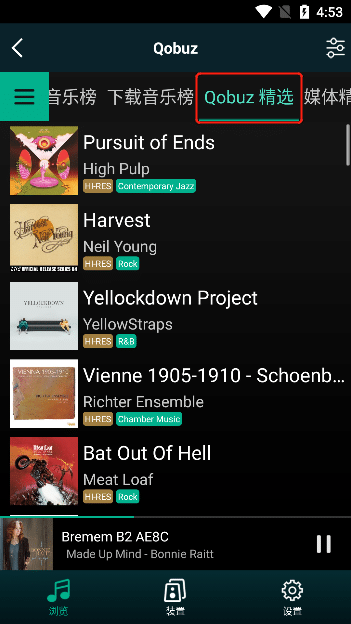
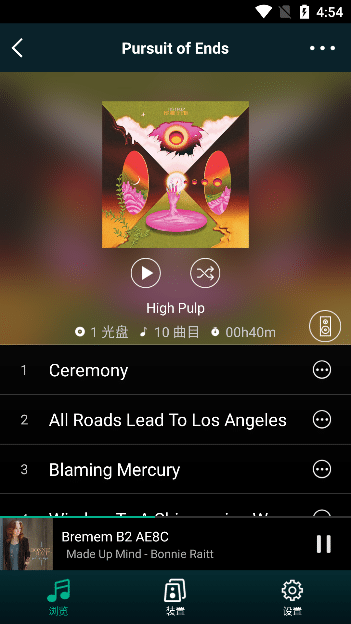
3.5.4.7.7. Selected by Qobuz
Click "Selected by Qobuz" above to view the "Selected by Qobuz" playlist, select "Playlist" to enter the list of all tracks in the playlist.
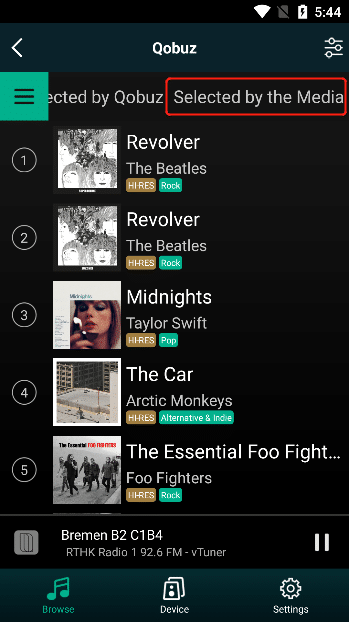
3.5.4.7.8. Selected by the Media
Click "Media Collection" above to view the playlist of "Media Collection" , select "Playlist" to enter the list of all tracks in the playlist.
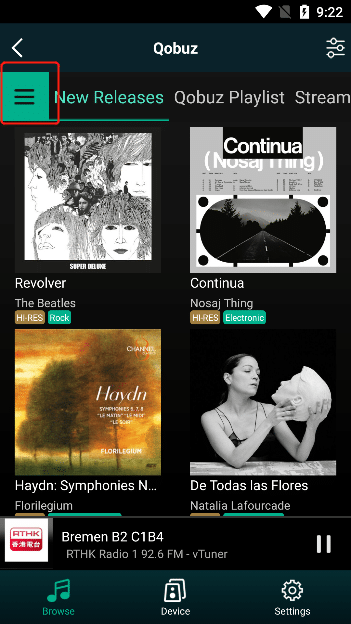
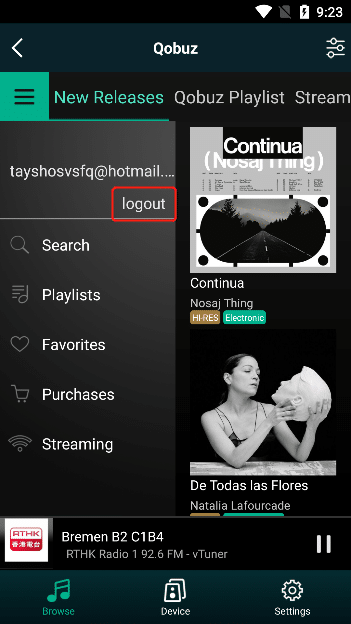
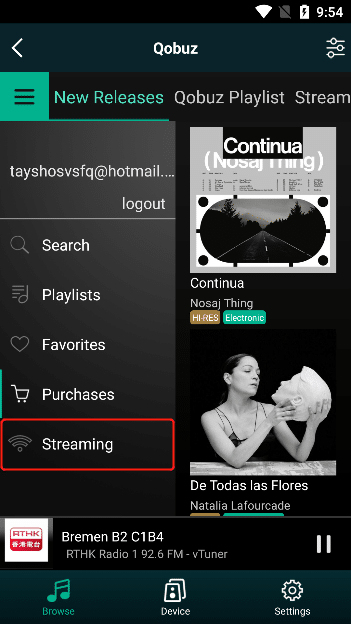
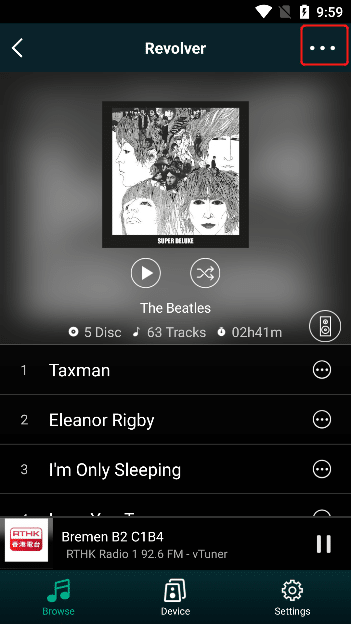
3.5.4.7.9. More Actions
Click the "More" button to view more related operations.
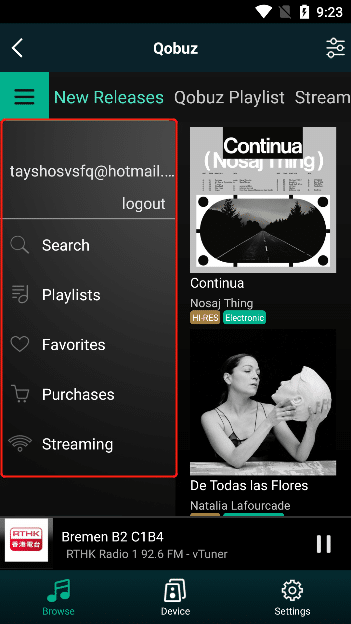
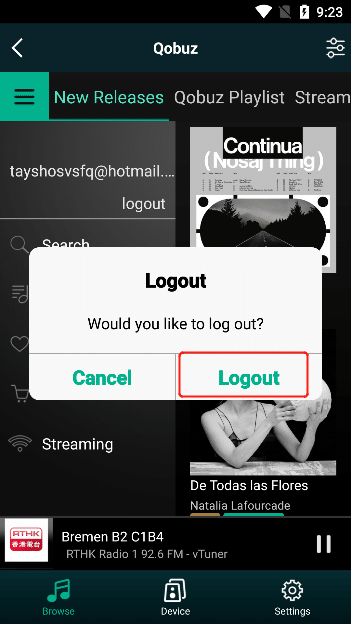
3.5.4.7.9.1. Log Out
Select the "Logout" operation, and then select the "Logout" button to successfully log out of the current account.
3.5.4.7.9.2. Search
Select "Search" to enter the "Search" interface
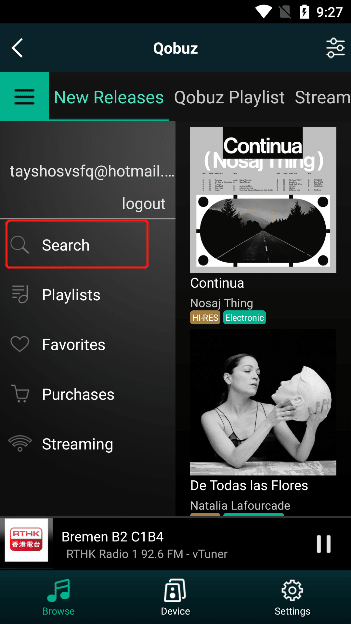
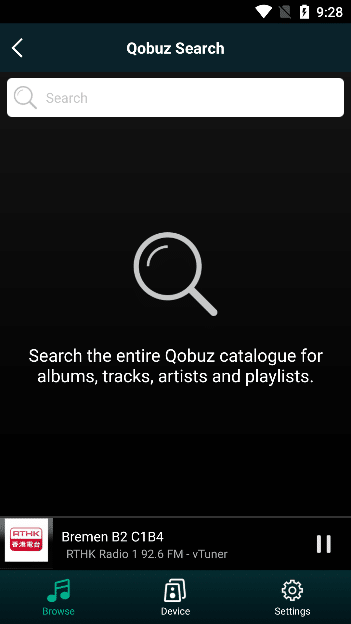
Enter the name you want to search in the search box, and then click the "Search" button to search for the name that matches the input content.Albums, Tracks, Artists and Playlists.
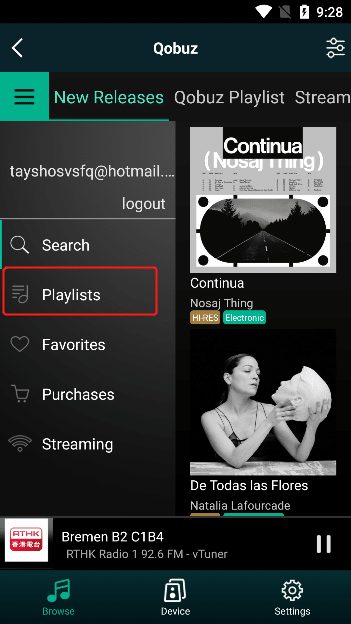
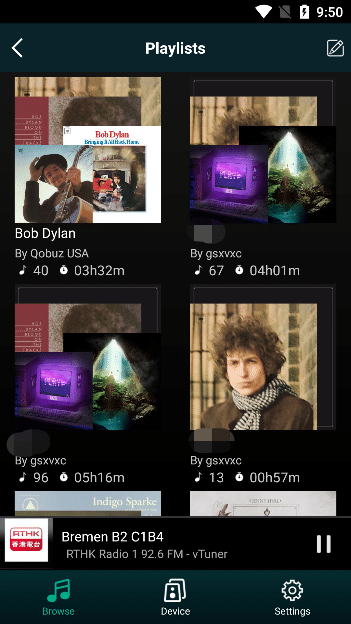
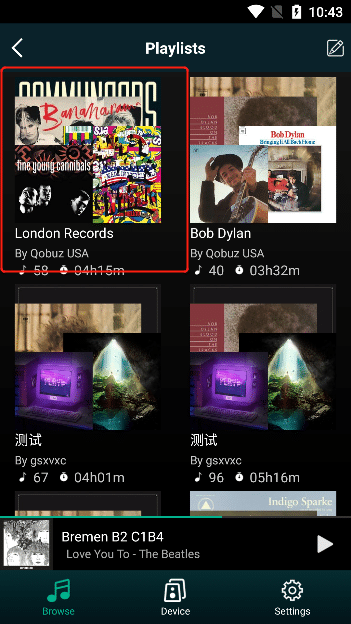
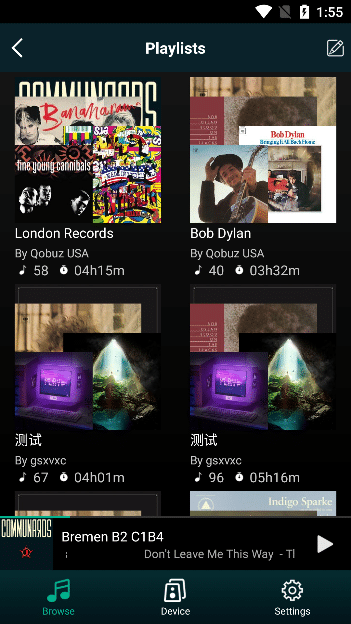
3.5.4.7.9.3. Playlist
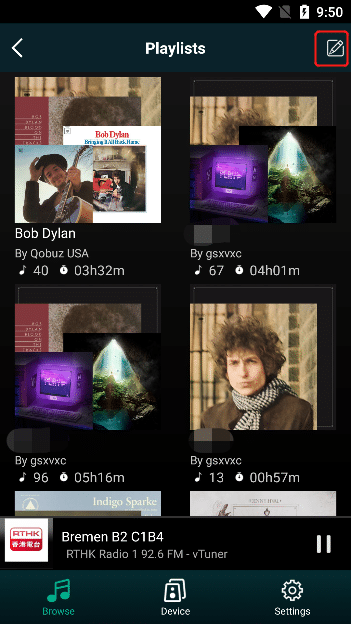
Select Playlists to view the playlists you have added (playlists subscribed from Qobuz playlists or created manually).

3.5.4.7.9.3.1. Remove Playlist
Select the "Edit" button in the upper right corner, and then click the "-" button

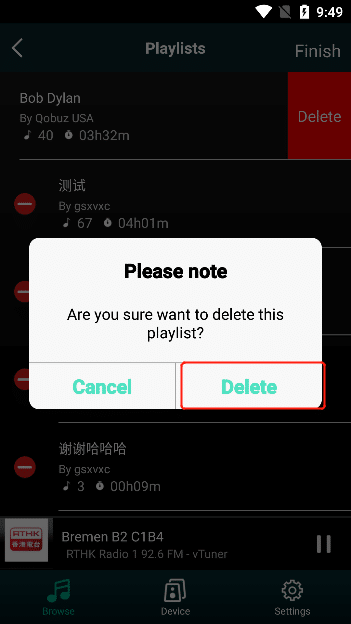
Select "Delete" and click the "Delete" button.
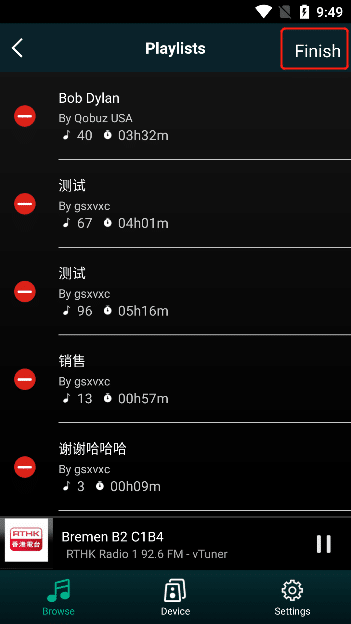
After deletion, click "Finish" to return to the "Playlist" interface to confirm that the playlist has been deleted successfully.

3.5.4.7.9.4. Favorite
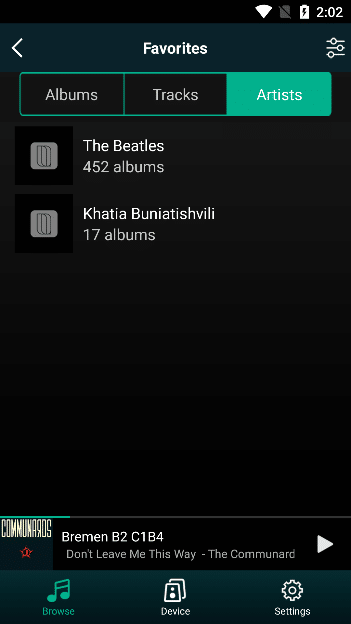
Select "Favorites" to enter the favorite "Album" interface
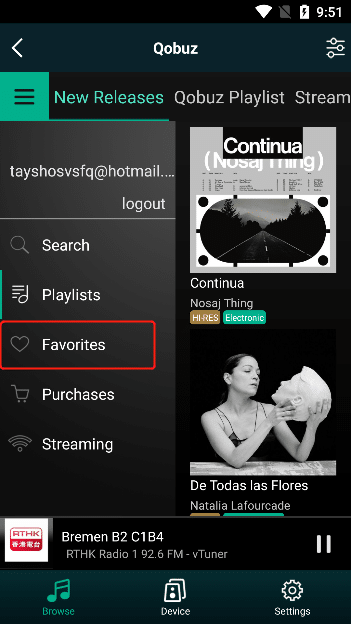
Click above to switch to the favorite "Tracks" and "Artists" interface
3.5.4.7.9.5. Purchases
Select "Purchase" to enter the "Purchased Albums" list interface
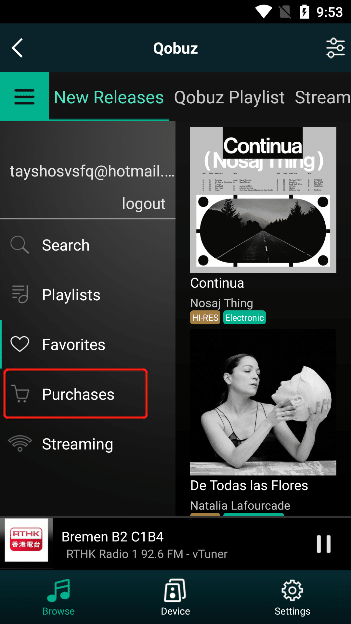
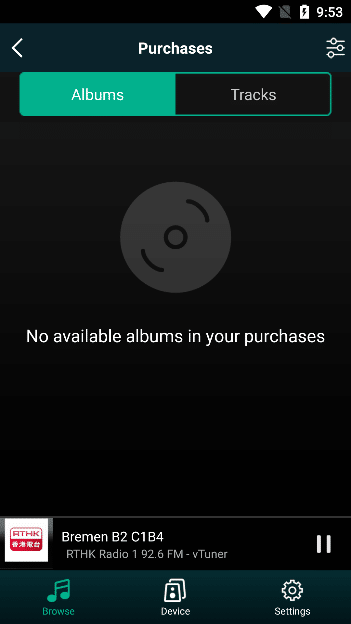
Click "Tracks" above to enter the "Purchased Tracks" list interface

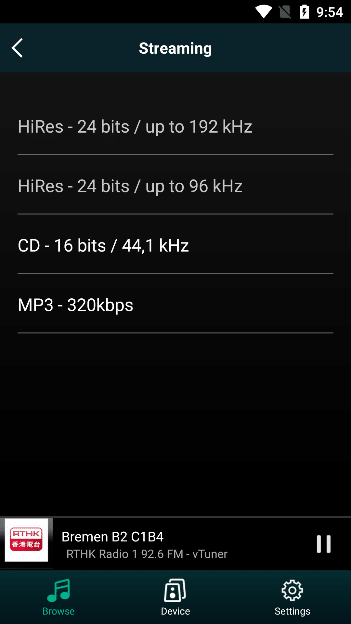
3.5.4.7.9.6. Streaming
Select "Streaming" to enter the "Bit Depth/Sampling Rate" interface, where you can switch "Bit Depth/Sampling Rate"
3.5.4.7.10. Type of Music
Select the "Music Type" button in the upper right corner to enter the "Music Type" selection list. This music type represents the type filtering of all music in "Qobuz" . If you choose not to display, the music of this type will not be displayed including playlists .

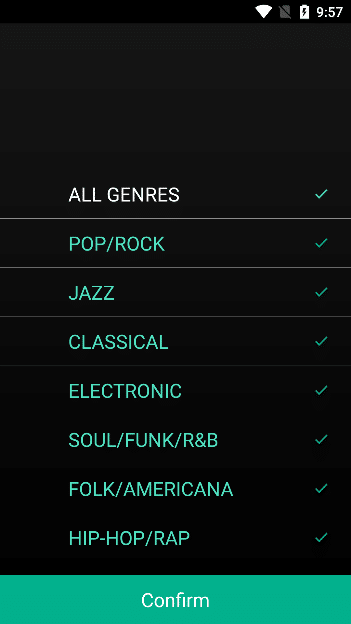
"tick" icon appears on the right side of the music type , indicating that this type of music is displayed. If you want to not display this type of music, click the music type. When the "tick" icon is canceled on the right side, it means that this type of music will not be displayed. Click the "Confirm" button to start filtering out the types of music that need to be displayed.
3.5.4.7.11. Play Operation
3.5.4.7.11.1. Album Operation
selecting the content of "Album" , enter the corresponding album
3.5.4.7.11.1.1. Add to Favorites
Select "..." in the upper right corner , and click "Add to Favorites" in the pop-up operation .
Click "Add to Favorites" and the album will be added to the "Album" interface of "Favorites" . (Note: Favorites are viewed in steps 3.5.4.7.9.4)
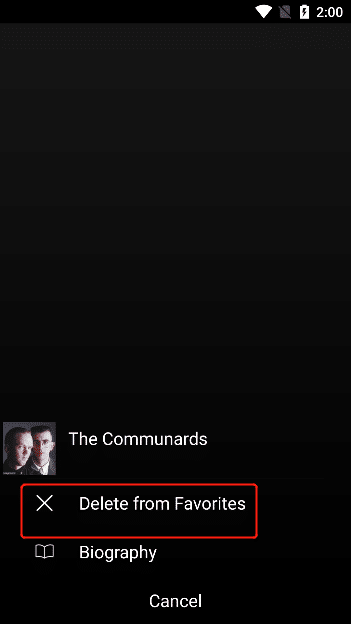
3.5.4.7.11.1.2. Delete from favorites
Select "..." in the upper right corner , if the current album has been added to "Favorites" , click "Delete from Favorites" in the pop-up operation, and the current album can be deleted from the "Album" interface of "Favorites" . (Note: Favorites are viewed in steps 3.5.4.7.9.4)


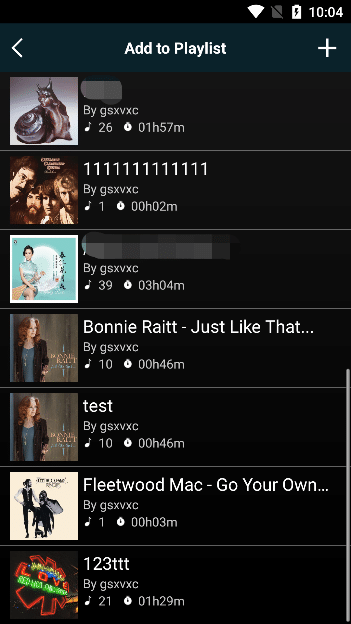
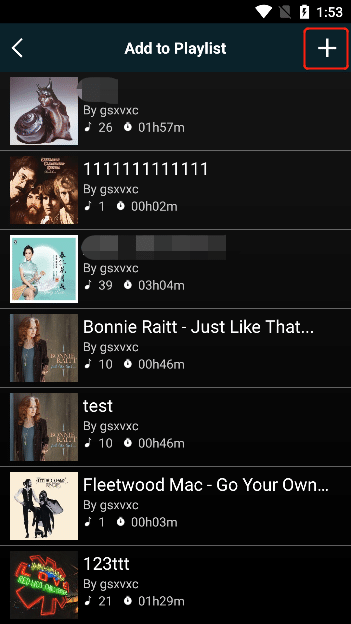
3.5.4.7.11.1.3. Add to Playlists
Select "..." in the upper right corner , click "Add to Playlist" in the pop-up operation
the playlist you created will pop up, click the playlist you want to add an album to, and you can successfully add the album to the "Playlists" (Note: Playlists is viewed in step 3.5.4.7.9.3).
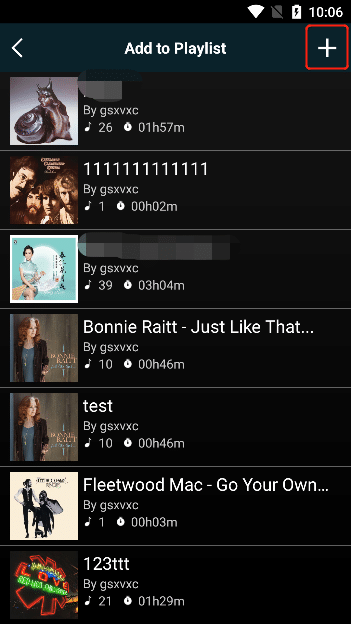
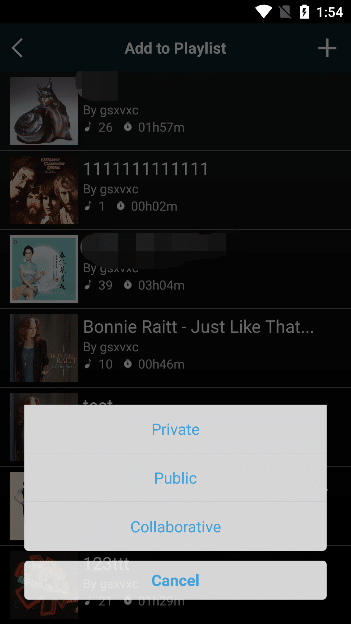
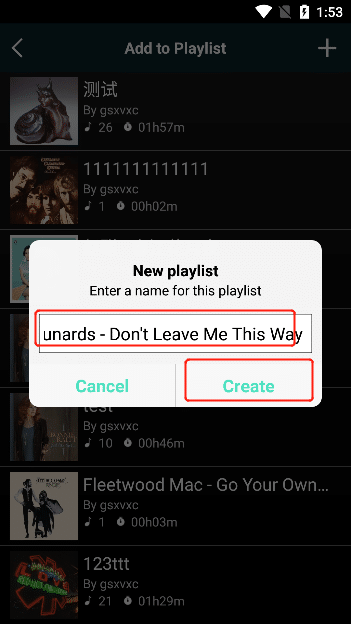
3.5.4.7.11.1.3.1. Create Playlist
You can create a new playlist by clicking the "+" in the upper right corner of the "Add to Playlist" interface , enter the name of your playlist, and then click the "Create" button
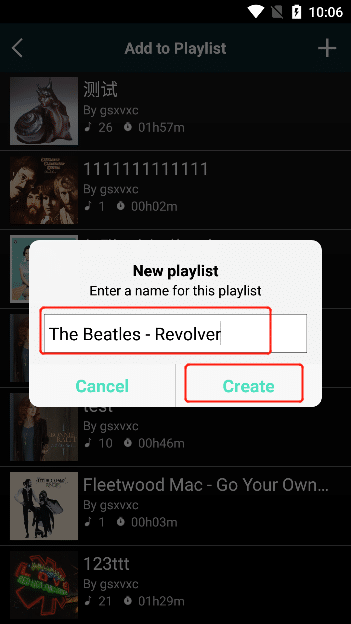
Select the access permission of your newly created playlist "Private" , "Public" , "Public" , "Private" means that the playlist can only be accessed by the current account and not accessible to others, "Public" means that the playlist can be accessed by everyone Access, "Public" means that the playlist is only allowed and accessible to members of the group.

3.5.4.7.11.1.4. See Artist
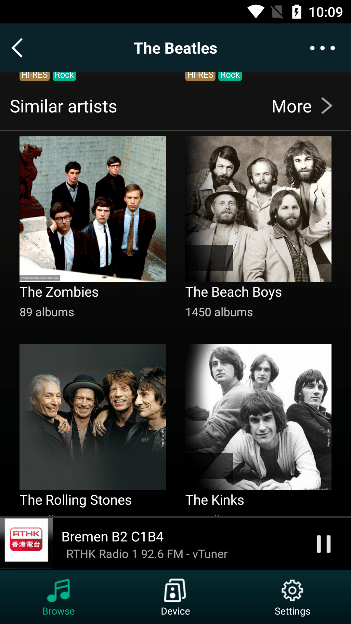
Select "..." in the upper right corner , click and select "See Artist" in the pop-up operation .

View the artist's music works and other similar artist information, click "More" to view all the artist's music works or all similar artists.
3.5.4.7.11.1.4.1. Artist Operation
In the "Artist" interface, select "..." to view the operation list of the artist
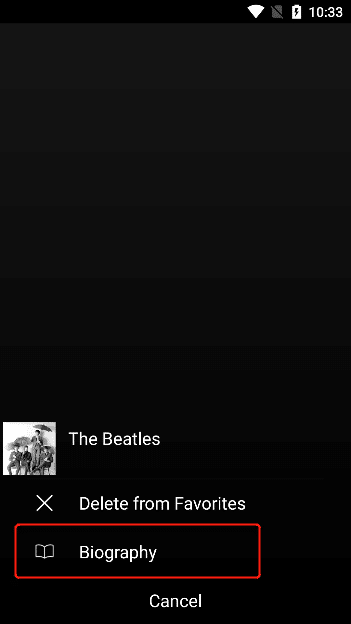
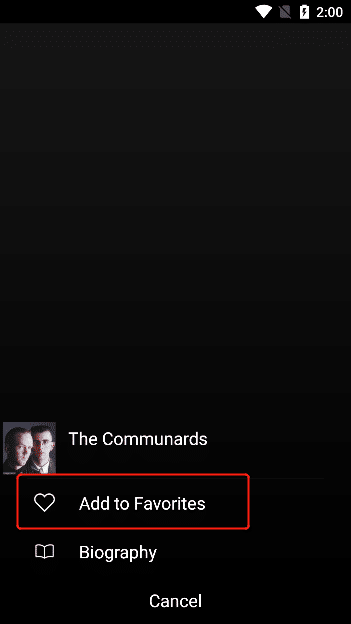
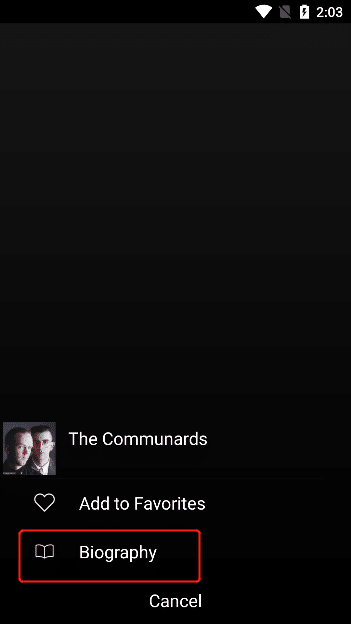
3.5.4.7.11.1.4.1.1. Add to Favorites
Select "Add to Favorites" to add the current artist to the " Favorites" "Artists" screen. (Note: Favorites are viewed in step 3.5.4.7.9.4)
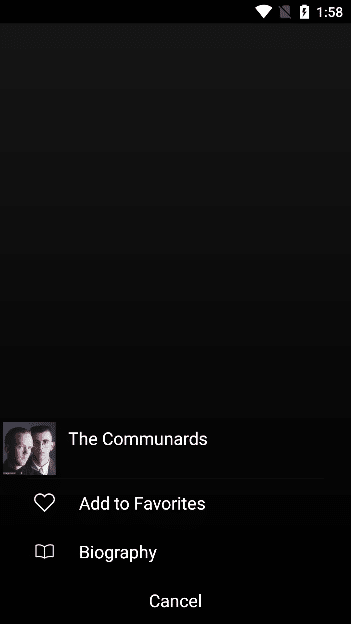
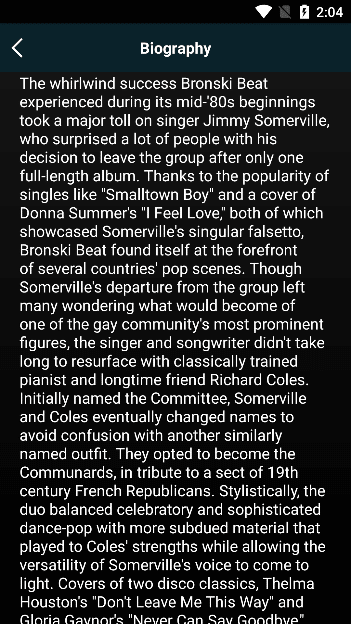
Select "Biography" to view autobiographical information about the current artist.

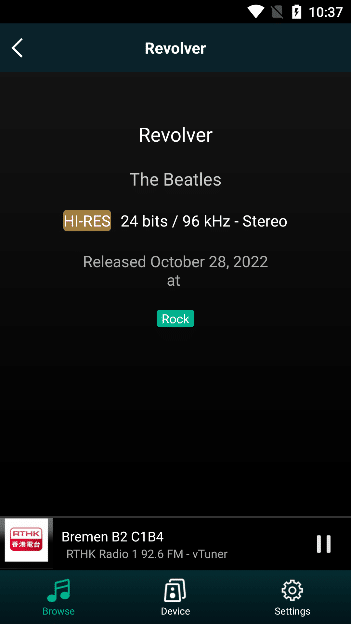
Select "..." in the upper right corner , click and select "Description" in the pop-up operation.
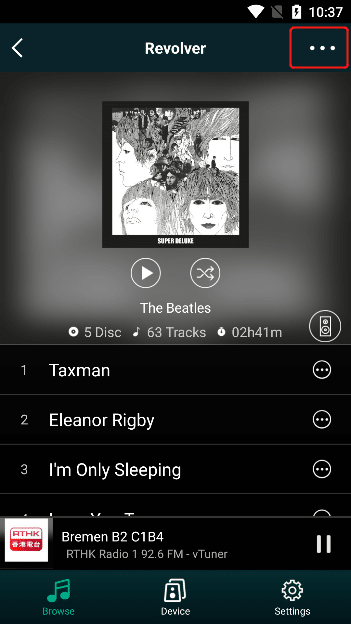
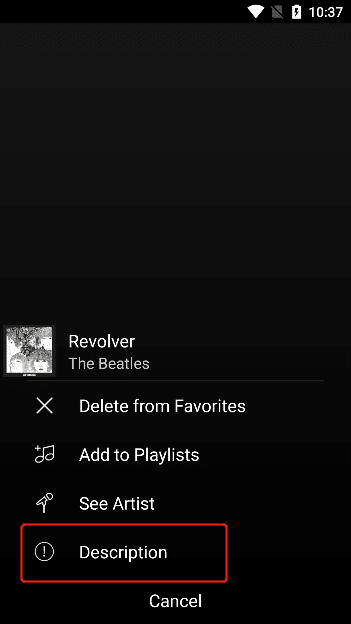
View detailed information on this album.
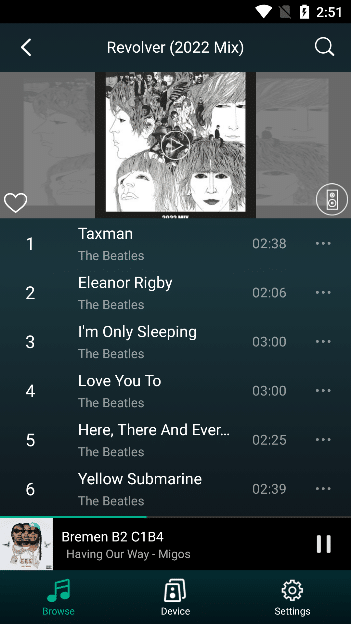
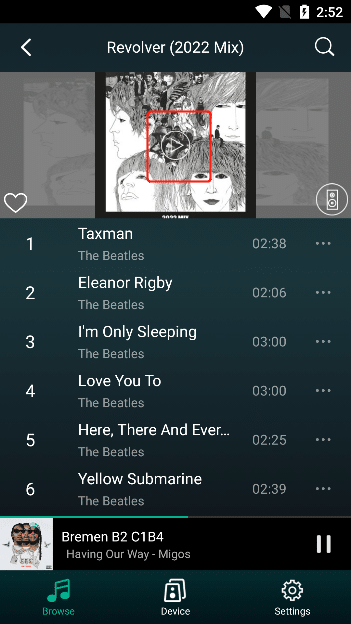
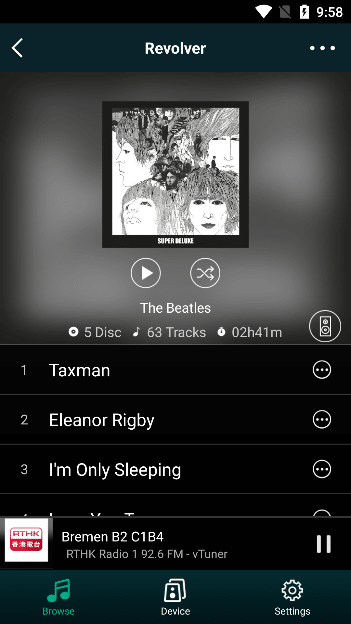
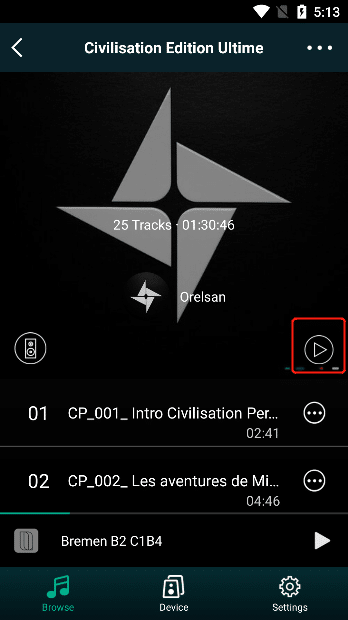
3.5.4.7.11.1.6. Play
Select the "Play" button to play the current list of tracks, and add all the tracks of the current playlist to the play queue. (Note: Play Queue is viewed in step 3.6.2.9).
3.5.4.7.11.1.7. Shuffle Playback
Select the "Shuffle" button to start, and the current list will be played randomly, and all the current playlist will be added to the play queue. (Note: The playback queue is viewed in step 3.6.2.9).
3.5.4.7.11.1.8. Preset
Click the "Preset" button in the upper right corner to pop up all preset content buttons. You can click the "Content is empty" button to add the current album to the "Preset Content" . If you click the button, the background color changes to White, it means that the content has been preset successfully. (Note: Preset are viewed in step 3.5.2).
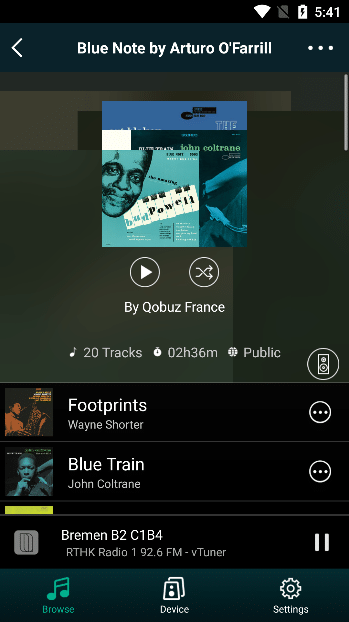
3.5.4.7.11.2. Qobuz Playlist Operation
selecting the "Playlist" content, enter the corresponding playlist

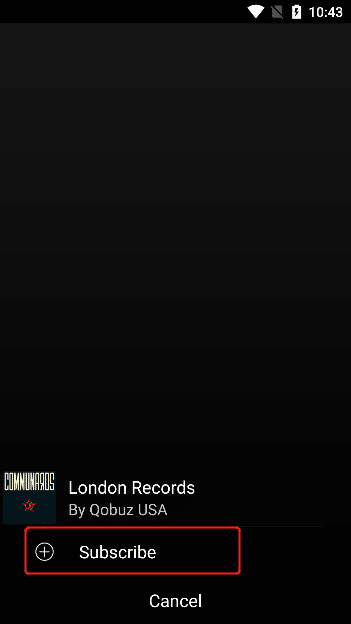
3.5.4.7.11.2.1. Subscription
Select "..." in the upper right corner to enter the "Subscribe" function selection of the playlist

clicking "Subscribe" , the playlist will be added to "Playlist" . (Note: playlist can be viewed in step 3.5.4.7.9.3)
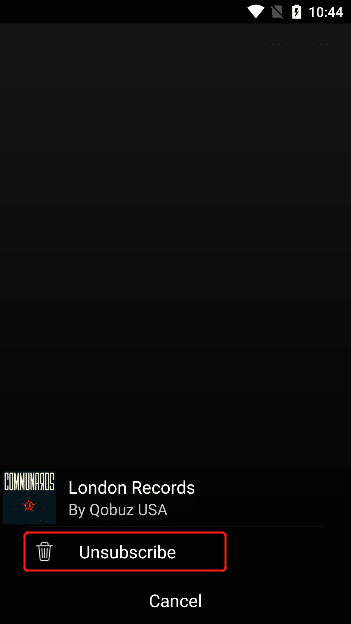
3.5.4.7.11.2.2. Unsubscribe
Select "..." in the upper right corner , if the playlist has been subscribed, you can "Unsubscribe" , after selecting "Unsubscribe" , the playlist will be removed from the "playlist" . (Note: Playlist can be viewed in step 3.5.4.7.9.3)

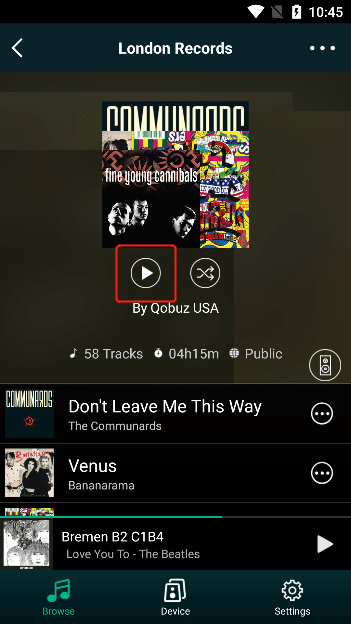
3.5.4.7.11.2.3. Play
Select the "Play" button to play the current list of tracks, and add all the tracks of the current playlist to the play queue. (Note: play queue is viewed in step 3.6.2.9).

3.5.4.7.11.2.4. Shuffle Playback
Select the "Shuffle" button to start, and the current list will be played randomly, and all the current playlist will be added to the play queue. (Note: play queue is viewed in step 3.6.2.9).

3.5.4.7.11.2.5. Preset
Click the "Preset" button in the upper right corner, all preset content buttons will pop up, you can click the "Content is empty" button to add the current playlist to the "Preset Content" , if you click the button background color changes If it is white, it means that the content has been preset successfully. (Note: Preset are viewed in step 3.5.2).
3.5.4.7.11.3. Track Operation
Select the "..." button on the right side of the track to view the operation list of the track
3.5.4.7.11.3.1. Track Playback
Select the track you want to play, you can play the current list track, and add all the tracks at the current position to the play queue (Note: play queue can be viewed in step 3.6.2.9).

3.5.4.7.11.3.2. Add to Favorites
Select "Add to Favorites" to add the current track to the "Tracks" screen of "Favorites" .(Note: Favorites are viewed in step 3.5.4.7.9.4)
3.5.4.7.11.3.3. Delete from Favorites
After the current track has been added to the Favorites, select "Delete from Favorites" to delete the current track from the "Tracks" interface of "Favorites" . (Note: Favorites are viewed in step 3.5.4.7.9.4)
3.5.4.7.11.3.4. Add to Playlist
Click "Add to Playlist" , the playlist you created will pop up, click the playlist you want to add the track to, and you can successfully add the track to the "Playlist" (Note: playlist can be viewed in step 3.5.4.7.9.3) .
3.5.4.7.11.3.4.1. Create Playlist
You can create a new playlist by clicking the "+" in the upper right corner of the "Add to Playlist" interface , enter the name of your playlist, and then click the "Create" button
Select the access permission of your newly created playlist "Private" , "Public" , "Public" , "Private" means that the playlist can only be accessed by the current account and not accessible to others, "Public" means that the playlist can be accessed by everyone Access, "Public" means that the playlist is only allowed and accessible to members of the group. After selecting, the track can be added to the created playlist.

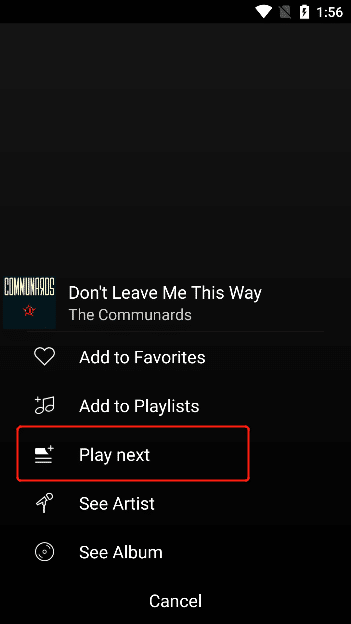
3.5.4.7.11.3.5. Play Next
Select "Play Next" , it means that the song will be played after the current song is played, and the song will be added to the play queue (Note: the play queue can be viewed in step 3.6.2.9)
3.5.4.7.11.3.6. See Artist
Click "See Artist" to enter the music works of the artist of the track and other similar artist information.
3.5.4.7.11.3.7. See Album
Click "See Album" to go to the album of the track.
3.5.4.7.11.4. Artist Operation
"..." on the "Artist" interface to view the operation list of the artist, click "More" to view all the artist's music works or all similar artists.
3.5.4.7.11.4.1. Add to Favorites
Select "Add to Favorites" to add the current artist to the " Favorites" "Artists" screen. (Note: Favorites are viewed in step 3.5.4.7.9.4)

3.5.4.7.11.4.2. remove from favorites
After the current artist has been added to the Favorites, select "Remove from Favorites" to remove the current artist from the "Favorites" "Artists" interface. (Note: Favorites are viewed in step 3.5.4.7.9.4)
Select "Biography" to view autobiographical information about the current artist.
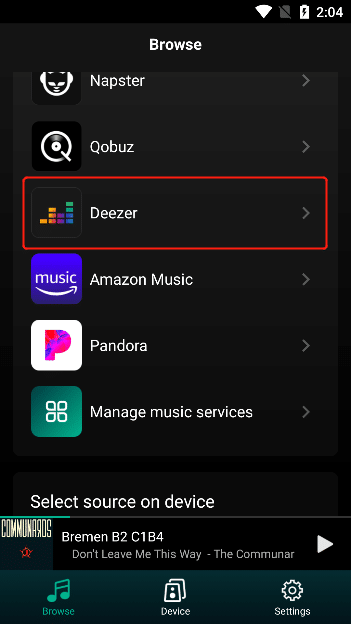
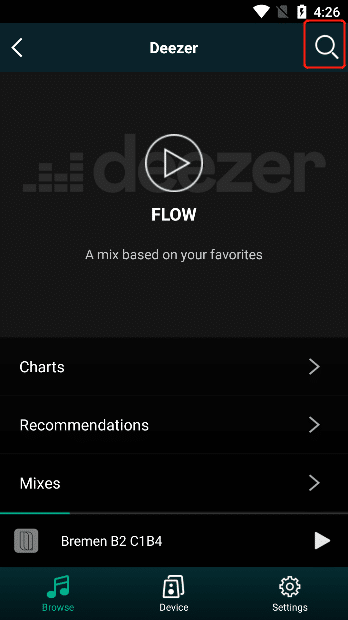
3.5.4.8. Deezer
Click "Deezer" to enter the "Deezer Login" interface
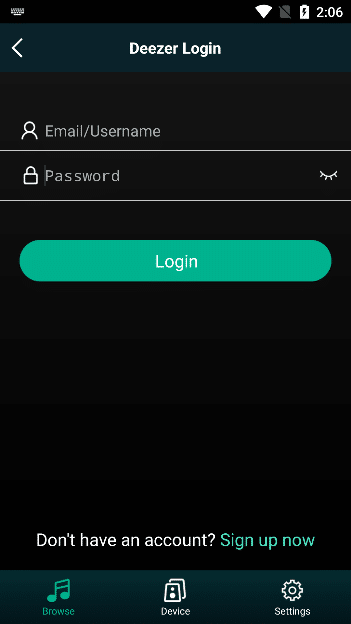
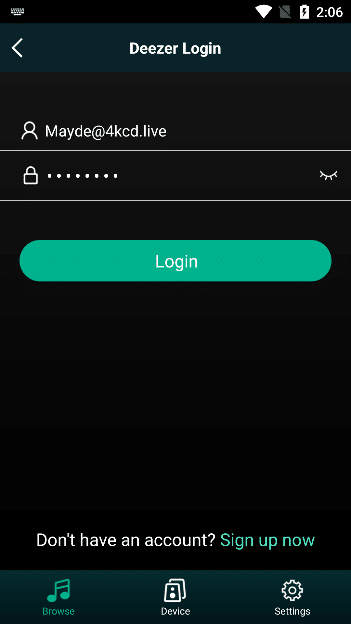
3.5.4.8.1. Deezer Login
Enter your account and password on the "Deezer Login" interface, and Click "Login" to successfully log in to "Deezer" .
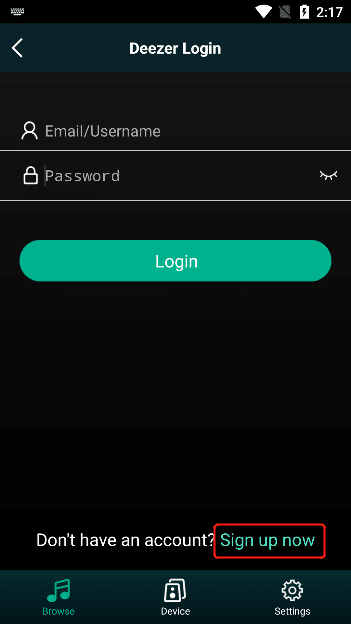
3.5.4.8.2. Deezer Registration
Click "Register Now" to enter the "Deezer Official Website" to register.
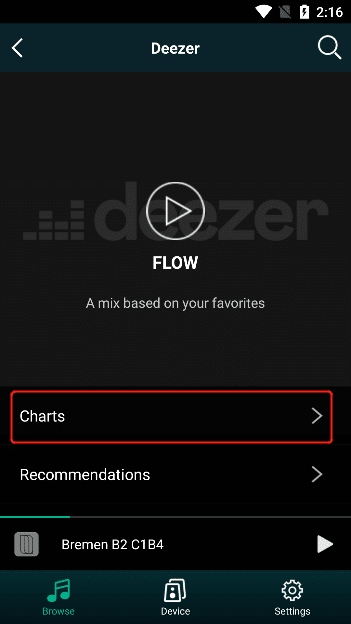
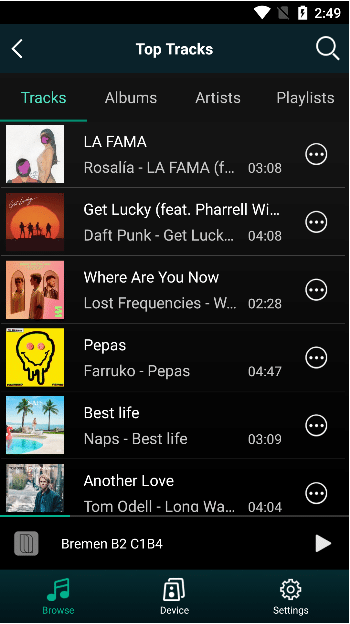
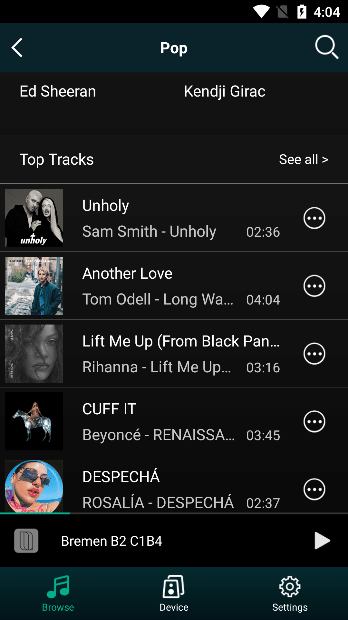
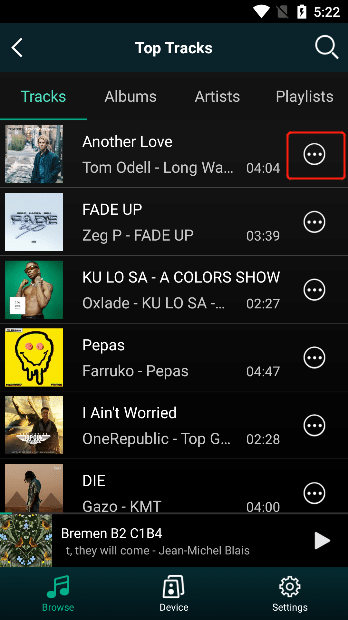
3.5.4.8.3. Charts
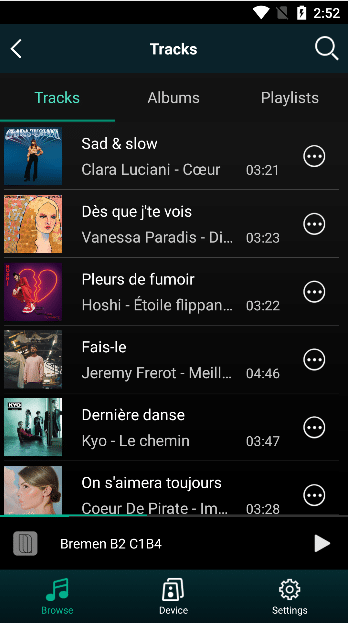
Select "Charts" to enter the "TopTracks" interface to view the list of popular tracks.
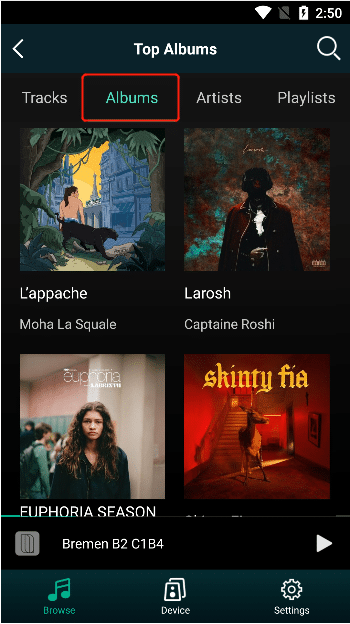
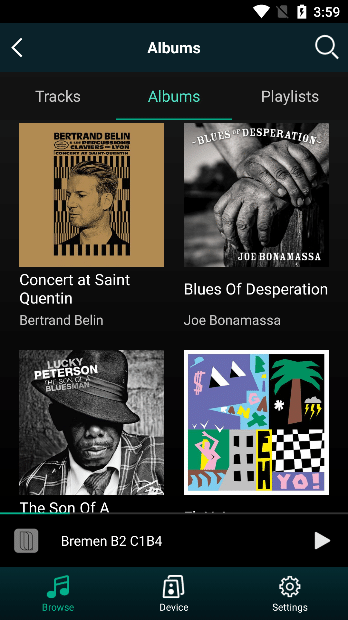
Select "Albums" above to enter the "Popular Albums" interface to view the list of popular albums.
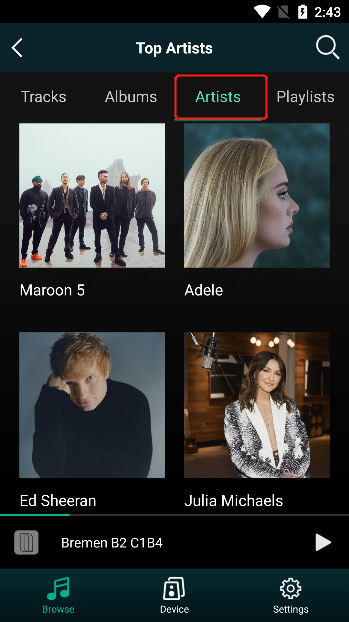
Select "Artists" above to enter the "Popular Artists" interface to view the list of popular artists.
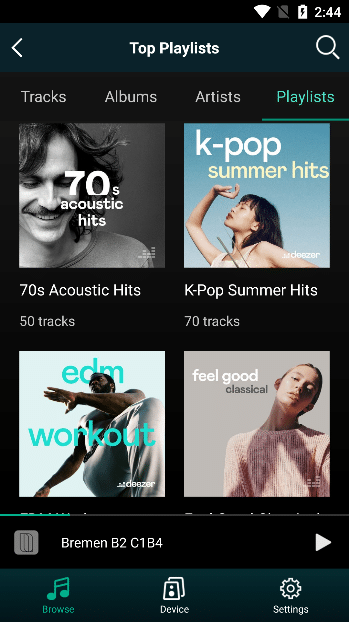
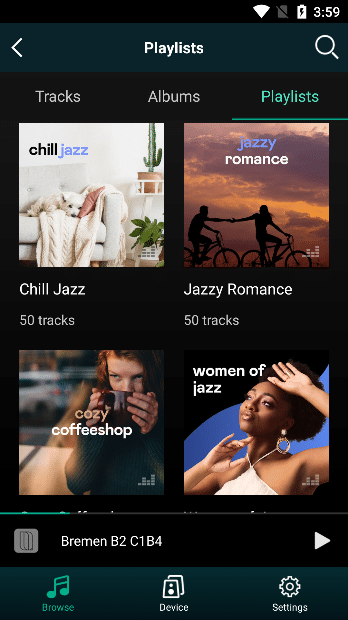
Select "Playlists" above to enter the "Popular Playlists" interface to view popular playlists.
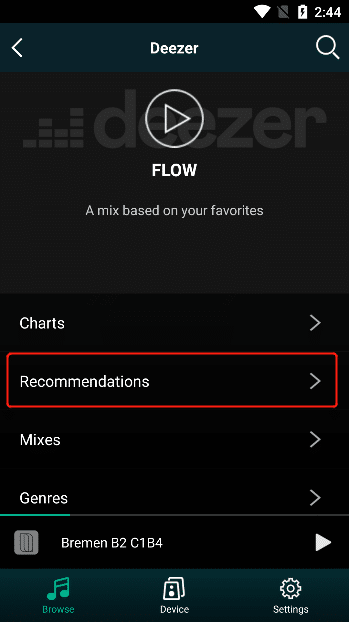
3.5.4.8.4. Recommendations
Select "Recommendations" to enter the "Recommended Tracks" interface to view the list of recommended tracks.
Select "Albums" above to enter the "Popular Albums" interface to view the list of popular albums.
Select "Playlists" above to enter the "Popular Playlists" interface to view popular playlists.
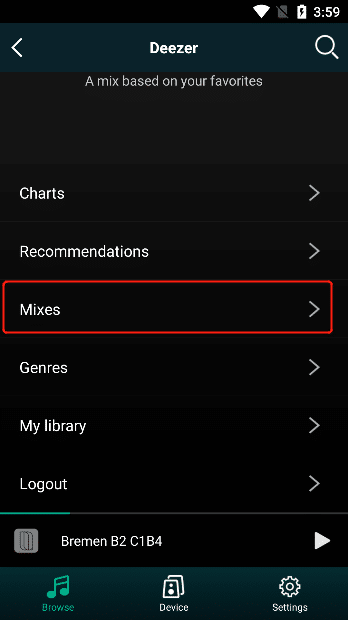
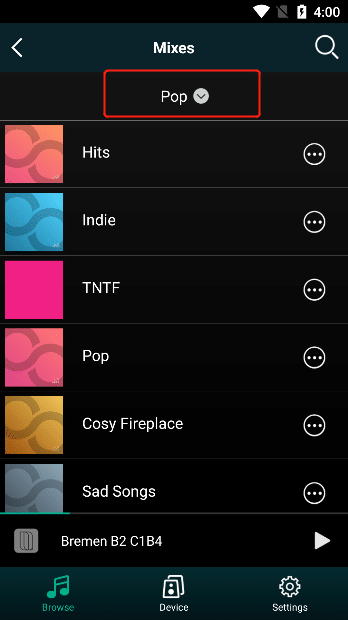
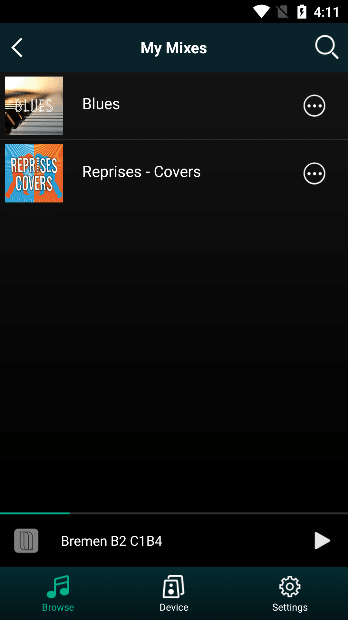
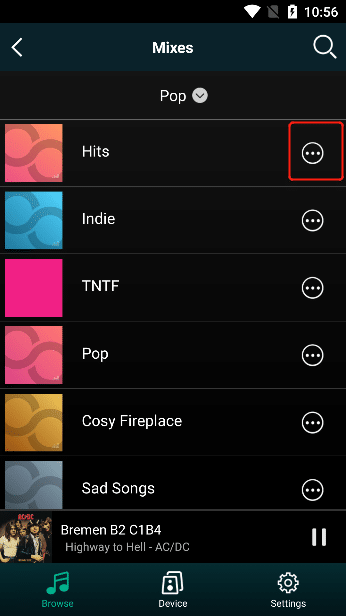
3.5.4.8.5. Mixes
Select "Mixes" to enter the "Mixes" interface, the music list will be displayed according to the type of music you choose.
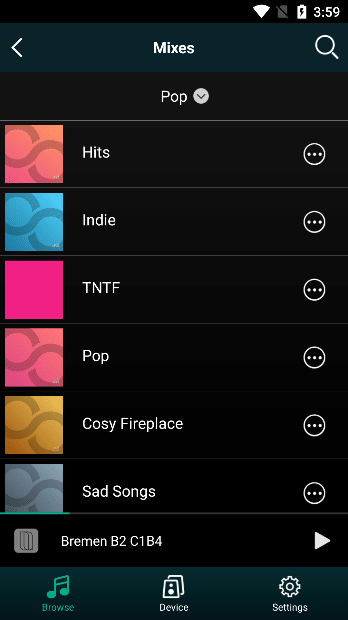
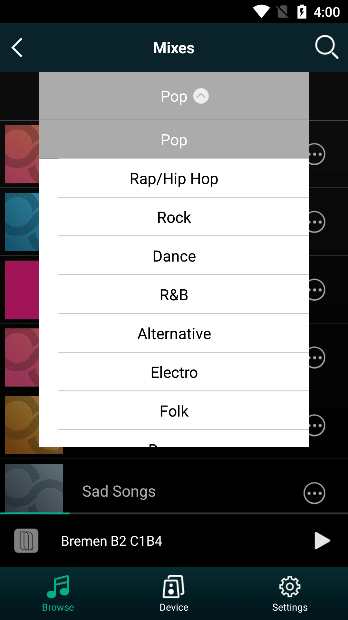
3.5.4.8.5.1. Choose Music Type
Select the "Music Type" drop-down list above to display all music types, swipe up to display more, and click the music type you want to display to refresh the music list.
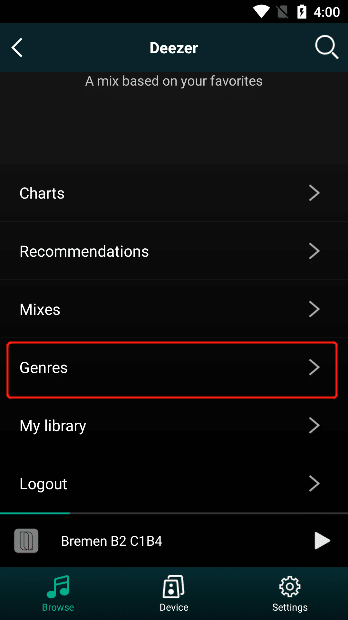
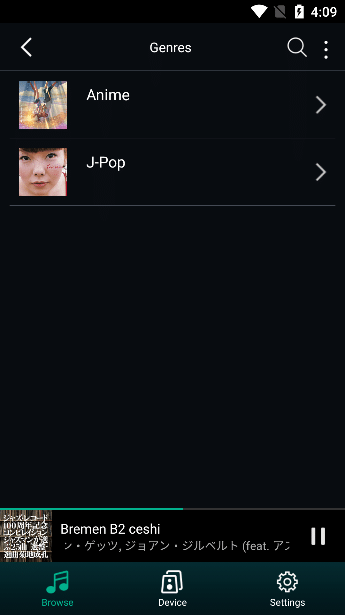
3.5.4.8.6. Genres
Select "Genres" to enter the "Genres Type" interface
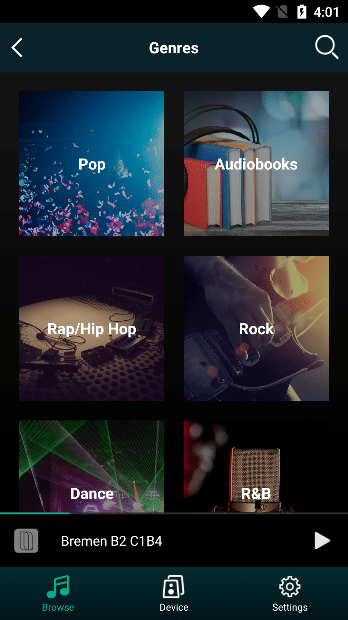
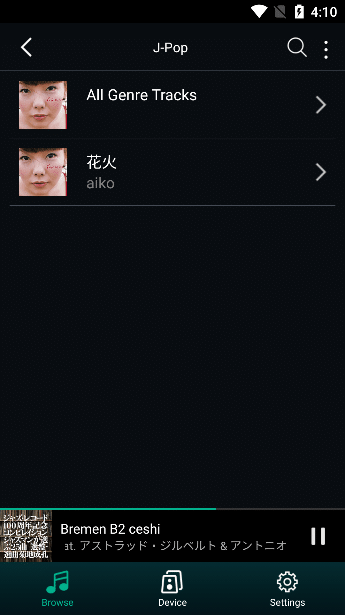
3.5.4.8.6.1. Choose Music Style
clicking the content of "Music Style Type" , enter the "Popular Music" interface of the music style type, and you can view the "Popular Albums"
Swipe up to view the "Popular Playlists" of this type , click "View All" to view all the popular playlists of this type, and swipe up again to view the "Popular Artists" of this type , you can Check out all the top artists in this genre.
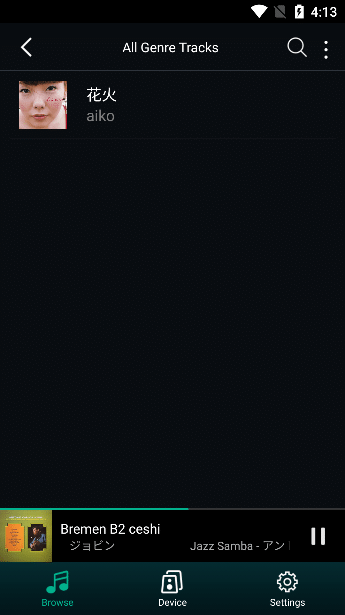
Swipe up to view the "Hot Tracks" of the genre , click "View All" to view all the popular tracks of the genre.
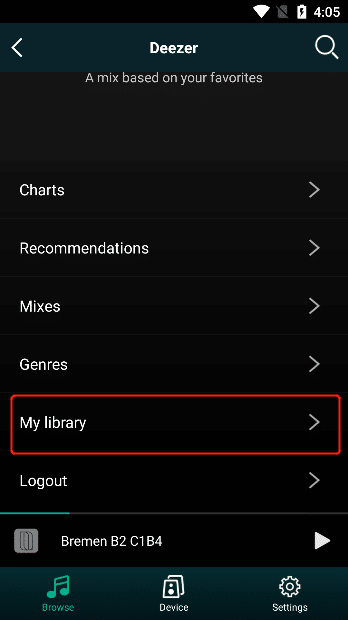
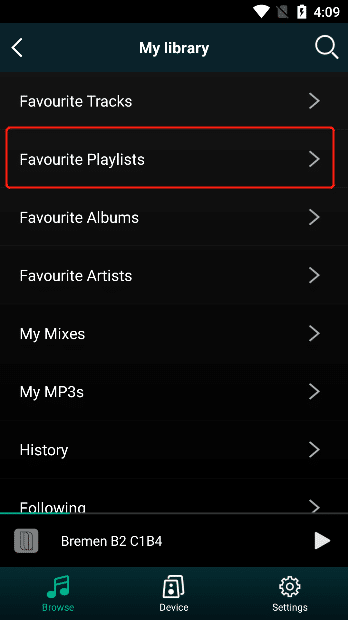
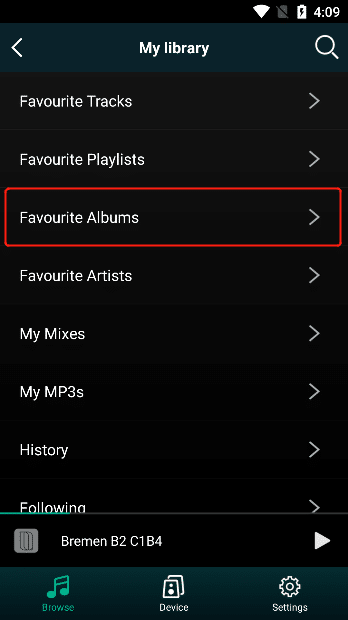
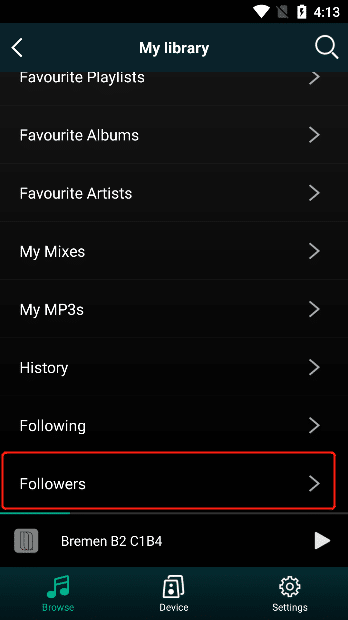
3.5.4.8.7. My Library
Select "My Library" to enter the "My Collection" list interface
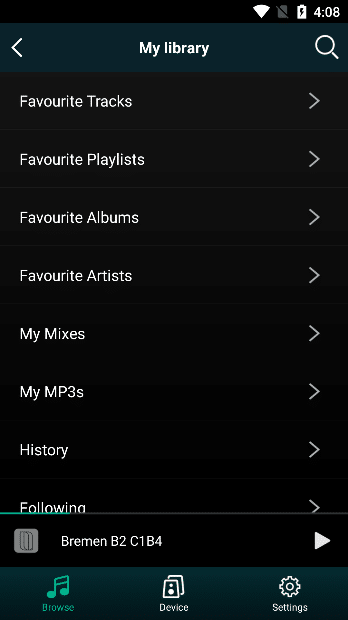
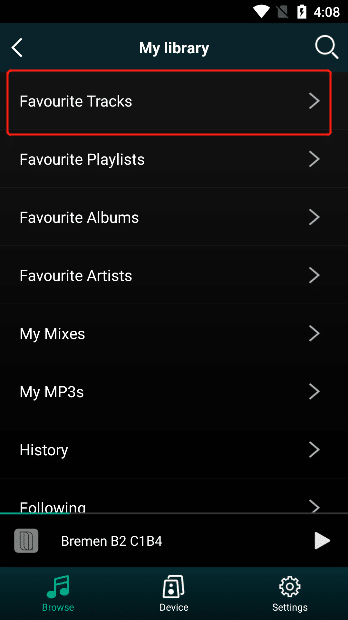
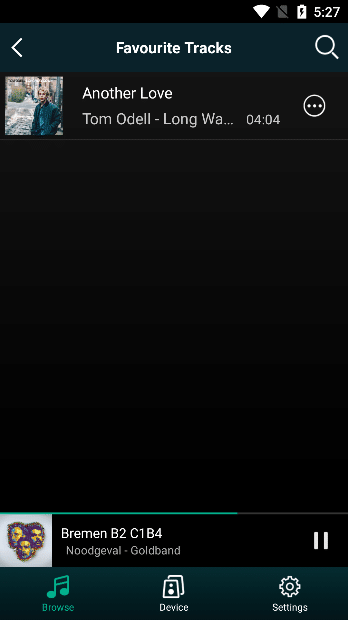
3.5.4.8.7.1. Favourite Tracks
Select "Favourite Tracks" to go to the list of favorite tracks.
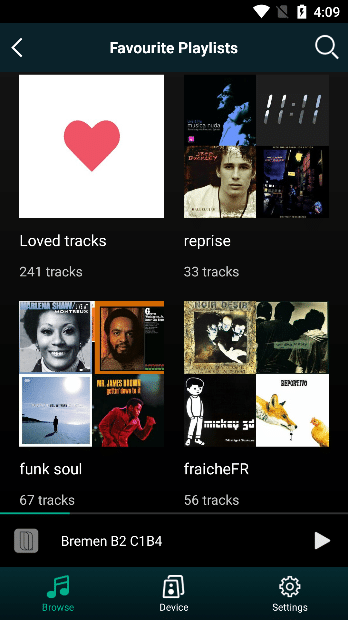
3.5.4.8.7.2. Favourite Playlists
Select "Favourite Playlists" to go to your favorite playlists.
3.5.4.8.7.3. Favourite Albums
Select "Favourite Albums" to go to the list of favorite albums.
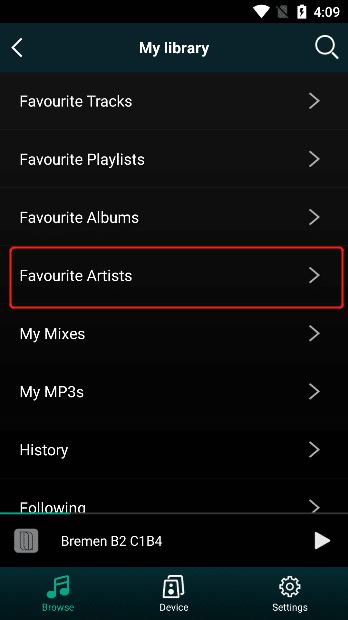
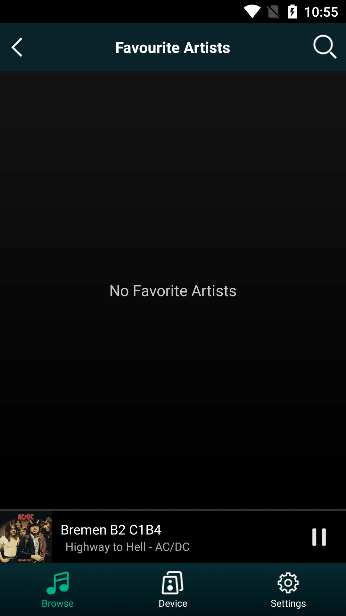
3.5.4.8.7.4. Favourite Artists
Select "Favourite Artists" to go to the list of favorite artists.
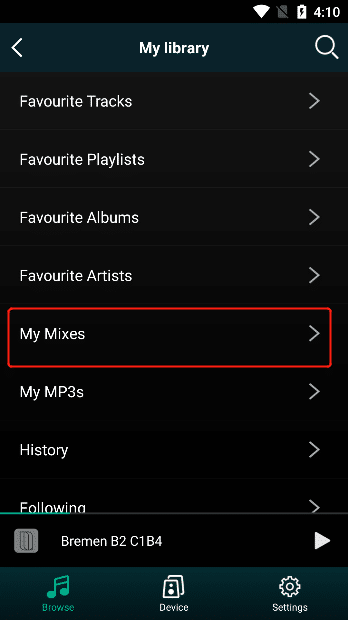
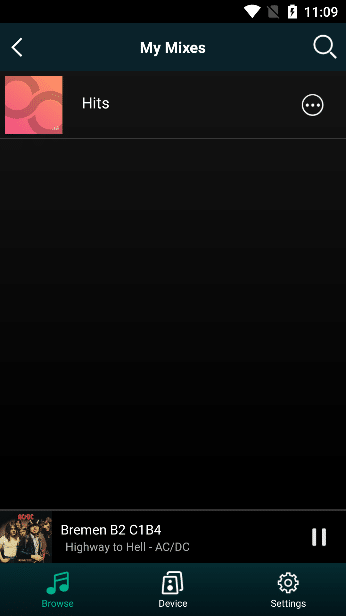
3.5.4.8.7.5. My Mixes
Select "My Mixes" to go to the list of mixes you have added.
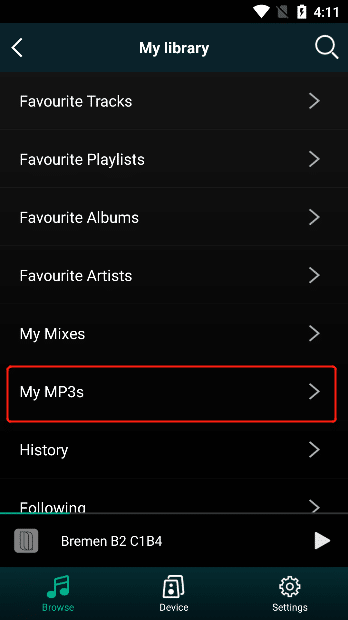
3.5.4.8.7.6. My MP3s
Select "My MP3s" to enter the list of MP3s you have added.
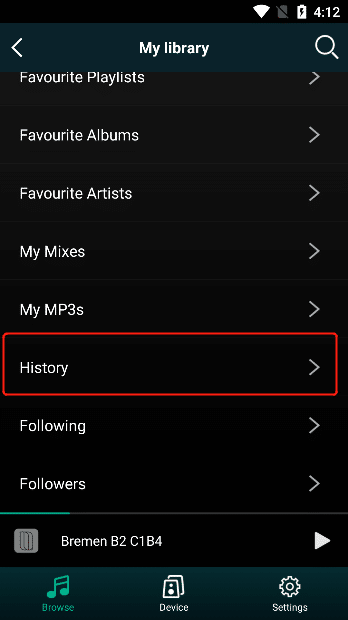
3.5.4.8.7.7. History
Select "History" to go to the history list of songs you have played in My Favorites.

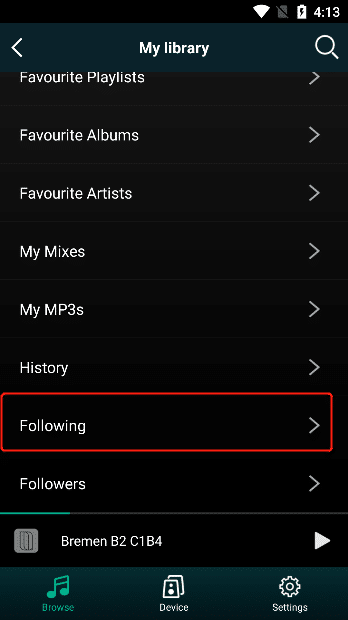
3.5.4.8.7.8. Following
Select "My MP3s" to go to the list you added.

3.5.4.8.7.9. Followers
Select "Followers" to go to the list you added.
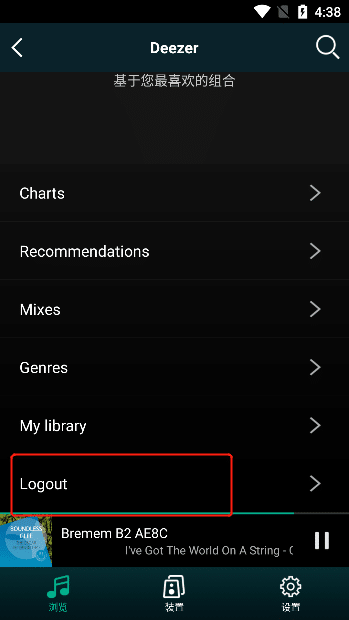
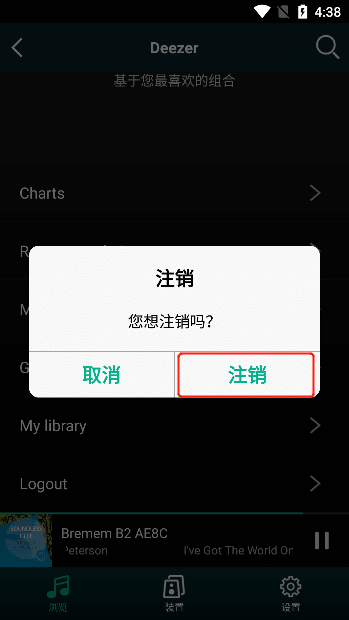
3.5.4.8.8. Logout
Select "Logout" , and then select the "Logout" button to successfully log out of the current account.
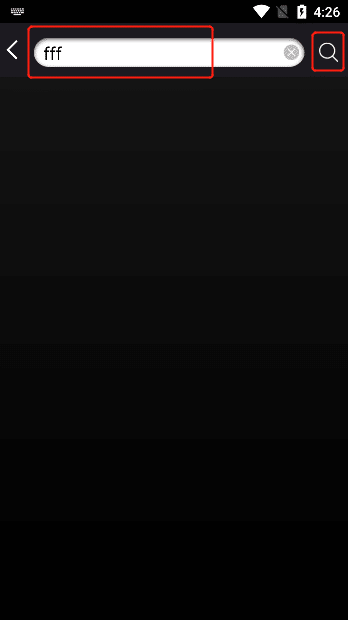
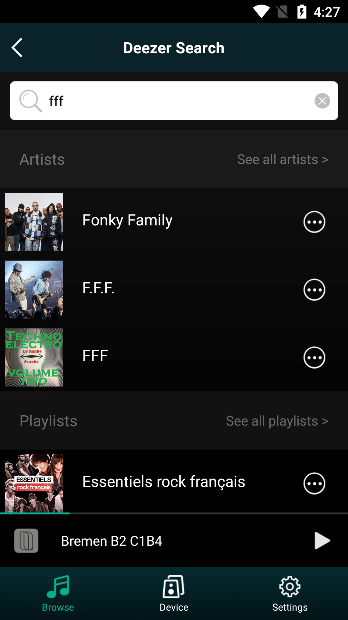
3.5.4.8.9. Search
Click the "Search" button to enter the "Search" interface
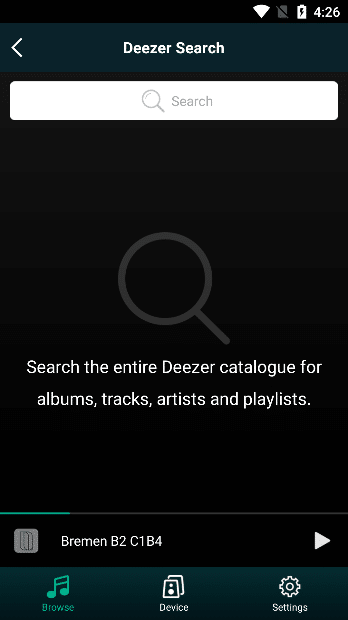
Enter the content you want to search in the search box, and then click the "Search" button to search for albums, tracks, artists and playlists that match the entered content.
3.5.4.8.10. Play Operation
3.5.4.8.10.1. Album Operation
selecting the content of "Album" , enter the corresponding album
3.5.4.8.10.1.1. Add to Favorites
Select "..." in the upper right corner, and the operation "Add to Favorites" will pop up .
Click "Add to Favorites" and the album will be added to the "Favourite Albums" interface. (Note: Favourite Albums can be viewed in step 3.5.4.8.7.3)

3.5.4.8.10.1.2. Remove from Favorites
After the current album has been added to the Favorites, select "Remove from Favorites" to remove the current album from the "Favourite Albums" interface. (Note: Favourite Albums can be viewed in step 3.5.4.8.7.3)
3.5.4.8.10.1.3. Play Album
Select the "Play" button to play the current album and add all the tracks of the current album to the play queue. (Note: The playback queue is viewed in step 3.6.2.9).
3.5.4.8.10.1.4. Preset
Click the "Preset" button in the upper right corner to pop up all preset content buttons. You can click the "Content is Empty" button to add the current album to the "Preset Content" . If you click the button, the background color changes to White, it means that the content has been preset successfully. (Note: Presets are viewed in step 3.5.2).
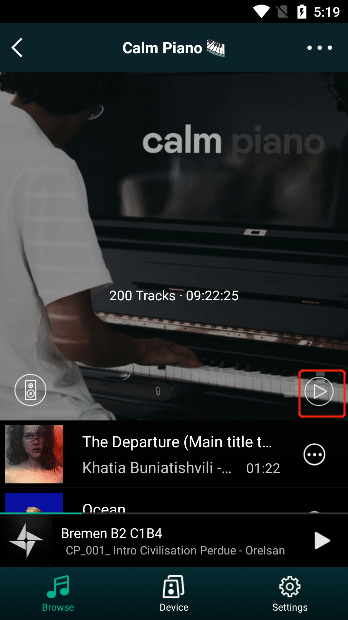
3.5.4.8.10.2. Playlist Operations
selecting the "Playlist" content, enter the corresponding playlist
3.5.4.8.10.2.1. Add to Favorites
Select "..." in the upper right corner, and the operation "Add to Favorites" will pop up .
Click "Add to Favorites" and the album will be added to the "Favourite Playlists" interface. (Note: Favourite Playlists can be viewed in step 3.5.4.8.7.2)
3.5.4.8.10.2.2. remove from favorites
After the current playlist has been added to the Favorites, select "Remove from Favorites" to remove the current playlist from the "Favourite Playlists" interface. (Note: Favourite Playlists can be viewed in step 3.5.4.8.7.2).
Select the "Play" button to play the current playlist and add all the tracks of the current playlist to the play queue. (Note: The playback queue is viewed in step 3.6.2.9).
Click the "Preset" button in the upper right corner, all preset content buttons will pop up, you can click the "Content is empty" button to add the current playlist to the "Preset Content" , if you click the button background color changes If it is white, it means that the content has been preset successfully. (Note:Preset is viewed in step 3.5.2)
3.5.4.8.10.3. Track Operation
Select the "..." button on the right side of the track to view the operation list of the track
3.5.4.8.10.3.1. Track Playback
Select the track you want to play to play the current track and add all the tracks at the current position to the play queue (Note: the play queue can be viewed in step 3.6.2.9).

3.5.4.8.10.3.2. Add to Favorites
Click "Add to Favorites" and the album will be added to the "Favourite Tracks" interface. (Note: Favourite Tracks can be viewed in step 3.5.4.8.7.1)
3.5.4.8.10.3.3. Remove from Favorites
After the current track has been added to the Favorites, select "Remove from Favorites" to remove the current track from the "Favourite Tracks" interface. (Note: Favourite Tracks can be viewed in step 3.5.4.8.7.1).
3.5.4.8.10.3.4. Add to Playlist
Click "Add to Playlist" to pop up the playlist you created. Click the playlist you want to add a track to, and the track will be added to the "Favourite Playlists" interface. (Note: Favorite Playlists can be viewed in step 3.5.4.8.7.2).
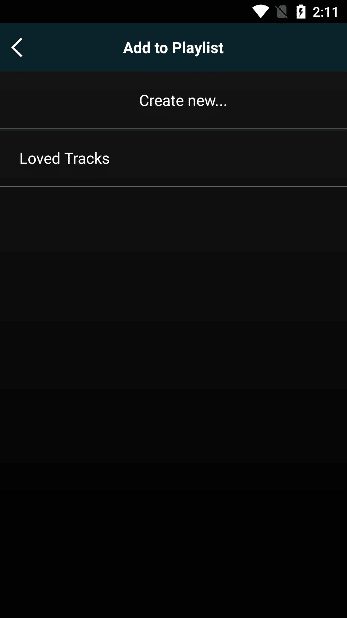
3.5.4.8.10.3.4.1. Create Playlists
Click "Create new" to create a new playlist, enter the name of your playlist, and then click the "Create" button to add tracks to the created playlist.
3.5.4.8.10.3.5. Artist
Click "Artist" to enter the track, album and similar artist information of the artist of the track. Select "See All" to view all tracks, albums or similar artist information for this artist.
3.5.4.8.10.3.6. Album
Click "Album" to go to the album of the track.
3.5.4.8.10.4. Artist Operation
"..." on the "Artist" interface to view the operation list of the artist
select "See All" to view the information of all tracks, albums or similar artists of the artist.
3.5.4.8.10.4.1. Add to Favorites
Click "Add to Favorites" to add the current artist to the "Favourite Artists" screen. (Note: Favourite Artists are viewed in step 3.5.4.8.7.4)
3.5.4.8.10.4.2. Remove from Favorites
After the current track has been added to the Favorites, click "Remove from Favorites" to remove the current artist from the "Favourite Artists" interface. (Note: Favourite Artists are viewed in step 3.5.4.8.7.4)
3.5.4.8.10.5. Mix operation
Select the "..." button on the right side of the mix to view the list of operations for the mix
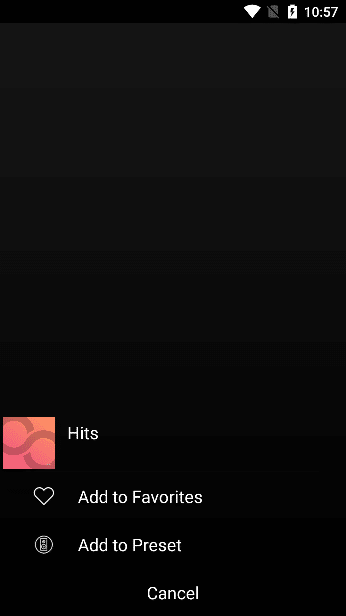
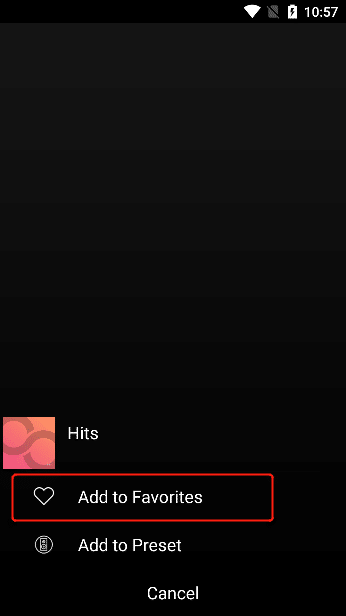
3.5.4.8.10.5.1. Add to Favorites
Click "Add to Favorites" to add the current mix to the "My Mixes" interface. (Note: My Mixes is checked in step 3.5.4.8.7.5)
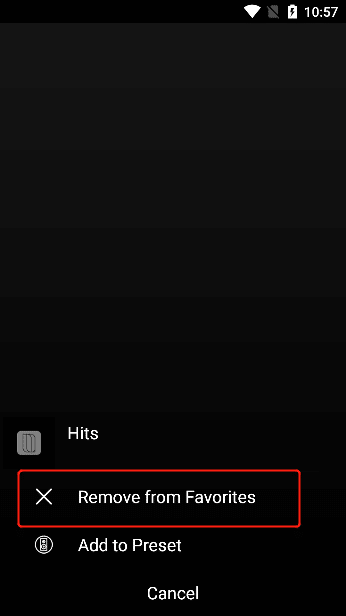
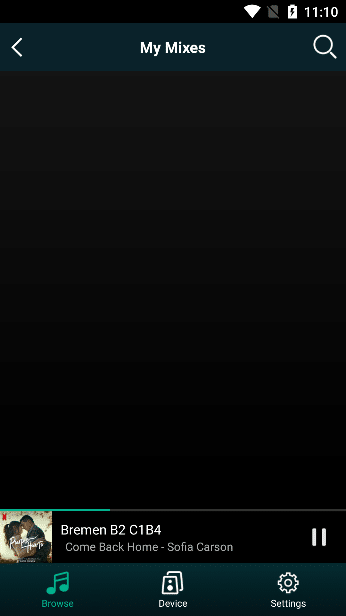
3.5.4.8.10.5.2. Remove from Favorites
After the current mix has been added to Favorites, click "Remove from Favorites" to remove the current mix from the "My Mixes" interface. (Note: My Mixes is checked in step 3.5.4.8.7.5)
3.5.4.8.10.5.3. Add to Preset
Click the "Preset" button in the upper right corner, all preset content buttons will pop up, you can click the "Content is Empty" button to add the current mix to the "Preset Content" , if you click the button background color changes If it is white, it means that the content has been preset successfully. (Note: Presets are viewed in step 3.5.2).
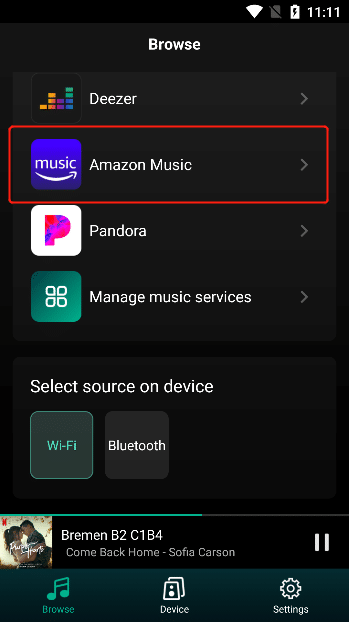
3.5.4.9. Amazon Music
Click "Amazon Music" to enter the "Amazon Music Login" interface
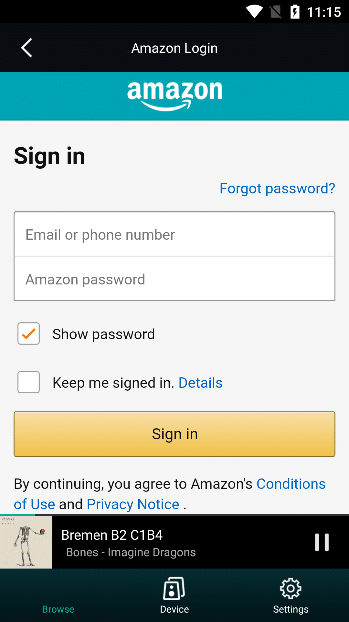
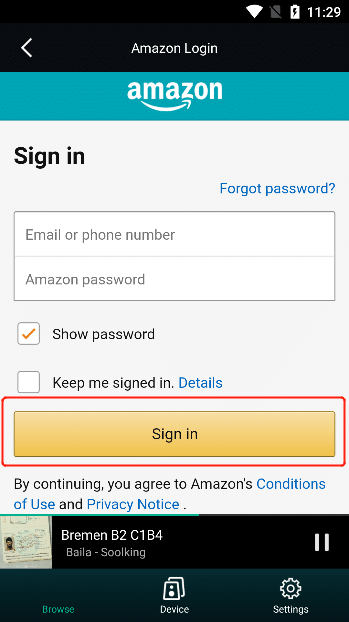
3.5.4.9.1. Amazon Music Login
Enter your account and password on the "Amazon Music Login" interface, and click "Login" to successfully log in to "Amazon Music" .
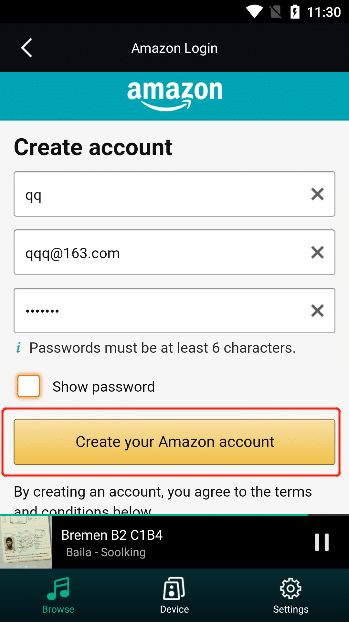
3.5.4.9.2. Amazon Registration
Click "Create New Amazom" to enter the "Create Account" interface to register.

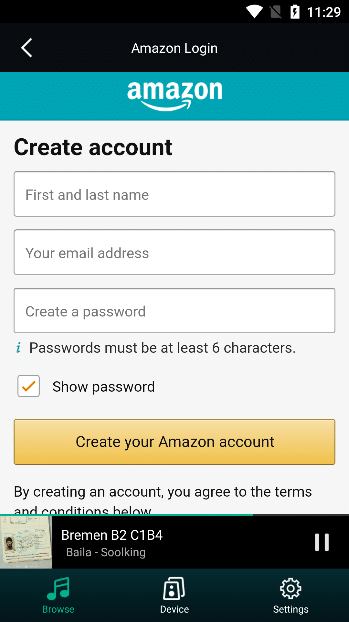
Enter your information in the specified input box, and then click "Create your Amazon account" to create a successful account.
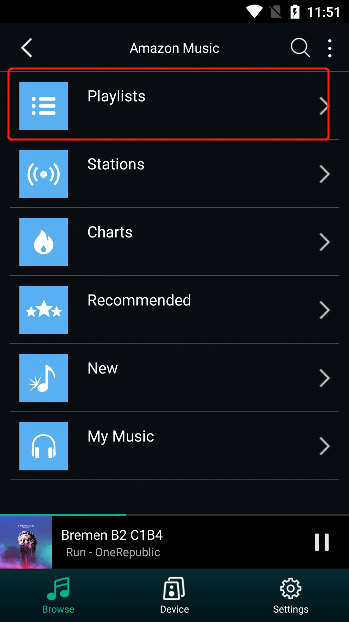
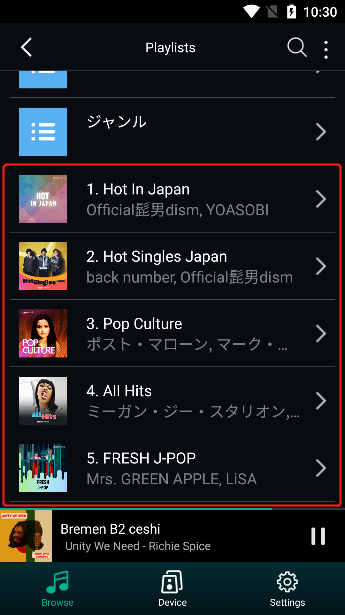
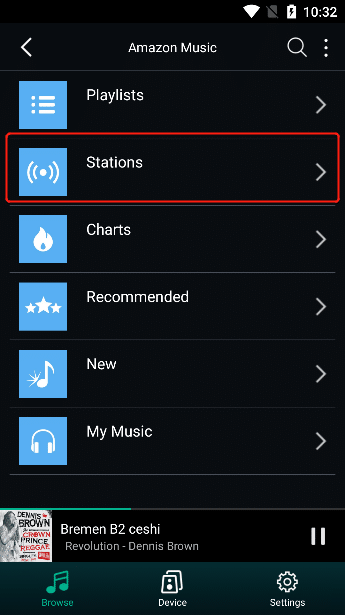
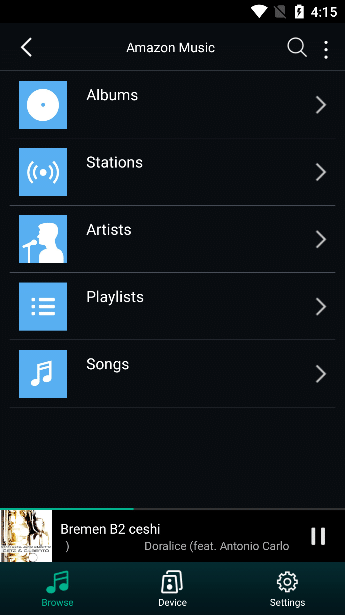
3.5.4.9.3. Playlist
Select "Playlist" to enter the "Playlist" interface
3.5.4.9.3.1. Recently Played
In the "Playlist" interface, select "Recently Played" to enter the "Recently Played" playlist interface
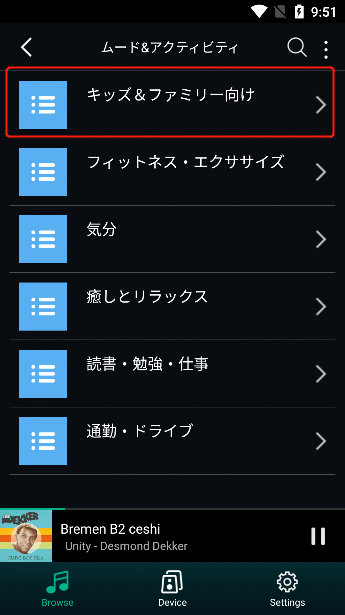
3.5.4.9.3.2. Type of Activity
On the "Playlist" interface, select "Activity Type" to enter the "Activity Type" category interface

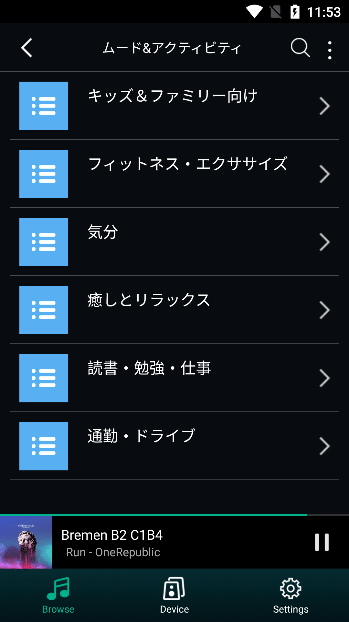
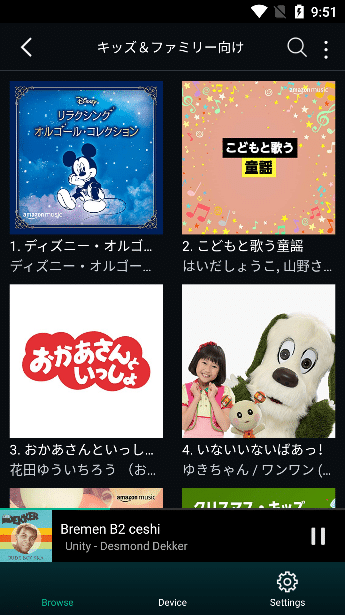
Select the content of "Activity Type" to enter the playlist interface of this type.
3.5.4.9.3.3. Melody
In the "Playlist" interface, select "Genre" to enter the "Music genre" category interface
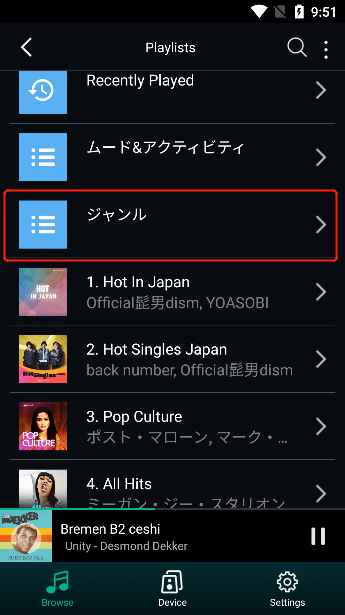
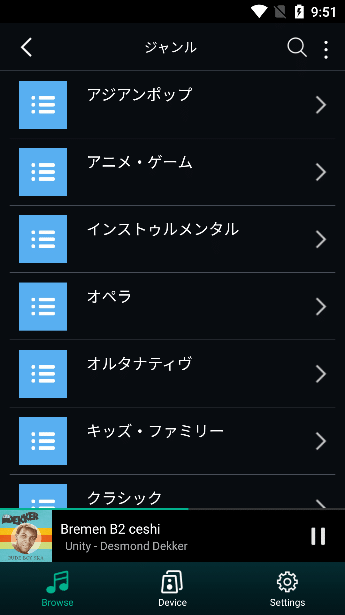
Select the content of "Music genre" to enter the playlist interface of the genre.
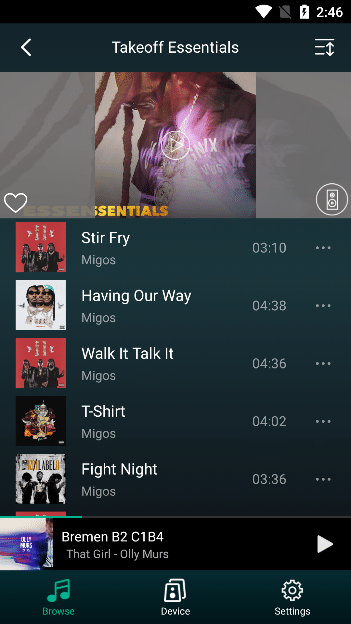
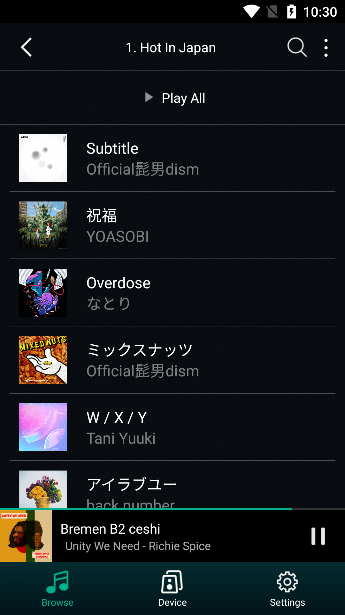
3.5.4.9.3.4. Playlist
On the "Playlist" interface, swipe up to view more playlists, and select "Playlist" to enter the track interface of the playlist.
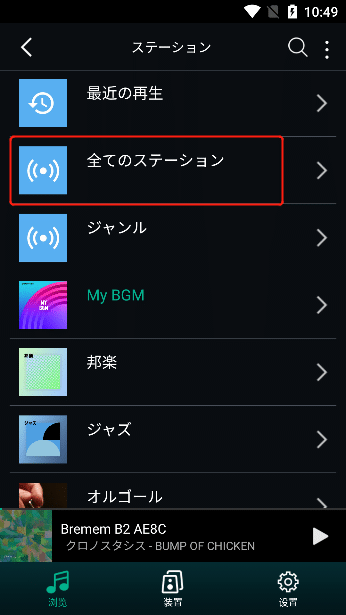
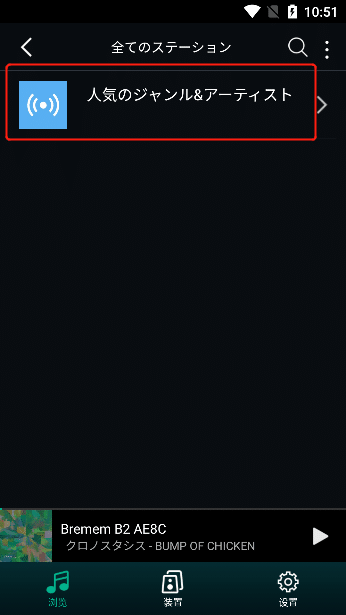
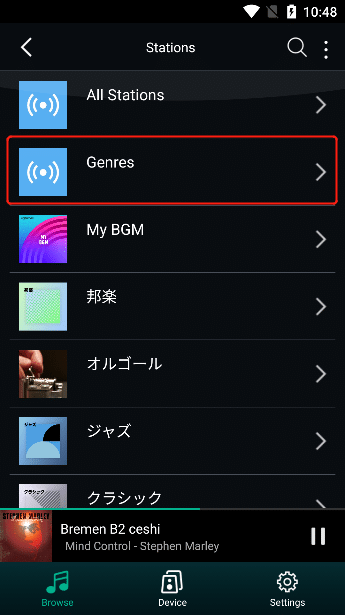
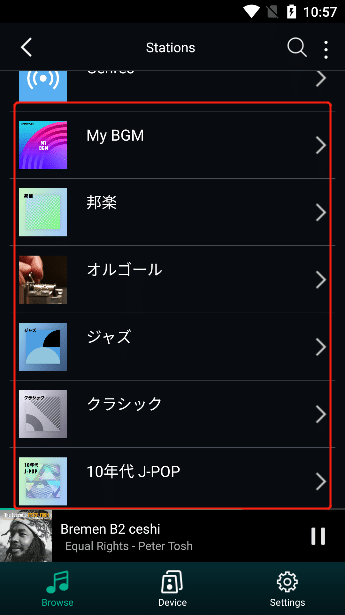
3.5.4.9.4. Stations
Select "Stations" to enter the "Stations" interface
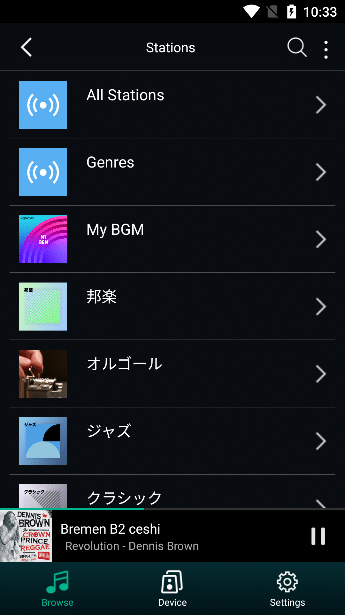
3.5.4.9.4.1. All Stations
On the "Radio" interface, select "All Radios" to enter the "All Radios" interface
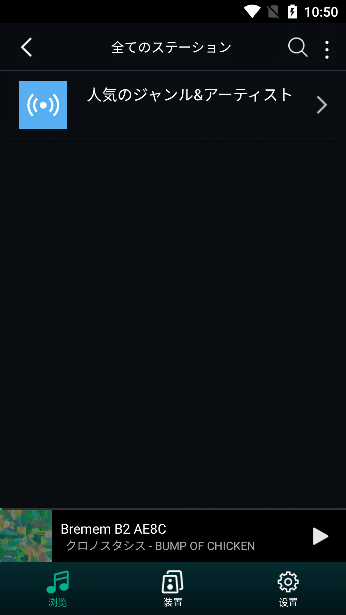
selecting "Station Type" , enter the station list interface of this type.
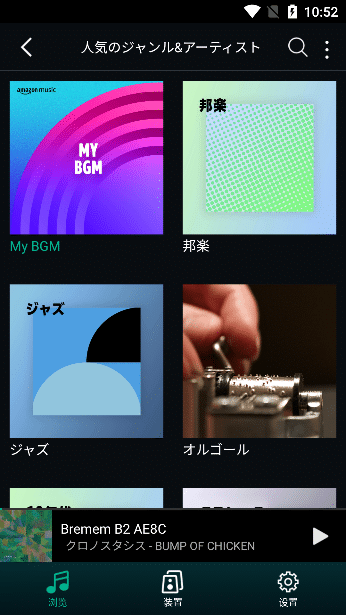
3.5.4.9.4.2. Genres
In the "Genres" interface, select "Genres" to enter the "Radio Type" interface
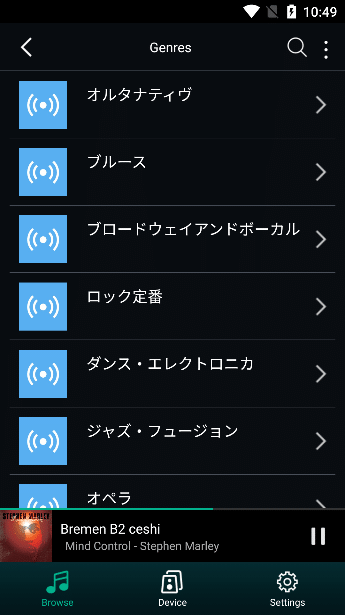
selecting "Station Type" , enter the station list interface of this type.
3.5.4.9.4.3. Station List
On the "Playlist" interface, swipe up to view more radio stations, and select "Radio" to play the corresponding radio station.
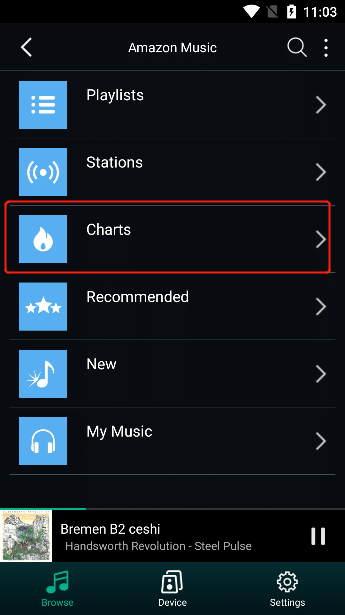
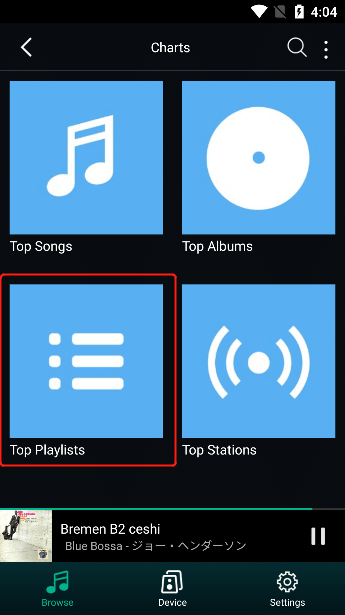
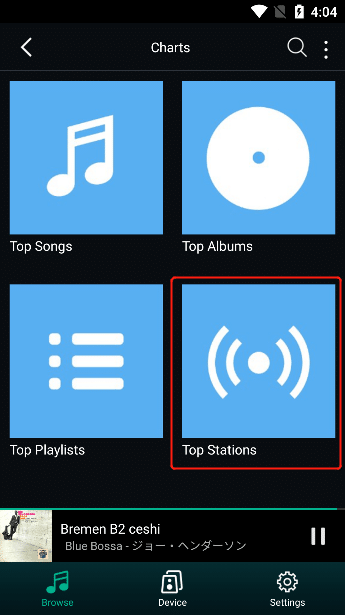
3.5.4.9.5. Charts
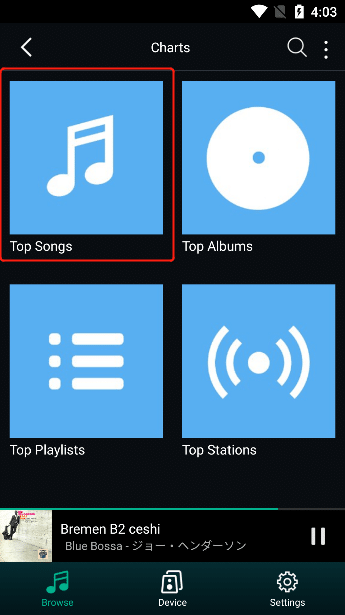
Select "Charts" to enter the "Charts" category interface

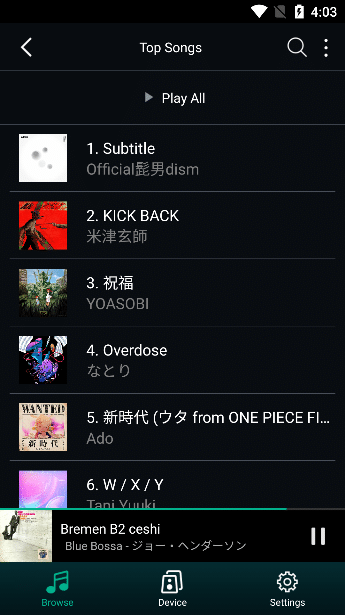
3.5.4.9.5.1. Top Songs
In the "Top Songs" interface, select "Top Songs" to enter the "Top Songs" list interface.
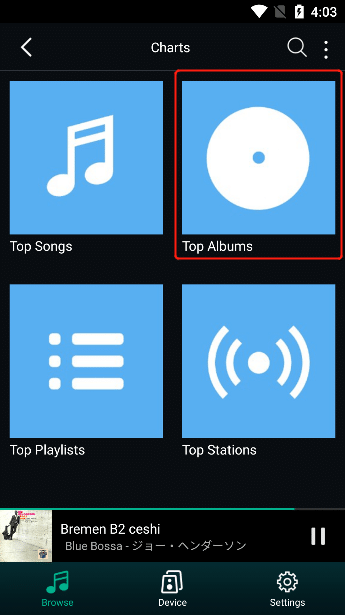
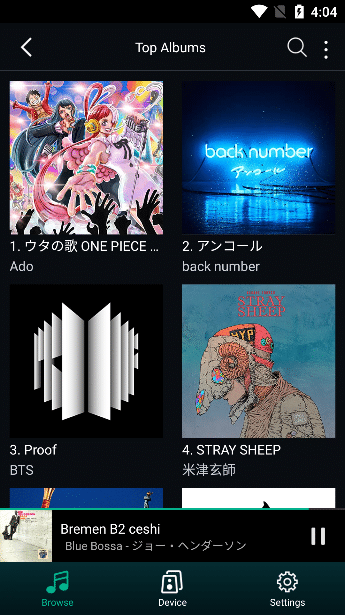
3.5.4.9.5.2. Top Album
In the "Top Albums" interface, select "Top Albums" to enter the "Top Albums" list interface.
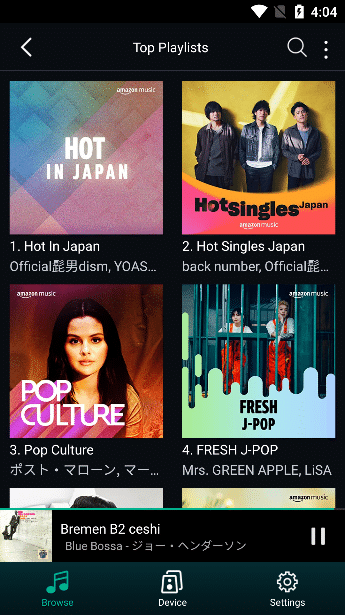
3.5.4.9.5.3. Top Playlists
In the "Top Playlists" interface, select "Top Playlists" to enter the "Top Playlists" interface.
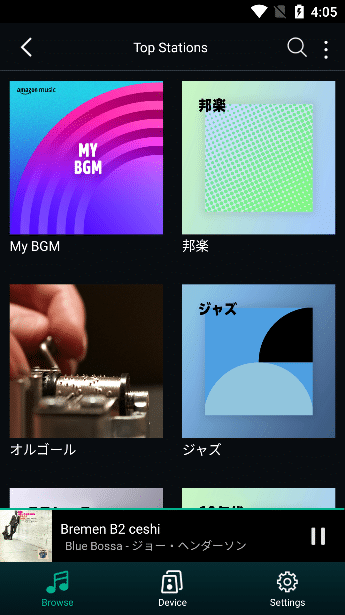
3.5.4.9.5.4. Top Stations
In the "Top Stations" interface, select "Top Stations" to enter the "Top Stations" list interface.
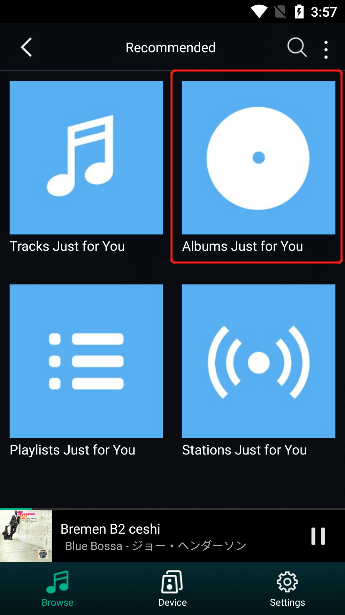
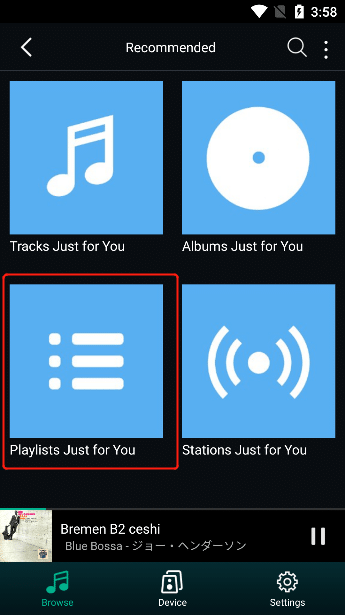
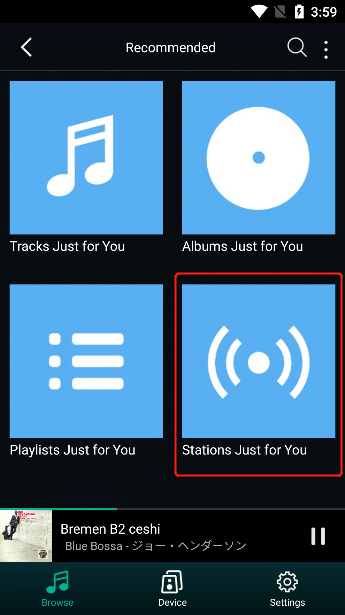
3.5.4.9.6. Recommend
Select "Recommended" to enter the "Recommended" category interface
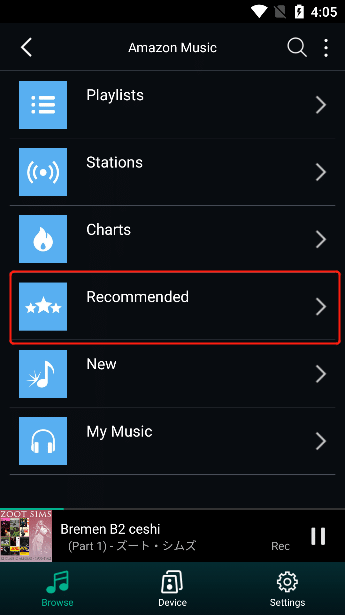
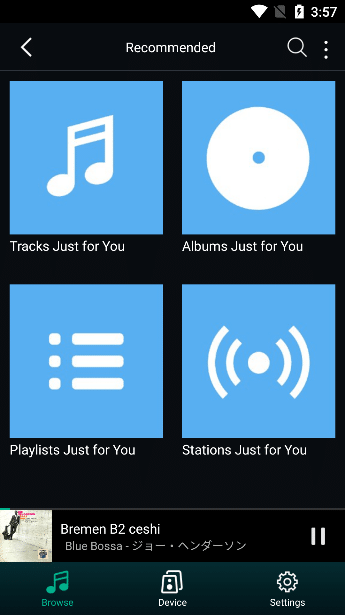
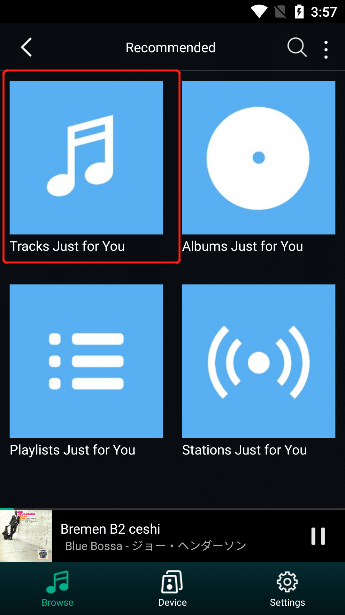
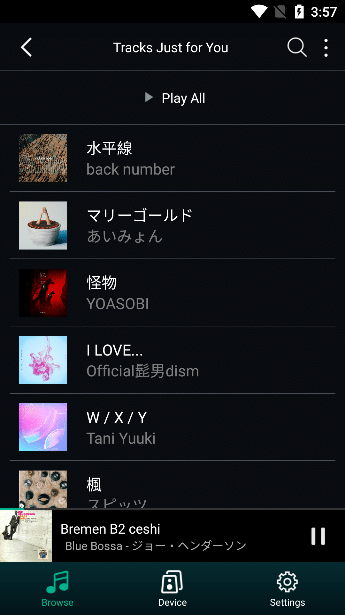
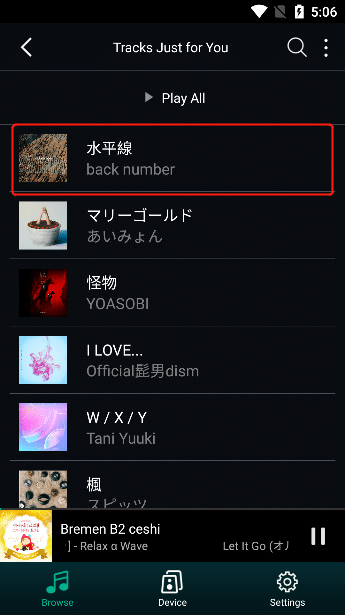
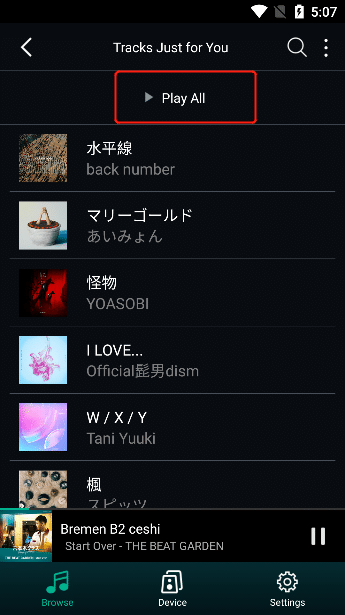
3.5.4.9.6.1. Tcacks Just for You
In the "Tcacks Just for You" interface, select "Tcacks Just for You" to enter the "Tcacks Just for You" list interface.
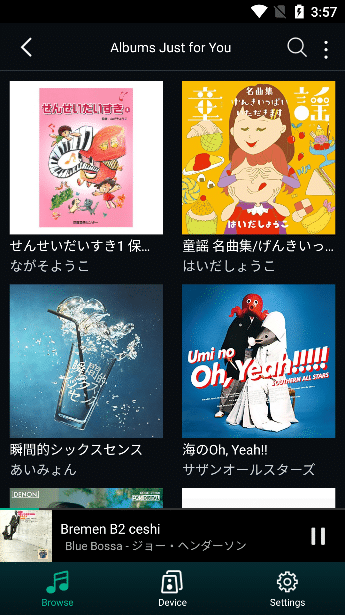
3.5.4.9.6.2. Albums Just for You
In the "Albums Just for You" interface, select "Albums Just for You" to enter the "Albums Just for You" list interface.
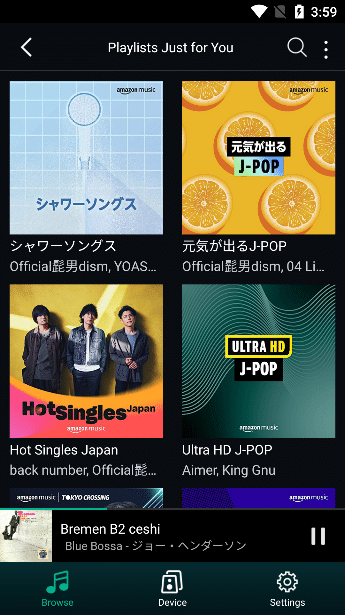
3.5.4.9.6.3. Playlists Just for You
In the "Playlists Just for You" interface, select "Playlists Just for You" to enter the "Playlists Just for You" interface.
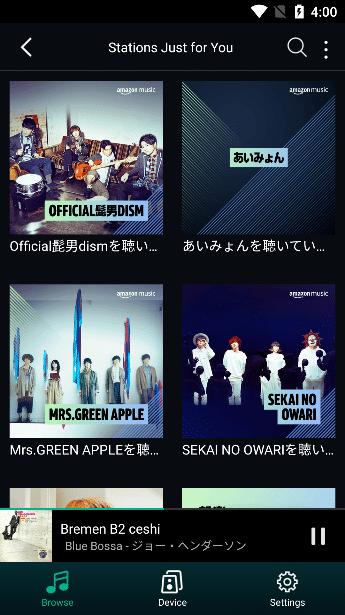
3.5.4.9.6.4. Stations Just for You
In the "Stations Just for You" interface, select "Stations Just for You" to enter the "Stations Just for You" list interface.
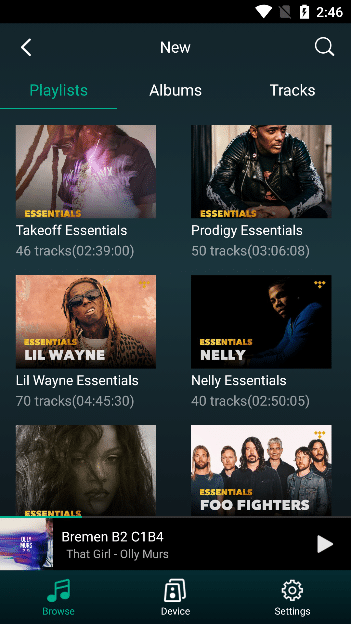
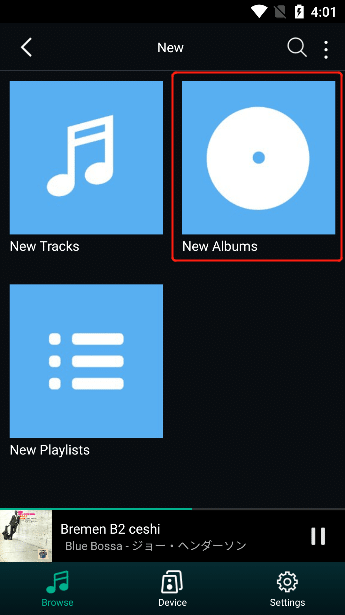
3.5.4.9.7. New
Select "New" to enter the "New" category interface

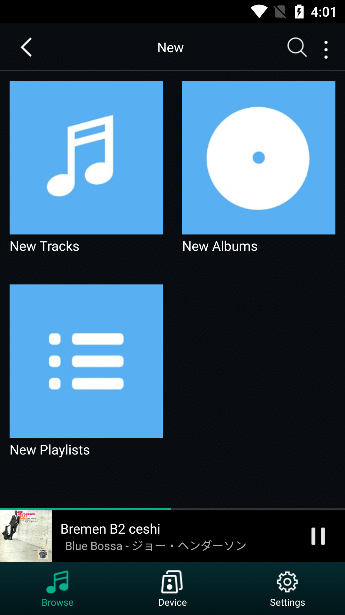
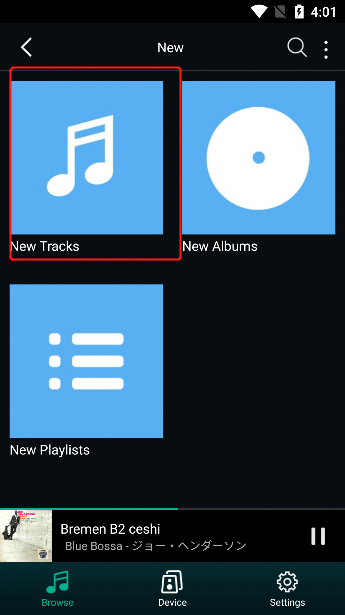
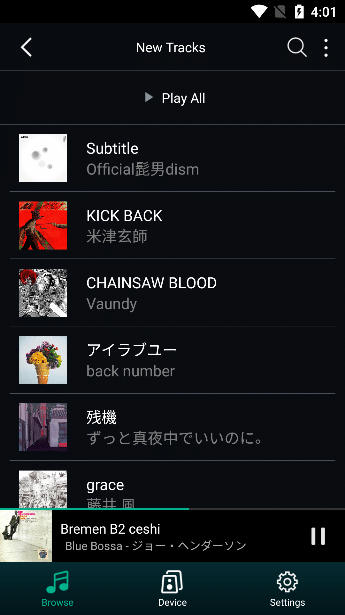
3.5.4.9.7.1. New Tracks
In the "New" interface, select "New Tracks" to enter the "New Tracks" list interface.
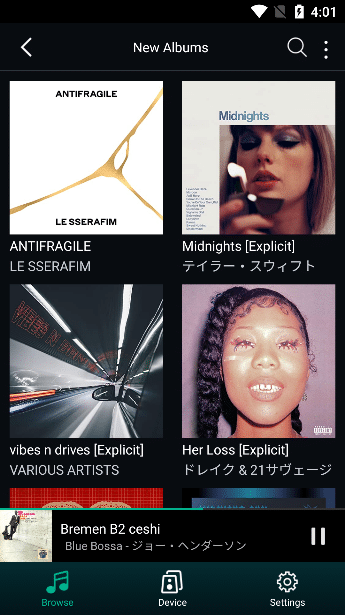
3.5.4.9.7.2. New Albums
In the "New" interface, select "New Albums" to enter the "New Albums" list interface.
3.5.4.9.7.3. New Playlists
In the "New" interface, select "New Playlists" to enter the "New Playlists" list interface.


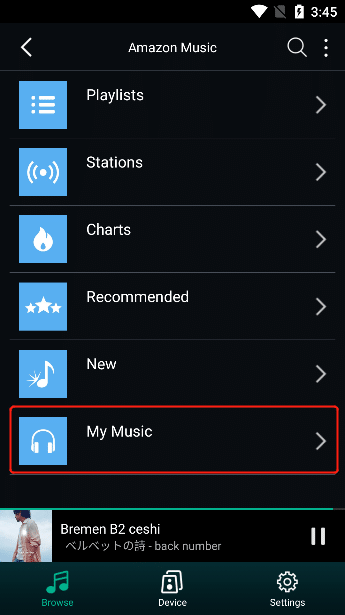
3.5.4.9.8. My Music
Select "My Music" to enter the category interface of "Song List"

3.5.4.9.8.1. Playlist
In the "My Music" interface, select "Playlist" to enter the "Playlist" interface.
3.5.4.9.8.2. Artist
In the "My Music" interface, select "Playlist" to enter the "Artist" list interface.

3.5.4.9.8.2.1. Artist Album
Select "Artist" to enter the "Album" interface of the artist.
3.5.4.9.8.3. Albums
In the "My Music" interface, select "Albums" to enter the "Albums" list interface.
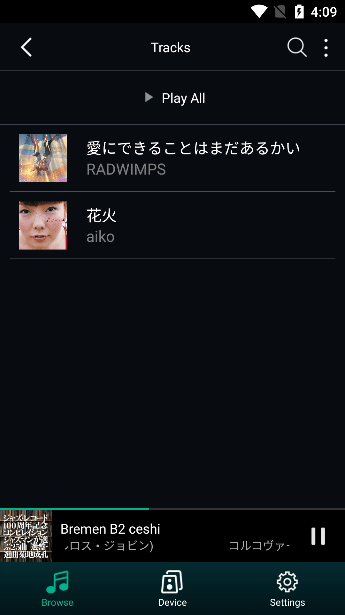
3.5.4.9.8.4. Tracks
In the "My Music" interface, select "Tracks" to enter the "Tracks" list interface.

3.5.4.9.8.5. Genres
In the “My Genres” interface, select “Genres” to enter the “Genres” list interface.
Select the content of "Genres" to enter the song list interface of this genre.
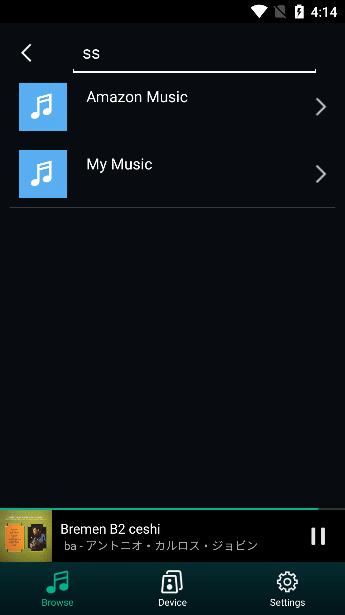
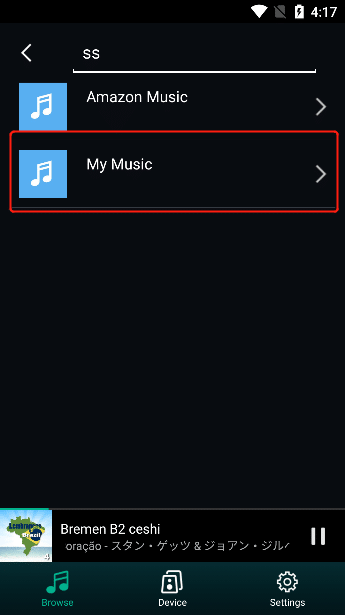
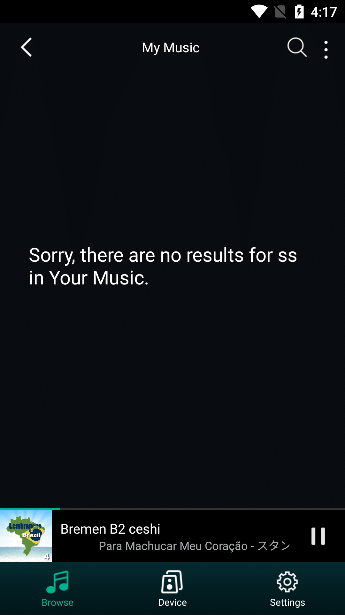
3.5.4.9.9. Search
Select the "Search" button, enter the music content you want to search in the input box, and then click the "Search" button.
Shows "Amazon Music" , "My Music" that match the results.
Select "Amazon Music" , enter the "Music selection" interface, display "Albums" , "Stations" , "Artist" , "Playlist" , "Songs" , click to display the corresponding content.
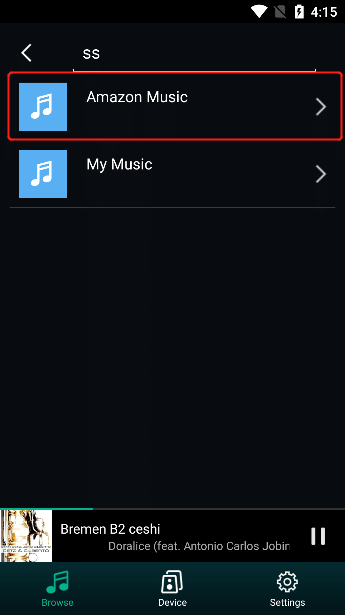
Select Amazon Music to see music that matches your search in "My Music" .
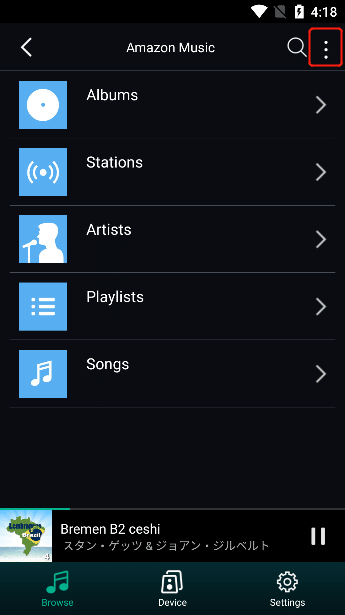
3.5.4.9.10. More
Select "..." to enter the "More" interface
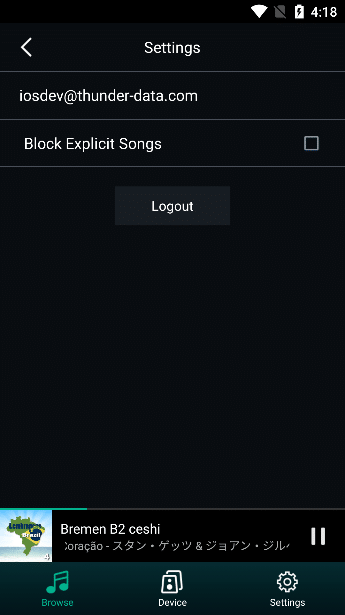
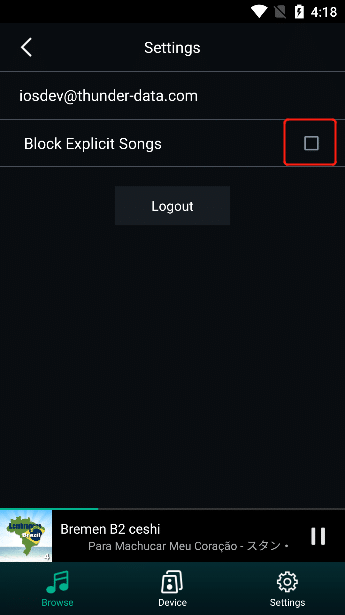
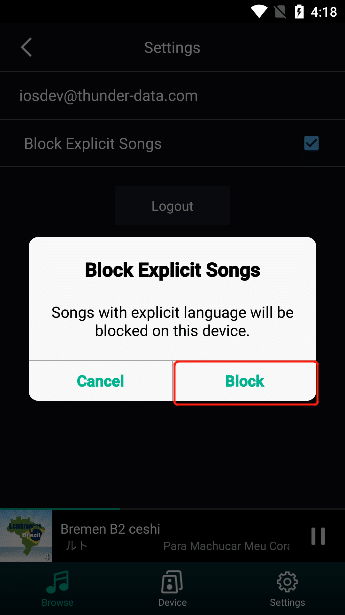
3.5.4.9.10.1. Block Language Tracks
Select the "Check" box, and then click the "Block" button, the songs in the displayed language will not be played.
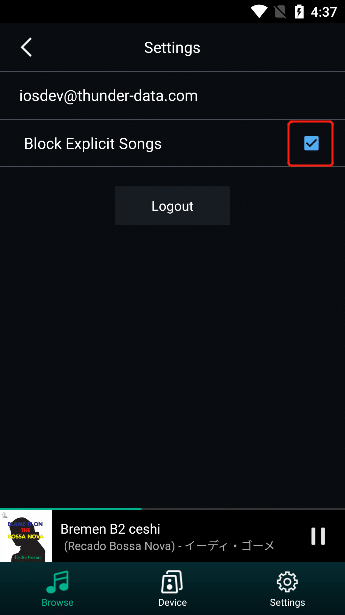
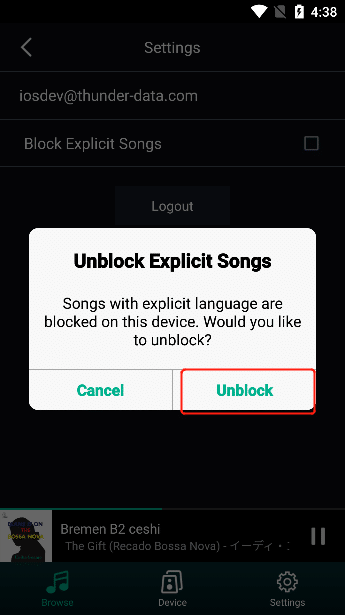
3.5.4.9.10.2. Open Language Track
Select the "Check" box, and then click the "Unblock" button, the songs in the displayed language will play normally.
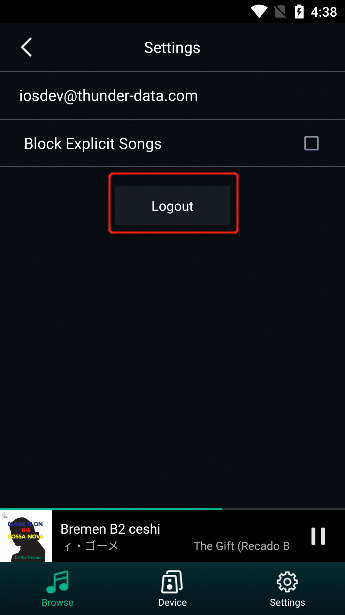
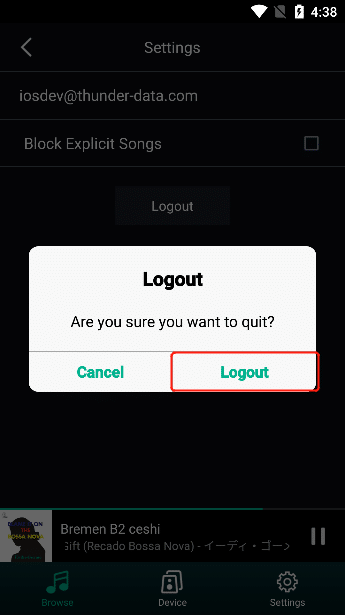
3.5.4.9.10.3. Log out
Select "Logout" , and then click the "Logout" button to successfully log out of the current account.
3.5.4.9.11. Play Operation
3.5.4.9.11.1. Track Playback
Select the track you want to play to play the current track and add all the tracks at the current position to the play queue (Note: the play queue can be viewed in step 3.6.2.9).
Select "Play All" to play the current list of tracks, and add all the tracks at the current position to the play queue (Note: the play queue can be viewed in step 3.6.2.9).

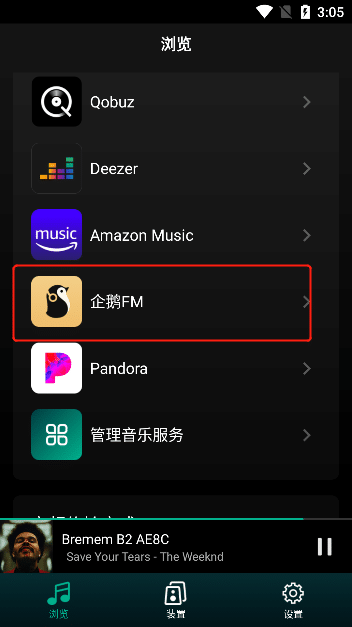
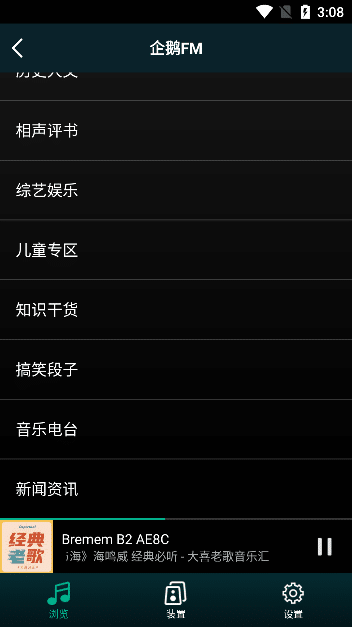
3.5.4.10. Penguin FM
Click "Penguin FM" to enter the "Penguin FM" station type interface
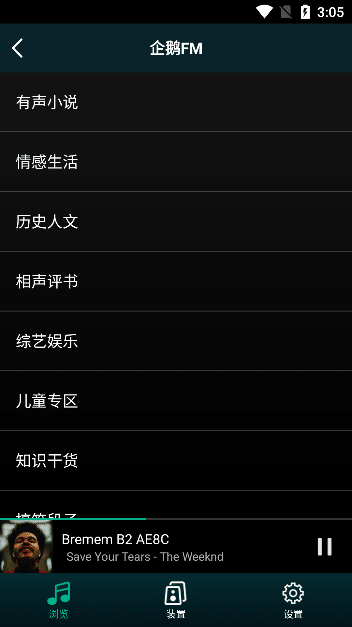
3.5.4.10.1. Radio Classification
selecting the "Station" type, enter the classification interface of the station type.

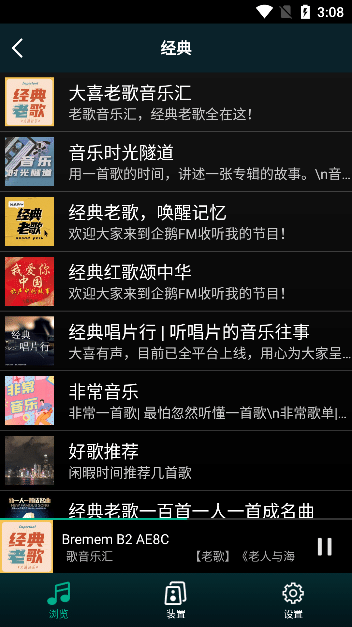
3.5.4.10.2. Radio Broadcast
selecting "Station Category" , enter the playlist of the station category.
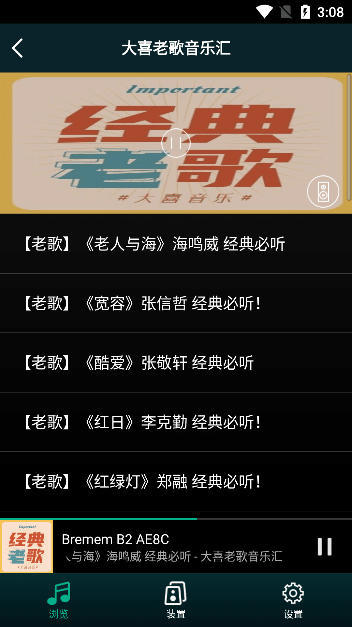
Select "Playlist" , enter the song interface of the playlist, select the track you want to play, you can play the current track, and add all the tracks at the current position to the play queue (Note: the play queue can be viewed in step 3.6.2.9).
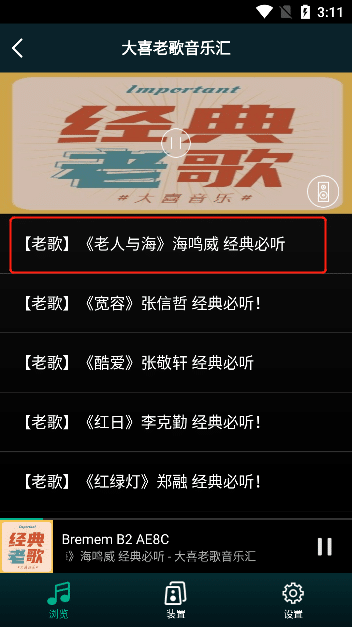
Click the "Play" button to play the current list track, add all the tracks at the current position to the play queue (Note: the play queue is viewed in step 3.6.2.9), click the "Pause" button to pause the playback track .
3.5.4.10.3. Preset
Click the "Preset" button in the upper right corner, all preset content buttons will pop up, you can click the "Content is empty" button to add the current playlist to the "Preset Content" , if you click the button background color changes If it is white, it means that the content has been preset successfully. (Note: Presets are viewed in step 3.5.2).
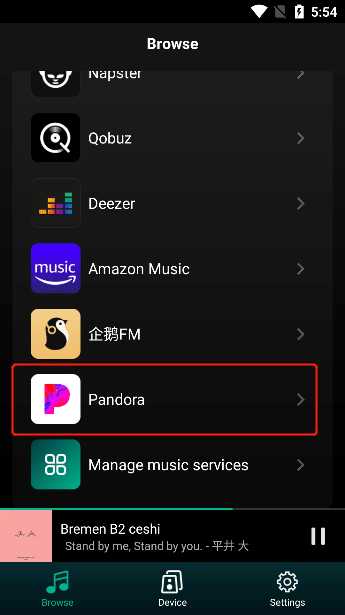
3.5.4.11. Pandora
Click "Pandora" to enter the "Pandora Login" interface
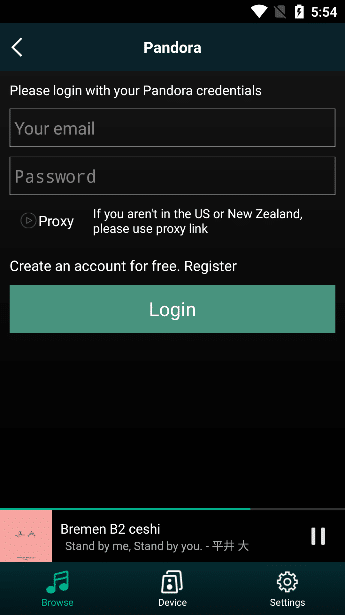
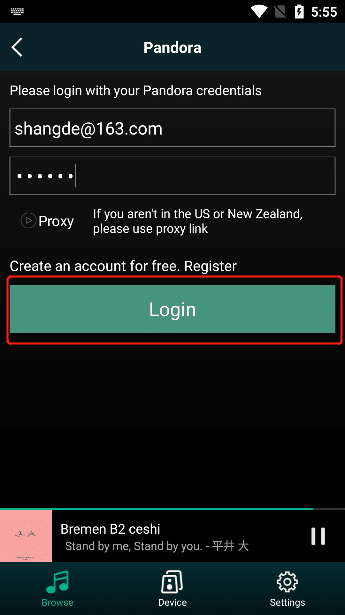
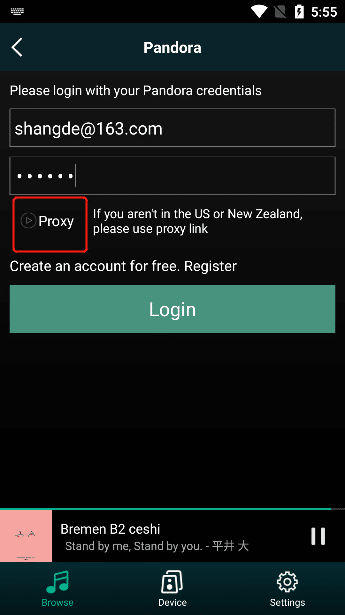
3.5.4.11.1. Pandora Login
Enter your account and password on the "Pandora Login" interface, and click "Login" to successfully log in to "Pandora" .
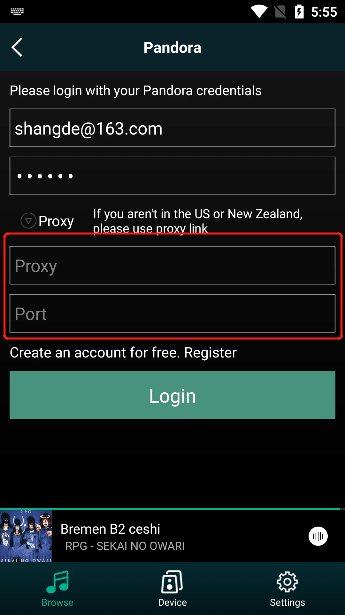
3.5.4.11.2. Proxy
Select "Proxy" to enter the proxy link and port to log in.
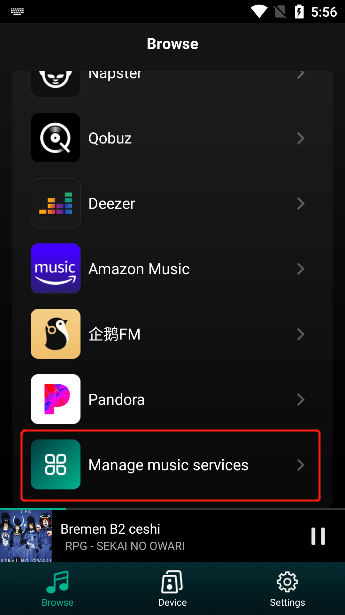
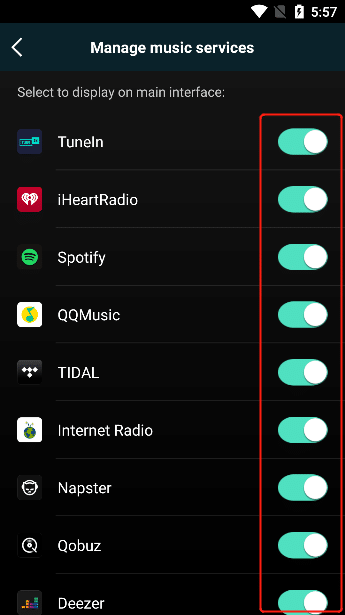
3.5.4.12. Manage Music Services
Click "Manage Music Service" to enter the "Music Service" selection list, select the music service you want to display, slide the right button if it is green to display the music service, slide the right button, if it is gray, it means not to display the music service .
3.5.5. Audio Transmission Method
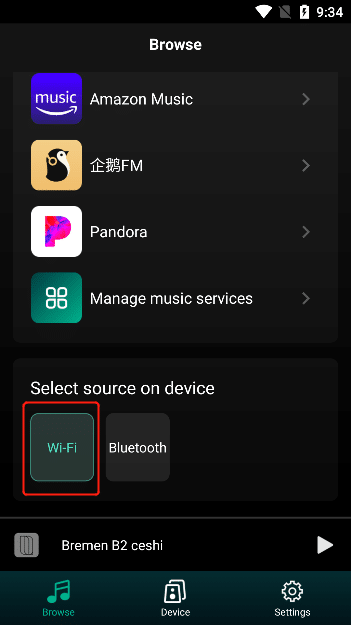
3.5.5.1. Wi-Fi
If you connect the B series device through the network, you need to select the "Wi-Fi" audio transmission method to play music.
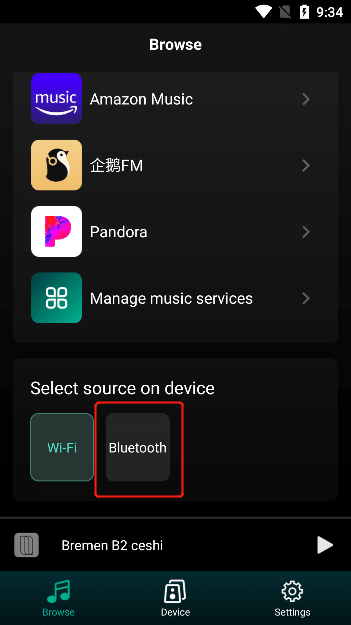
3.5.5.2. Bluetooth
If you connect a B series device via Bluetooth, you need to select the "Bluetooth" audio transmission method to play music.
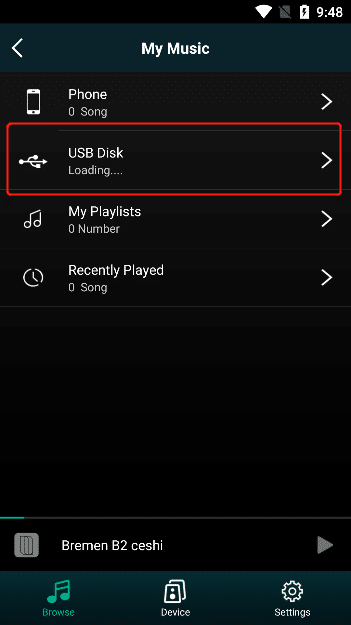
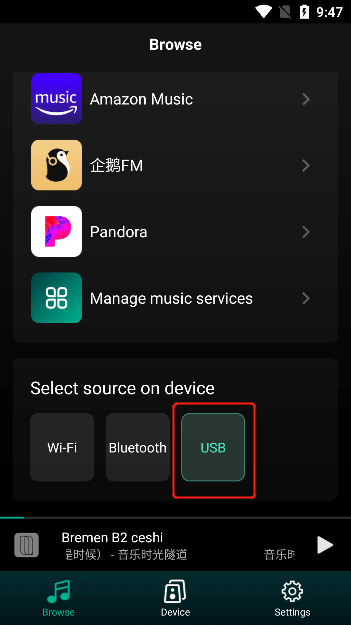
3.5.5.3. USB (Only For Devices That Support USB)
After connecting to the USB, if you need to play the music in the USB, you need to select the "USB" audio transmission method to play the music.
3.6. Player
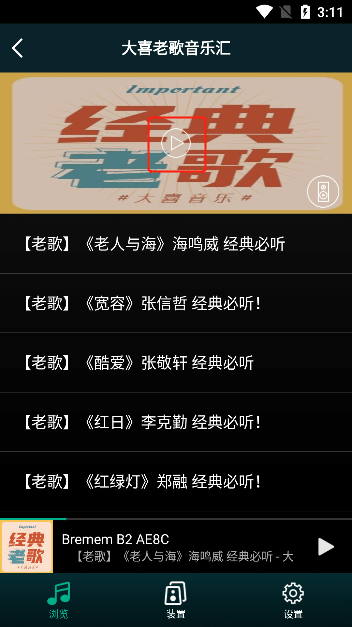
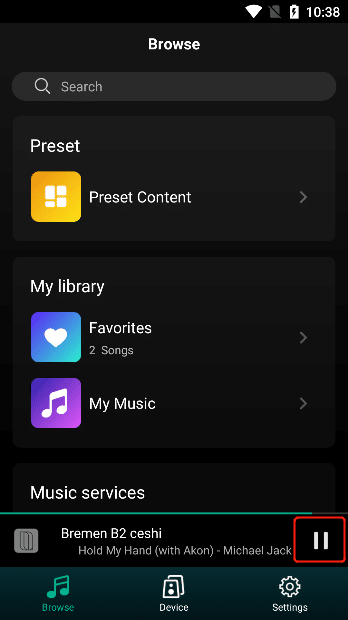
3.6.1. Small Player
3.6.1.1. Play And Pause
![]()
![]() After playing the song, click the “||” button, the song will pause, click the “ ” button, the song will continue to play, “||” means playing, “ ” means pause.
After playing the song, click the “||” button, the song will pause, click the “ ” button, the song will continue to play, “||” means playing, “ ” means pause.

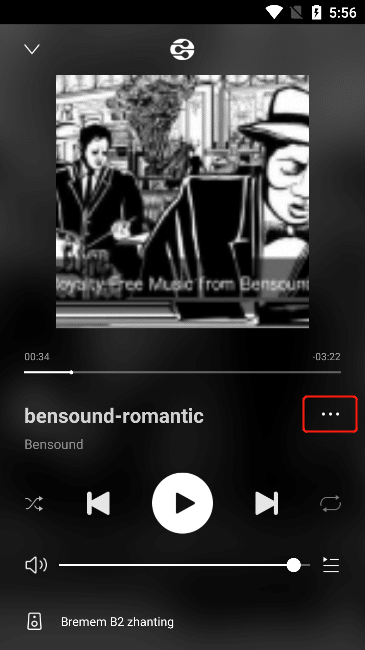
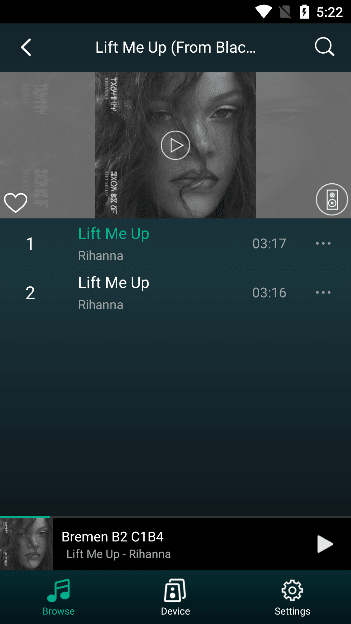
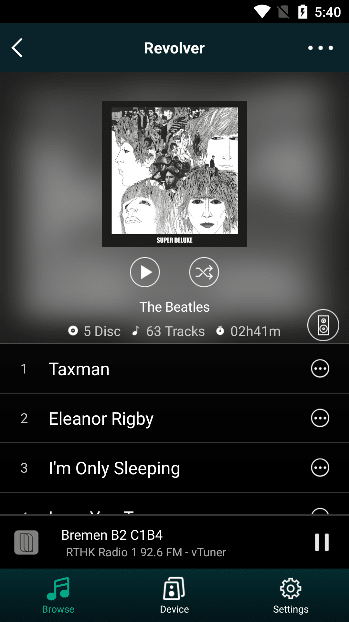
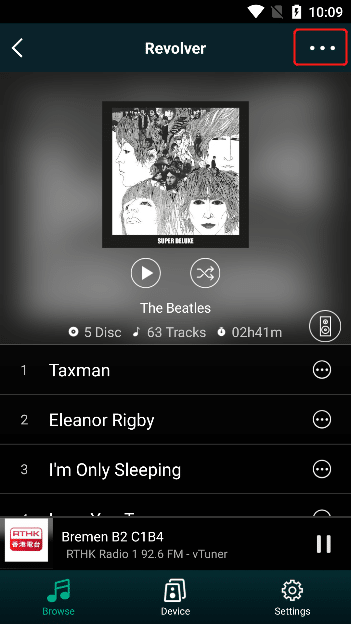
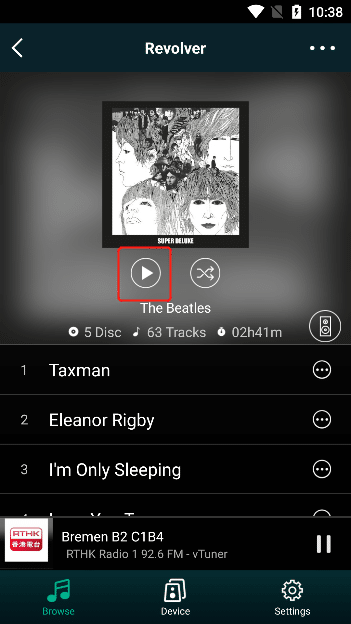
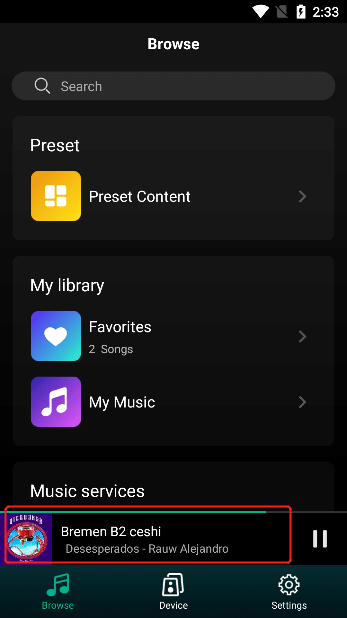
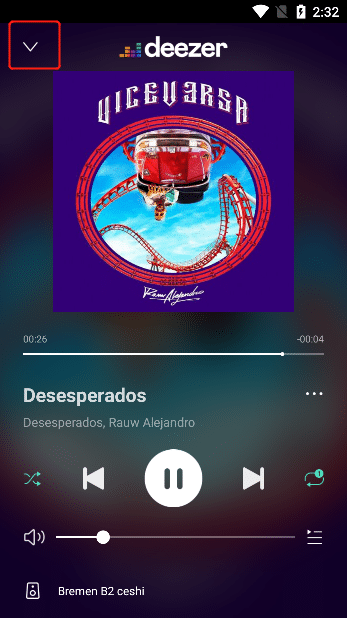
3.6.2. Big Player
After playing the song, click "Small Player" below to enter the "Large Player" interface.

Click the icon "![]() " on the upper left of the "Large Player" to zoom into a "Small Player" .
" on the upper left of the "Large Player" to zoom into a "Small Player" .
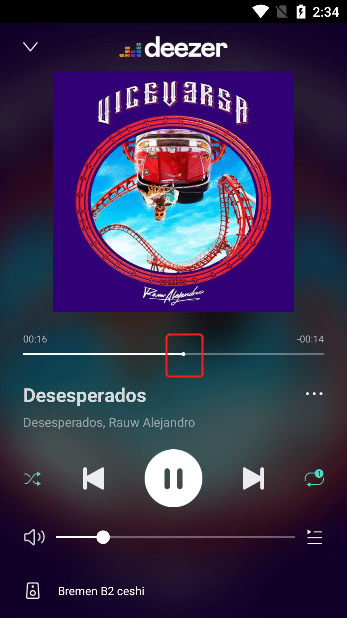
3.6.2.1. Song Play Bar
Click the "Song Play Bar" button, you can slide to control the position of playing the song.
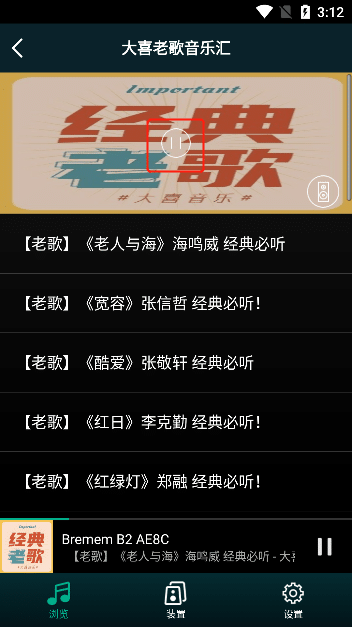
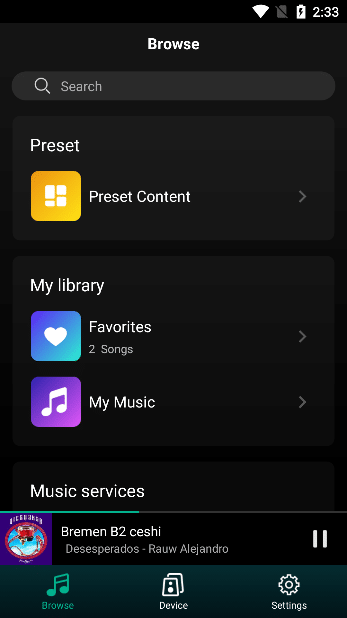
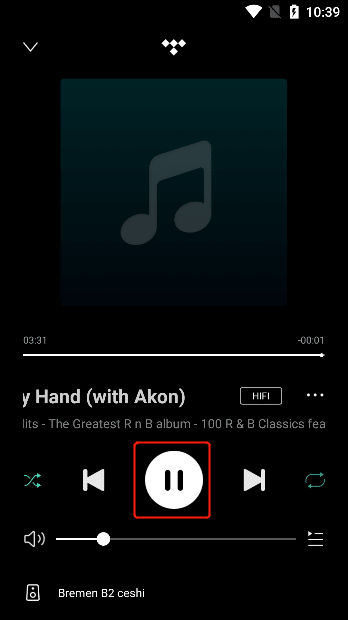
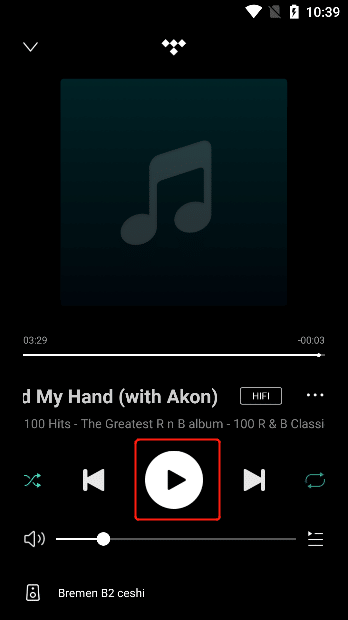
3.6.2.2. Play And Pause
![]() After playing the song, click the “||” button, the song will pause, click the “ ” button, the song will continue to play.
After playing the song, click the “||” button, the song will pause, click the “ ” button, the song will continue to play.
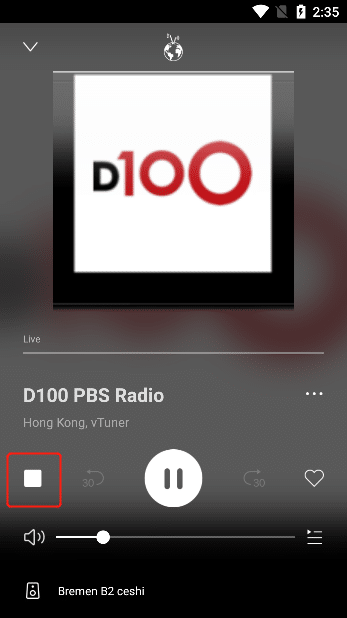
3.6.2.3. Stop Play
Click the "Stop Playing" button to stop playing the song and clear the play queue.
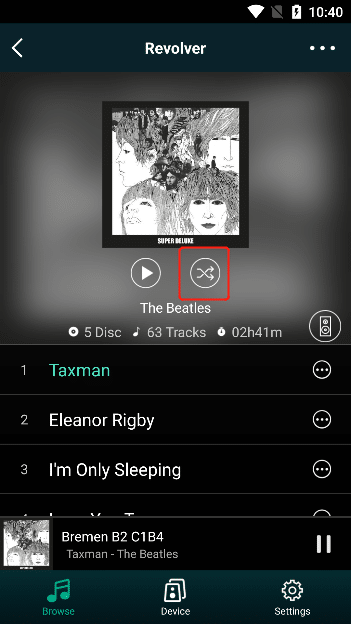
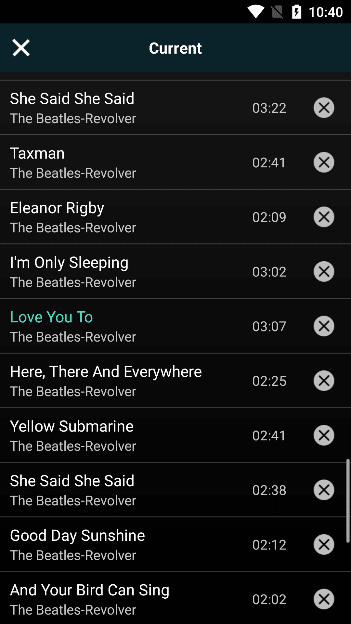
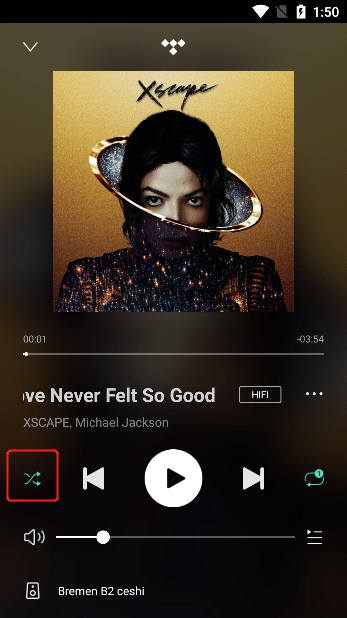
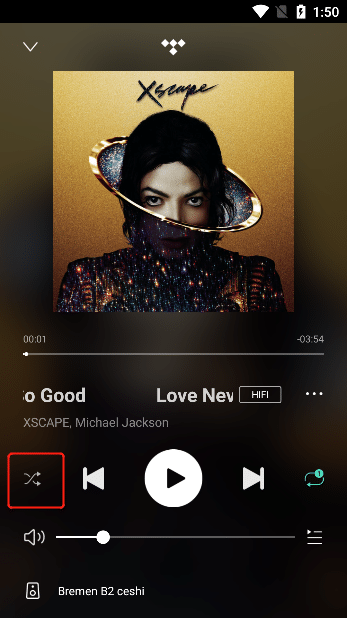
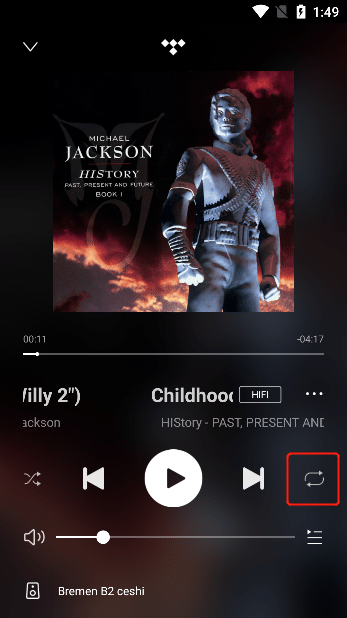
3.6.2.4. Shuffle Playback
Click the "Shuffle" button, if the icon is "Green" , it means that the next song will play the songs in the "Playlist" randomly , if the icon is "white" , it means that the songs in the "Playlist" will be played in order .
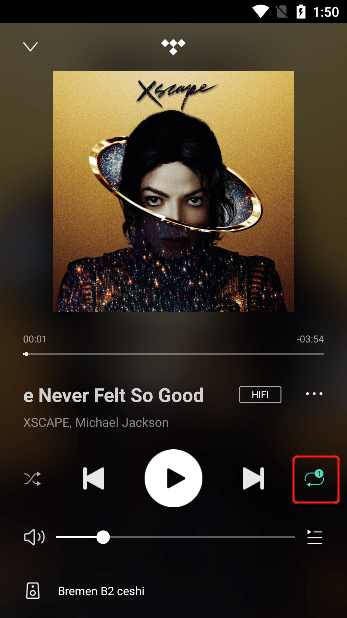
3.6.2.5. Single Cycle
Click the "Single Loop" button, if the icon is "Green" , it means that the next song will continue to play the "Currently Playing Song" , if the icon is "White" , it means that the songs in the "Playlist" will be played in sequence .
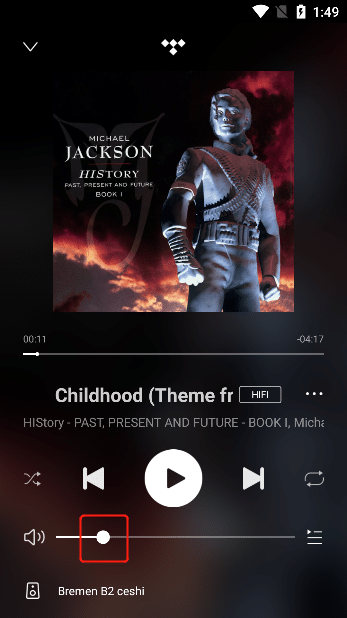
3.6.2.6. Volume Adjustment
Click the "Volume Adjustment" button in the lower volume bar to adjust the volume of the playing song.
3.6.2.7. Rewind 30 Seconds
When playing a program, click the "Rewind 30 Seconds" button, and the current program will be played back 30 seconds from the original playback progress.
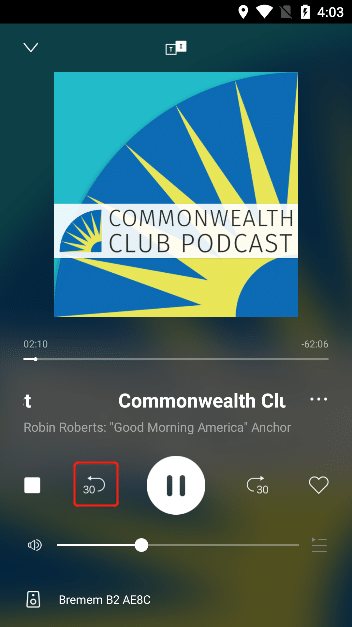
3.6.2.8. Forward 30 Seconds
When playing a program, click the "Forward 30 Seconds" button, the current program will be played forward 30 seconds on the original playback progress.

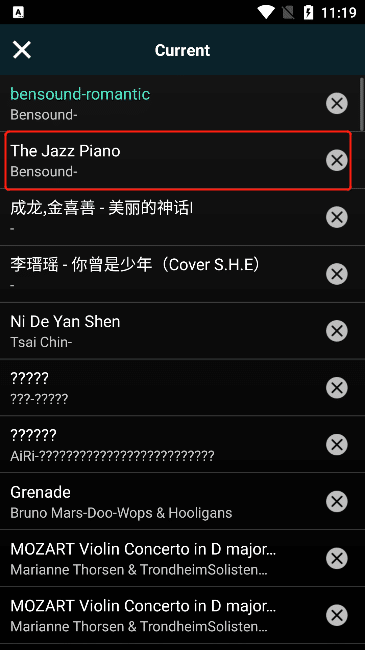
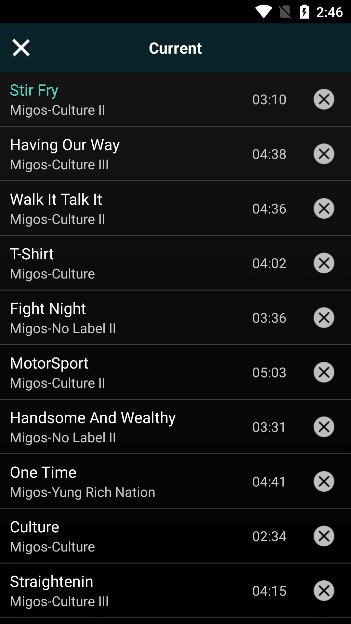
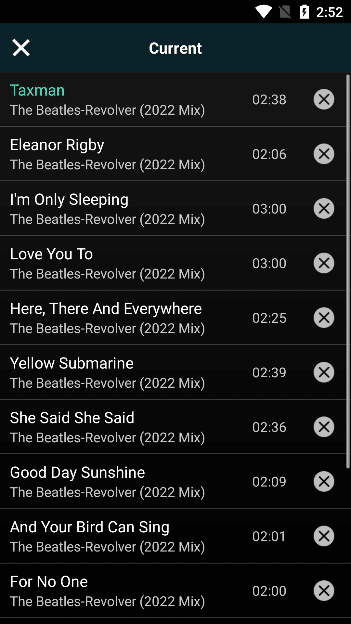
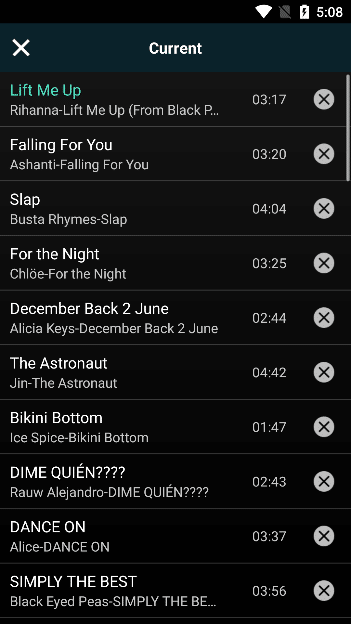
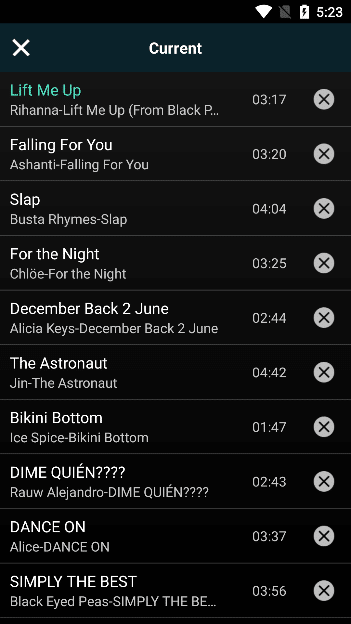
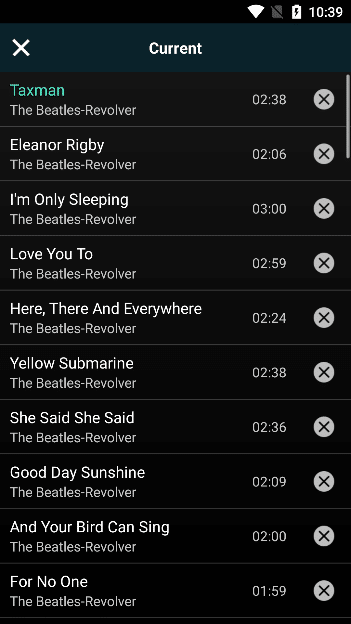
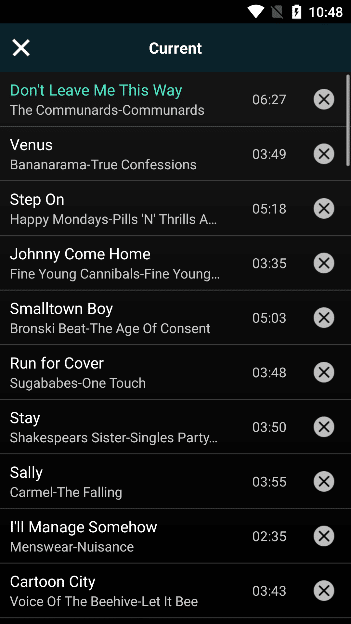
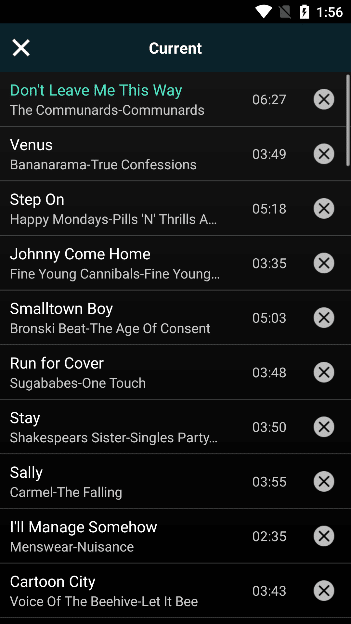
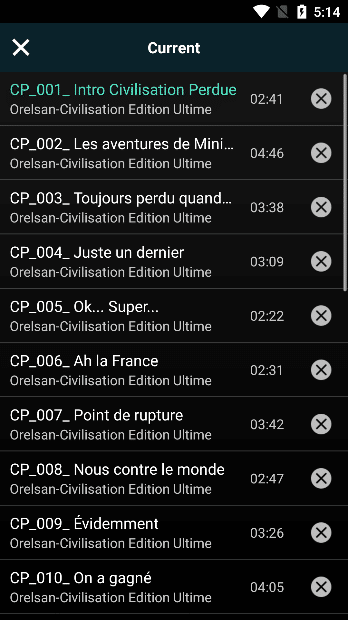
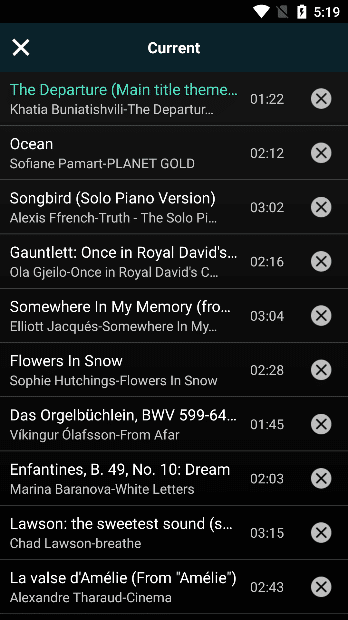
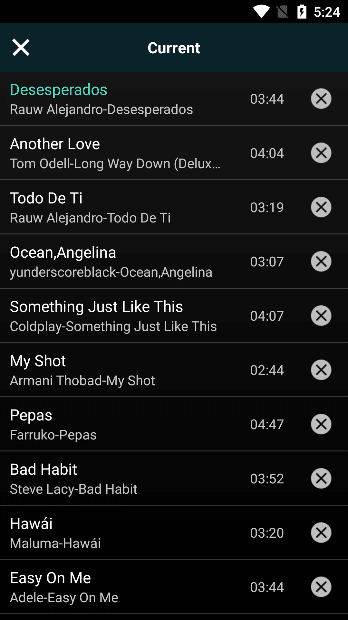
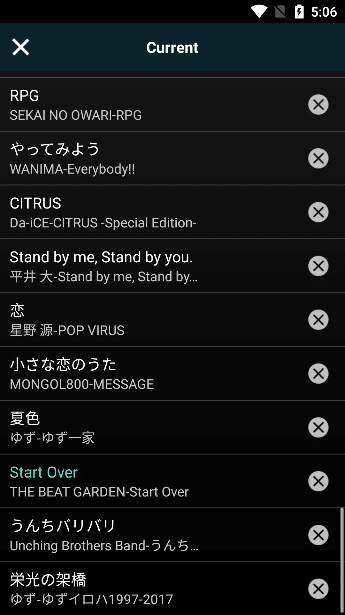
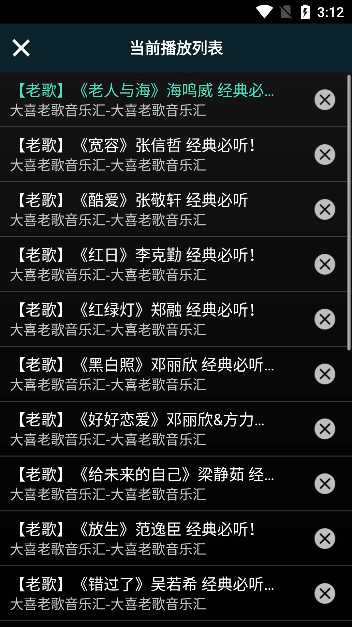
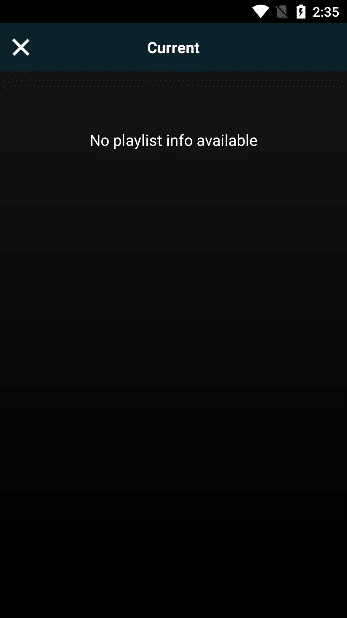
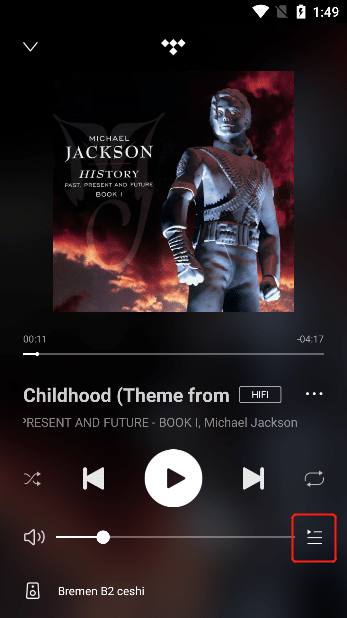
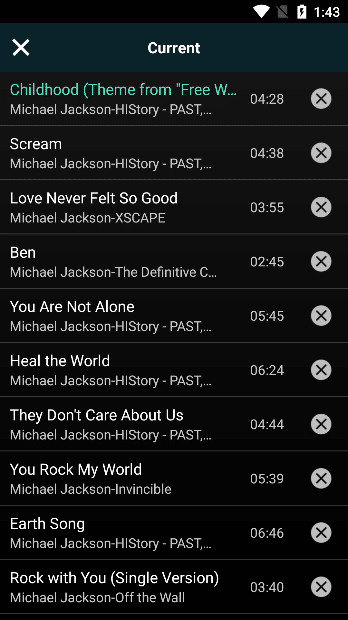
3.6.2.9. Play Queue
Click the "Playlist" button on the right to enter the "Playlist" interface.
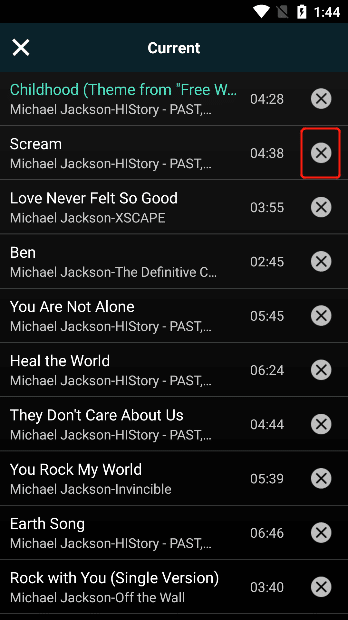
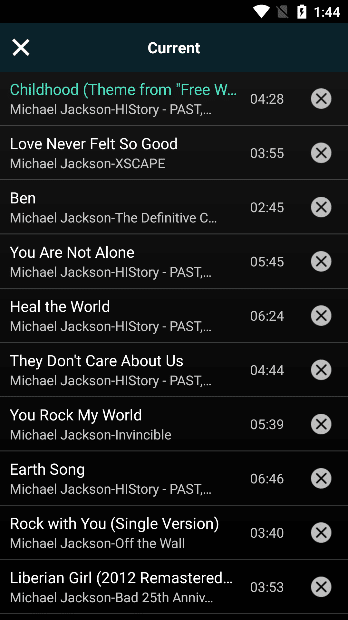
3.6.2.9.1. Remove From Play Queue
Click the "X" button to the right of the song and the corresponding song will be removed from the playlist.
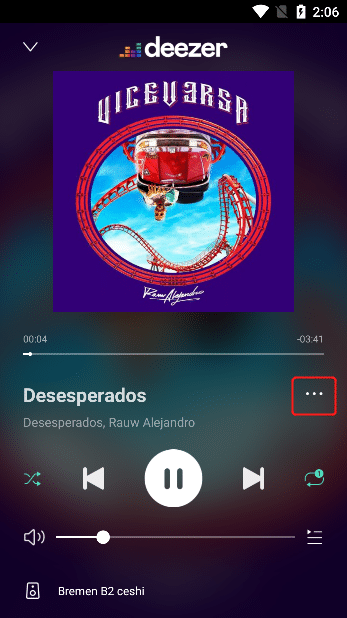
3.6.2.10. Song Operation
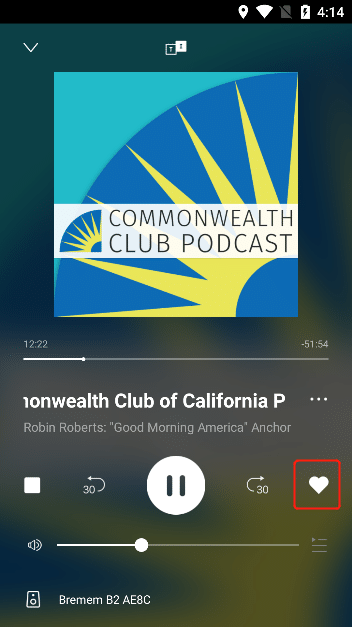
3.6.2.10.1. Music Service Add/Remove to Favorites
Select the "heart-shaped" icon. If the icon is transparent, if it is white after clicking, it means that you have successfully added it to the collection. If the icon is white, if it is transparent after clicking, it means that you have removed the current playlist from the collection. (Note: Favorite to the favorites of the current music service)

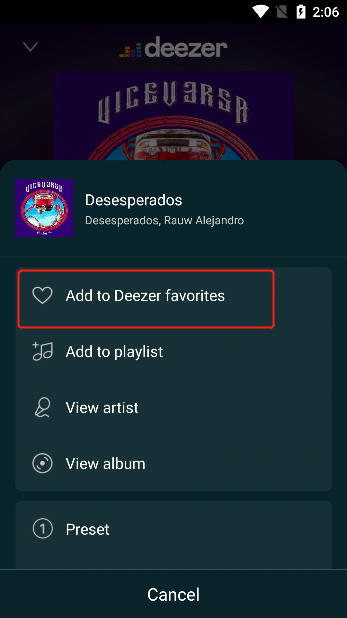
3.6.2.10.2. Add to Deezer Favorites
Click the "..." button on the right side of the song, select "Add to Deezer Favorites" in the operation list , and the corresponding song will be added to the favorites. (Note: Favorites are in step 3.5.3.1)

3.6.2.10.3. Removed from Deezer Favorites
Click the "..." button on the right side of the song, select "Remove from Deezer Favorites" in the action list , and the corresponding song will be removed from the Favorites. (Note: Favorites are in step 3.5.3.1)

3.6.2.10.4. Alarm Clock
"..." button to the right of the song and select "Alarm Clock" in the action list

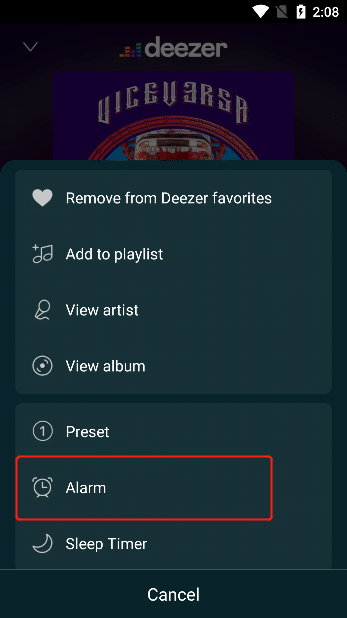
In the "Alarm Clock" interface, click the "+" button to enter the "Set Alarm Clock" interface, select the time, date and operation you want to play music automatically, and then click "Finish" to add an alarm clock. (Note: the alarm clock is checked in step 3.4.2.3)
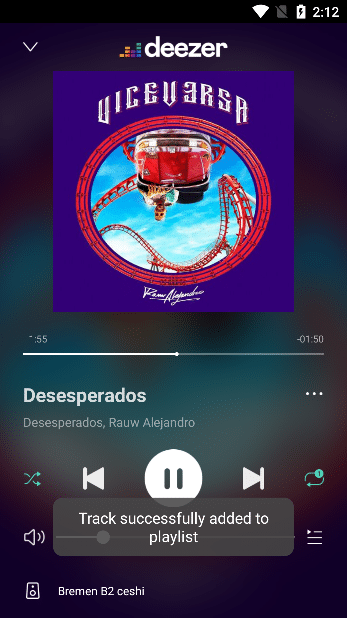
3.6.2.10.5. Add to Playlist
"..." button to the right of the song and select "Add to Playlist" in the action list


The "My Playlist" interface pops up , click the playlist you need to add the song to, and it will display " Tarck Successfully Added to Playlist" in the playlist (Note: Playlist can be viewed in step 3.5.3.2.3)
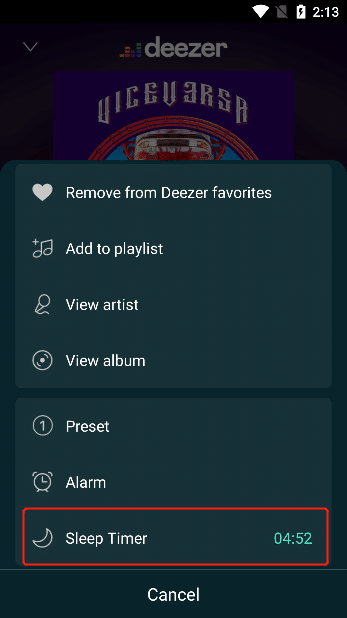
3.6.2.10.6. Sleep Timer
"..." button to the right of the song and select "Sleep Timer" in the action list

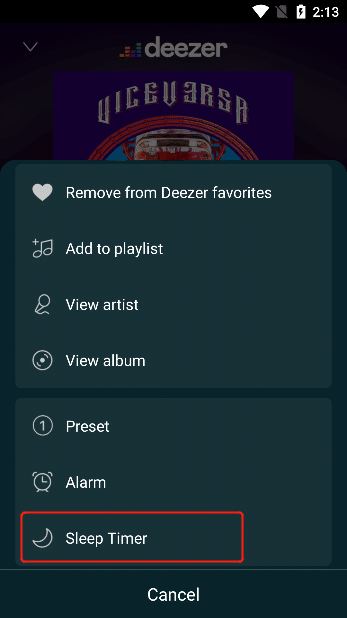
In the "Sleep Timer" interface, you can enter the sleep time by selecting the duration. For example, if you select "5 minutes" , the music will be paused and the playlist will be cleared 5 minutes after the sleep timer starts.

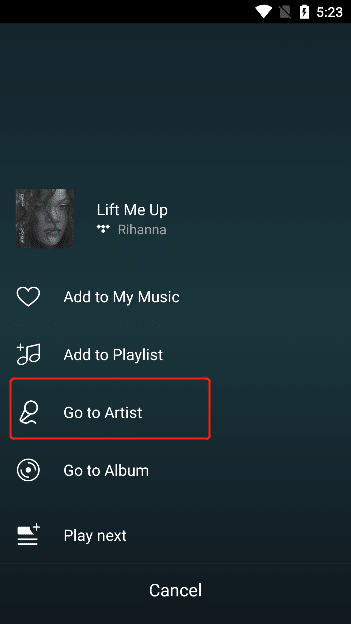
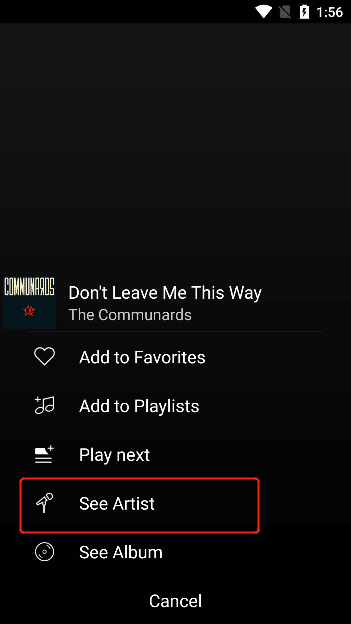
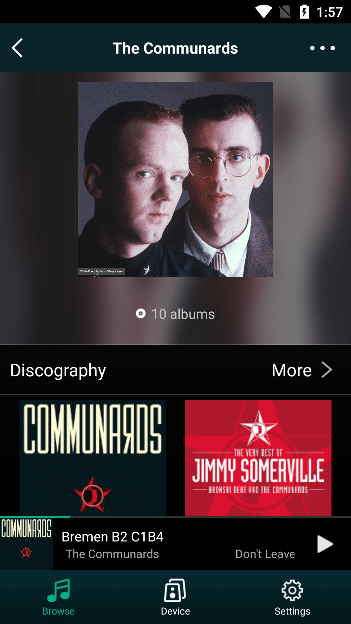
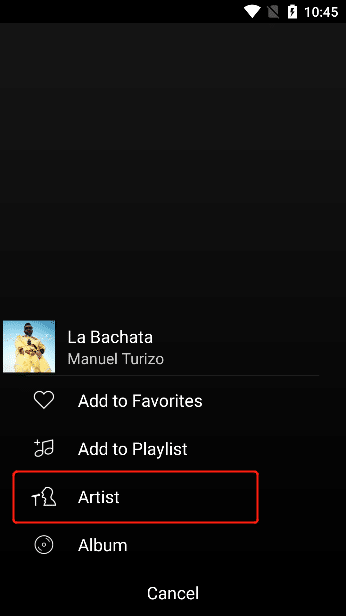
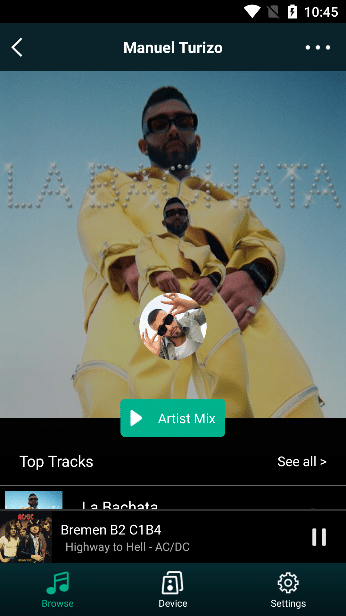
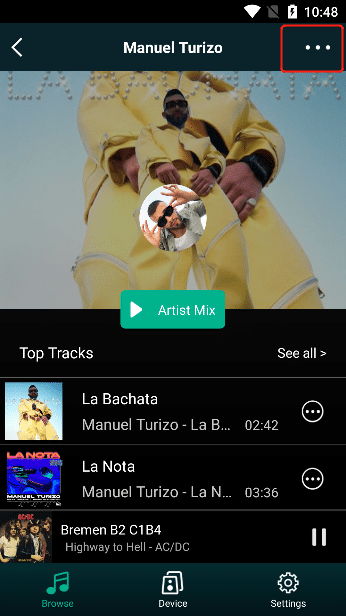
3.6.2.10.7. View Artist
"..." button to the right of the song and select "View Artist" in the action list

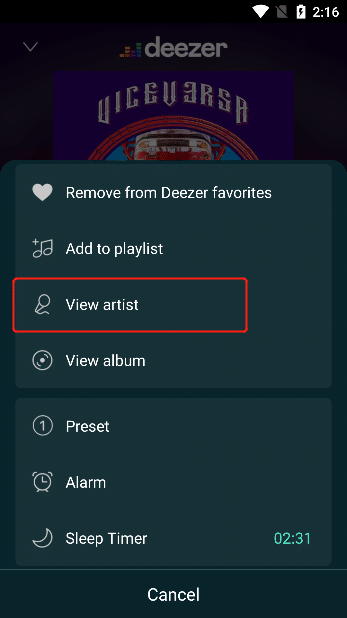
Enter the "Artist of Track" interface

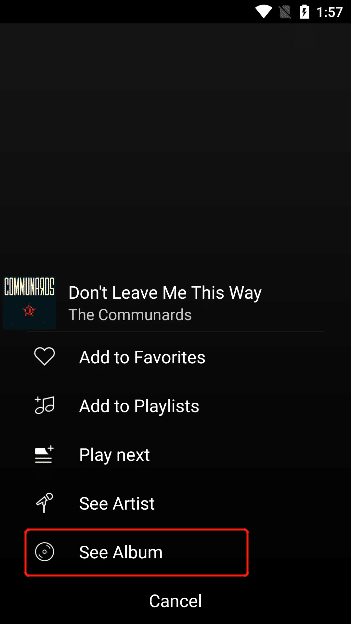
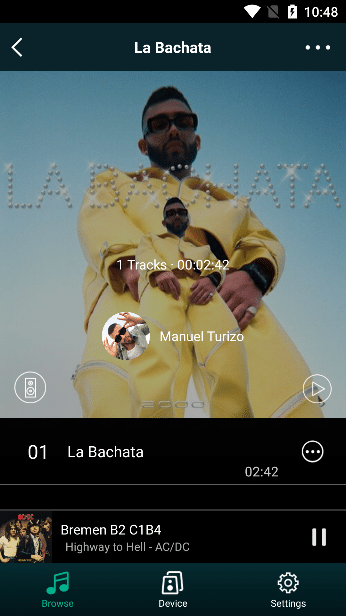
3.6.2.10.8. View Album
"..." button to the right of the song and select "View Album" in the action list


Enter the "Album of Track" interface

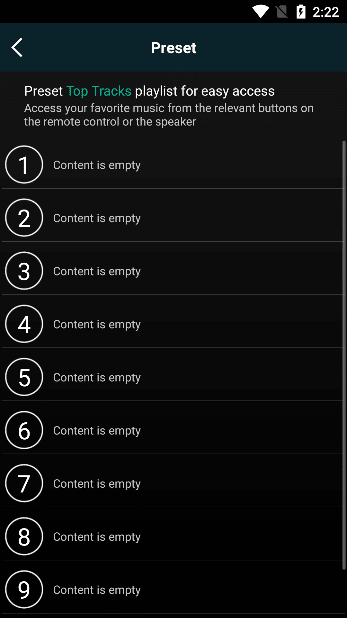
3.6.2.10.9. Preset
"..." button to the right of the song and select "Preset" in the action list

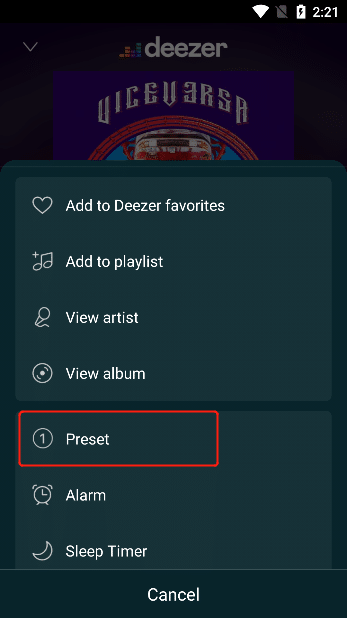
Enter the "Preset" interface (Note: Preset can be viewed in step 3.5.2)
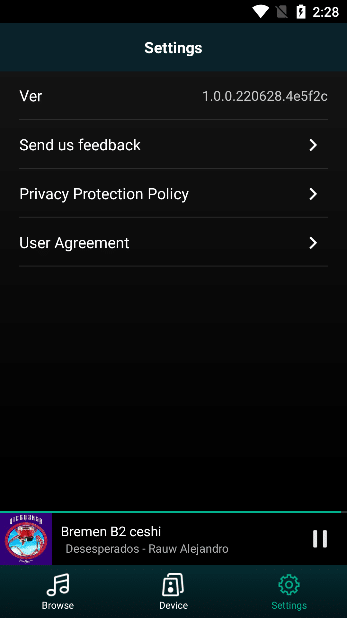
3.7. Set Up
3.7.1. Version
You can view the version number of the current APP in this interface
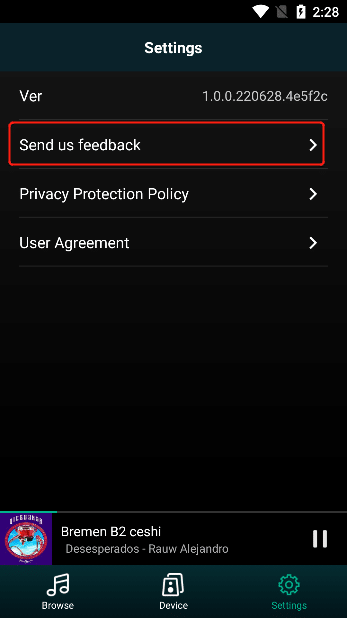
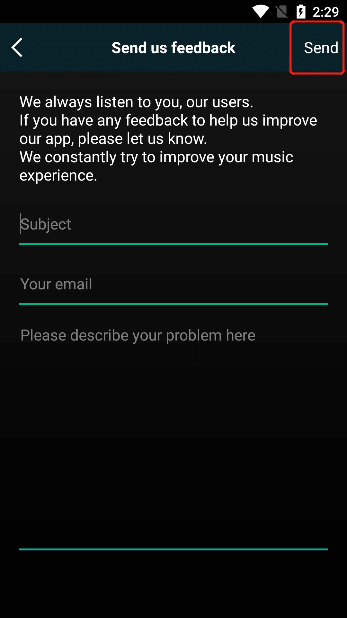
3.7.2. Send us Feedback
Click "Send Us Feedback" to enter the "Send Us Feedback" interface, enter the question you want to feedback, email and other information, and then click "Send" .
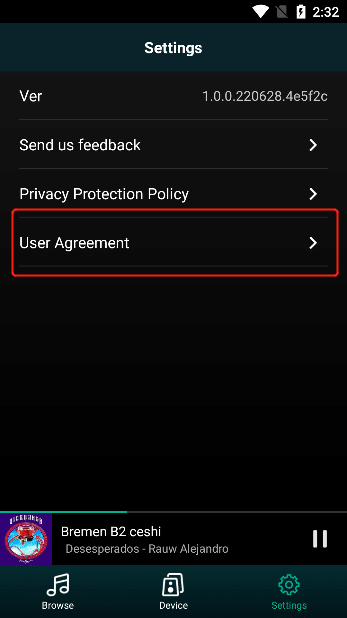
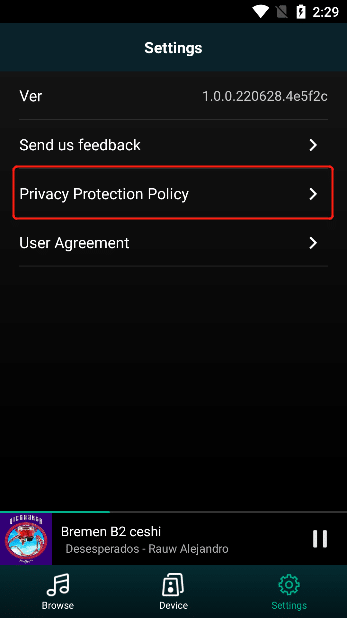
3.7.3. Privacy Protection Policy
Click "Privacy Protection Policy" to view the software's privacy protection policy information.
3.7.4. User Agreement
Click "User Agreement" to view the user agreement information of the software.